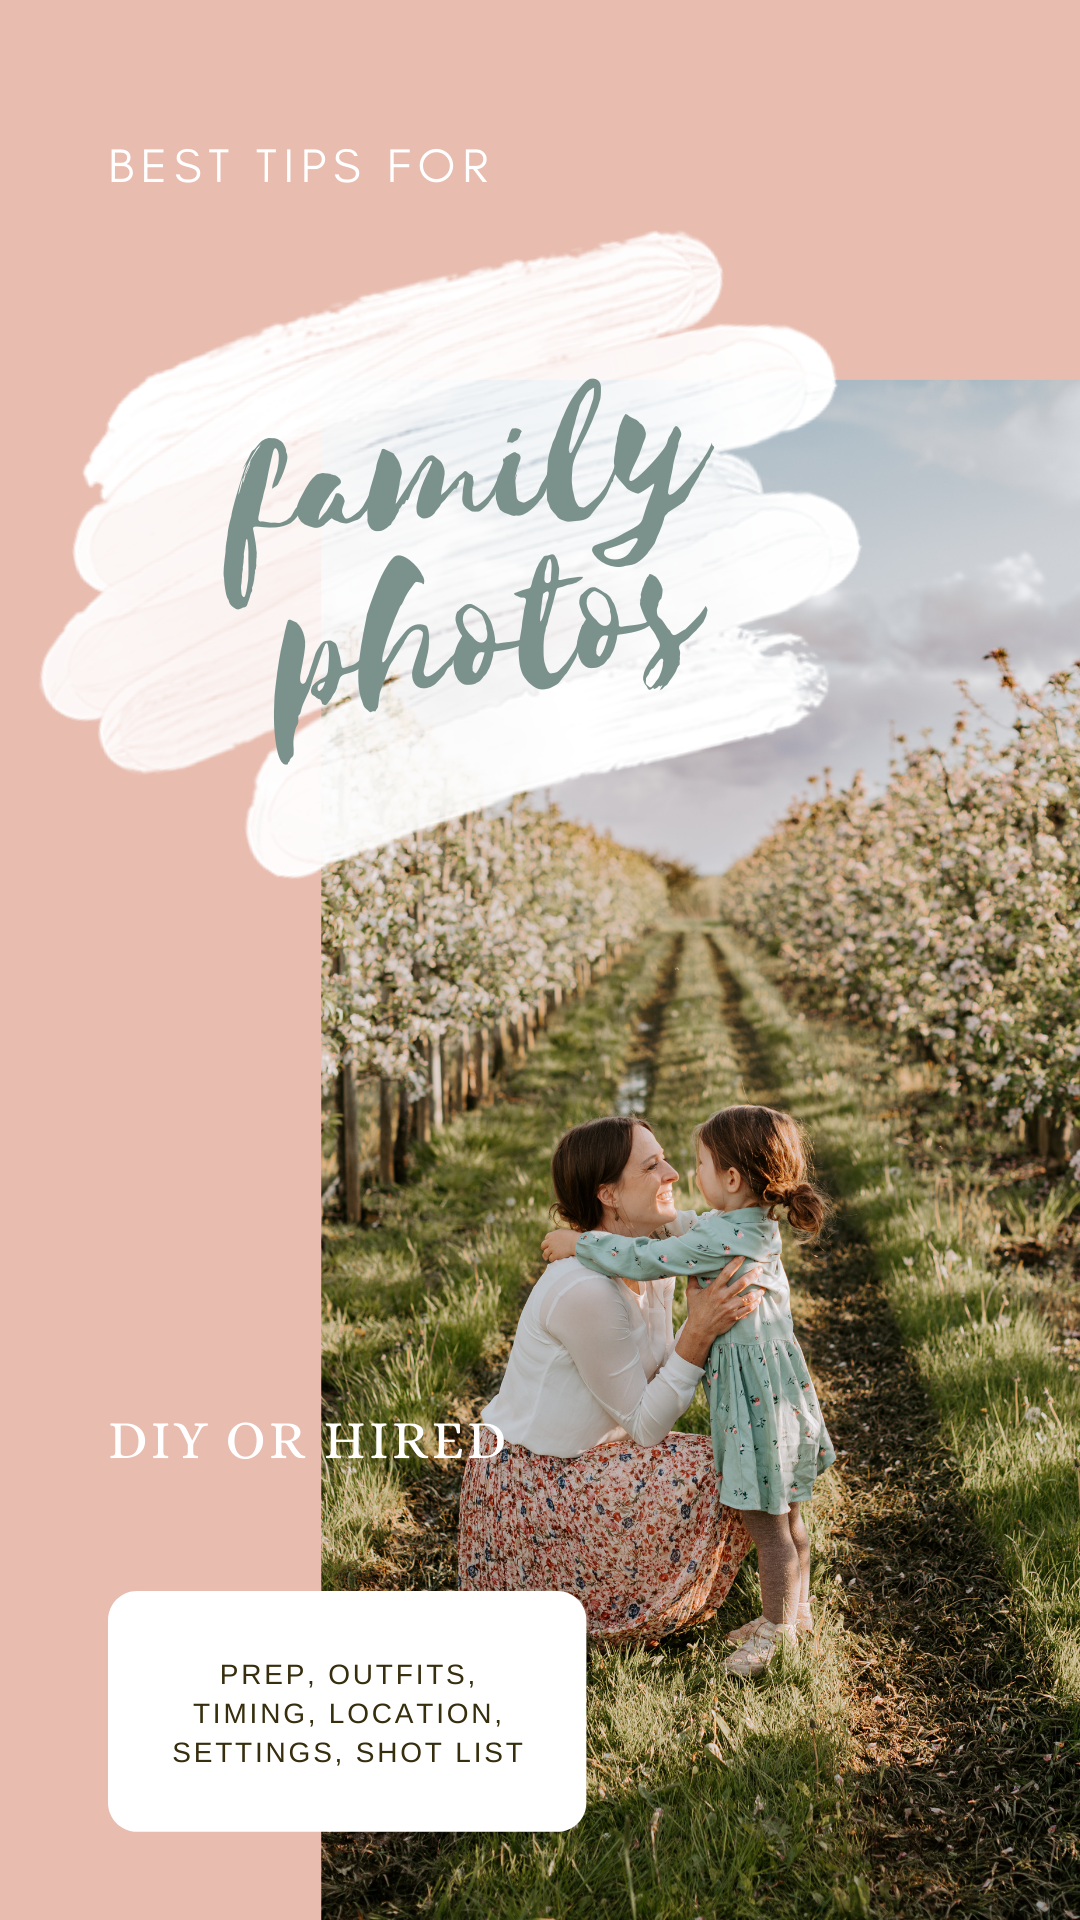
If you’ve been around for a while, you’ll know that I love taking family photos. I aim to take family photos at least once every season. Usually they’re just something that my husband and I shoot on our own. Once a year I try to swap with another photographer or hire someone (like I did for our Italy photos) so we can get a photo all together. Here are my best tips for taking family photos yourself or having them done by a photographer.
**This post contains affiliate links to Amazon and other stores that support this website at no extra cost to you. Read more in my FAQ page.
Choosing FAmily Photo Outfits
I love picking out family photo outfits. I usually just shop my closet for a soft palette that flows. I don’t like flashy colors, so all our outfits are more subdued. This is also easier for the photographer to edit after the shoot. Check out my complete outfit inspiration list on this Pinterest board!
Outfit Choosing Tips:
- Vary your textures for bottoms. Jeans aren’t a no go, but have one person in jeans and someone else in khaki, twill, slacks, corduroy, or flowy material.
- Same for tops! It’s not bad to match, but it’s not the 90s anymore and we can have variety! ;)
- For ladies self conscious about their arms, avoid tank tops and wear clothes with sleeves. Loose sweaters can sometimes look bulky in the end photo. High waisted skirts, pants, or dresses will have a slimming effect. Black hides everything. V-necklines are very flattering especially for those with big busts, short torso, and short necks.
- Avoid busy shirts and all neon colored tops as they reflect in faces!
- Keep the shoes classy, muted, or go shoeless! Leave the kid’s character or bright colored sneakers at home.
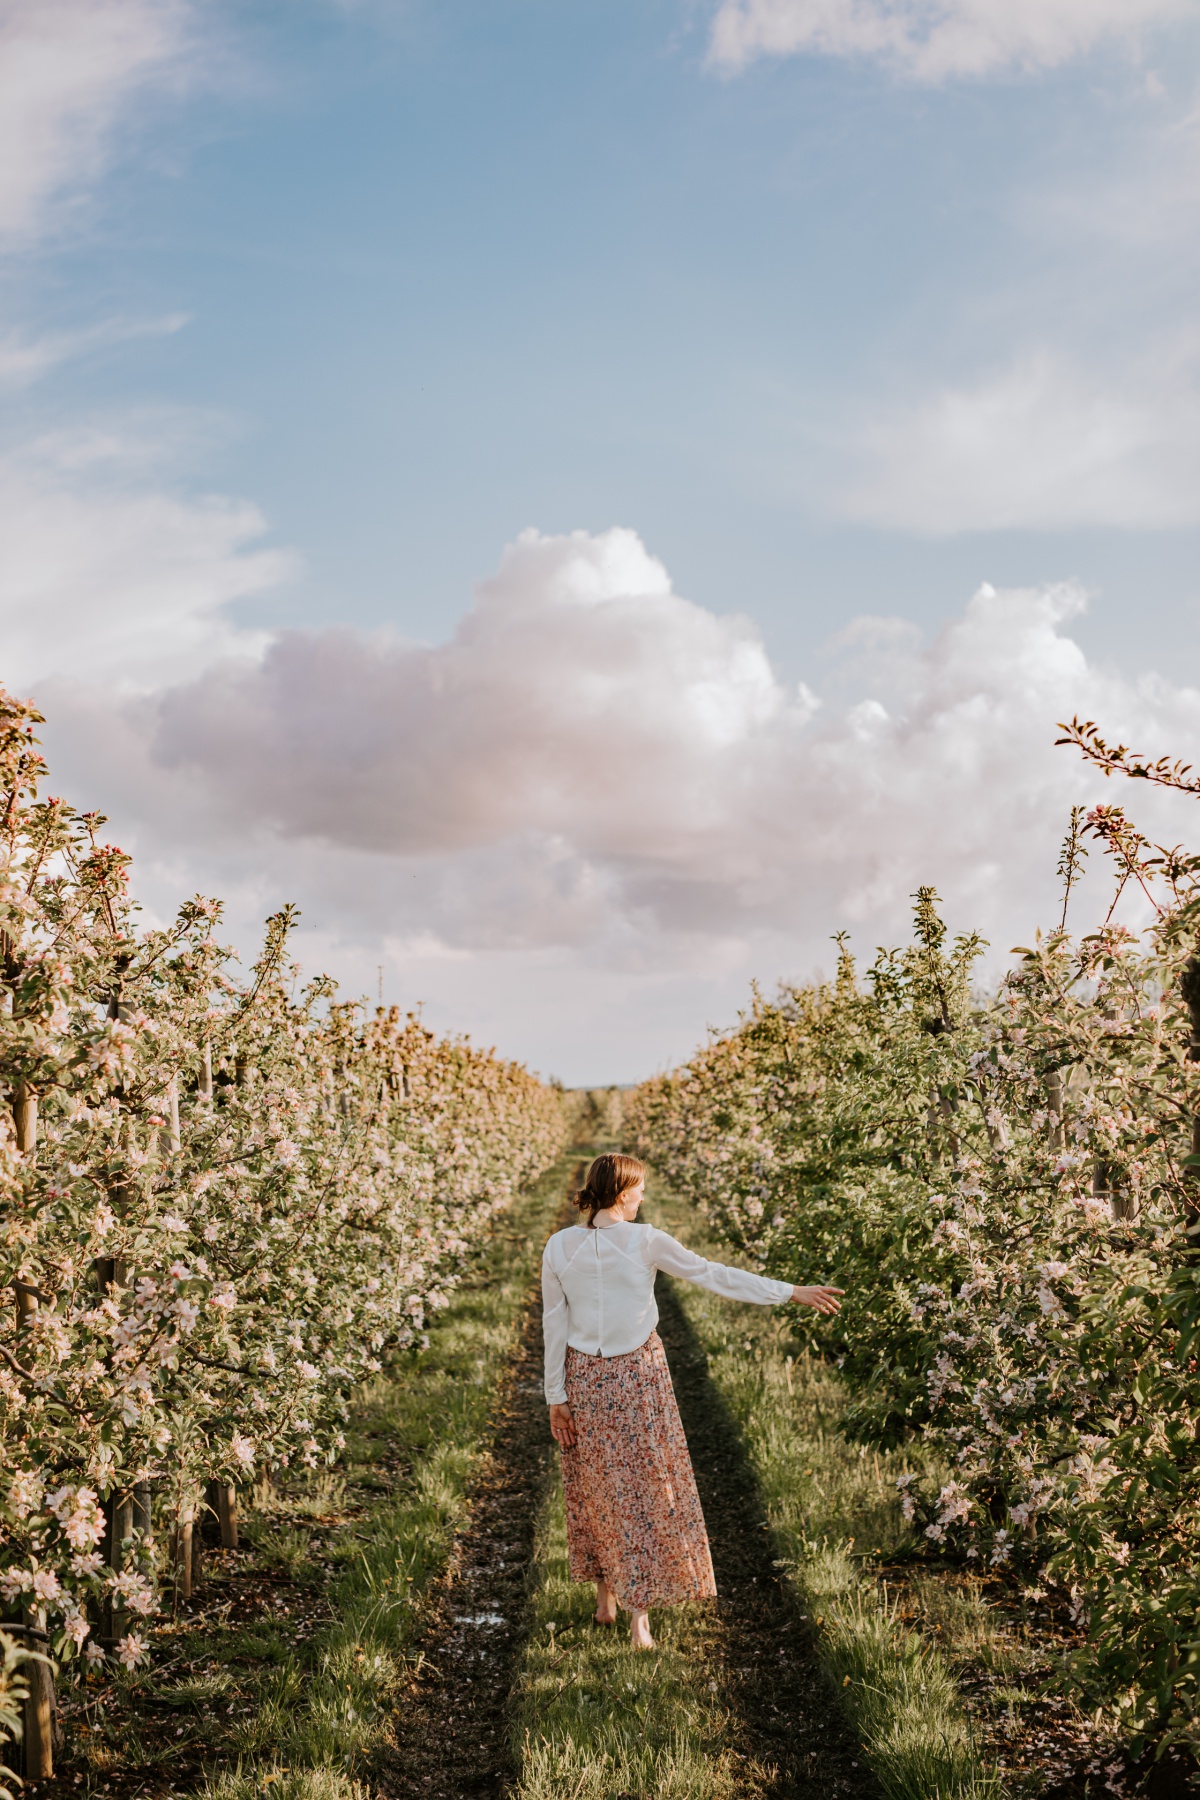
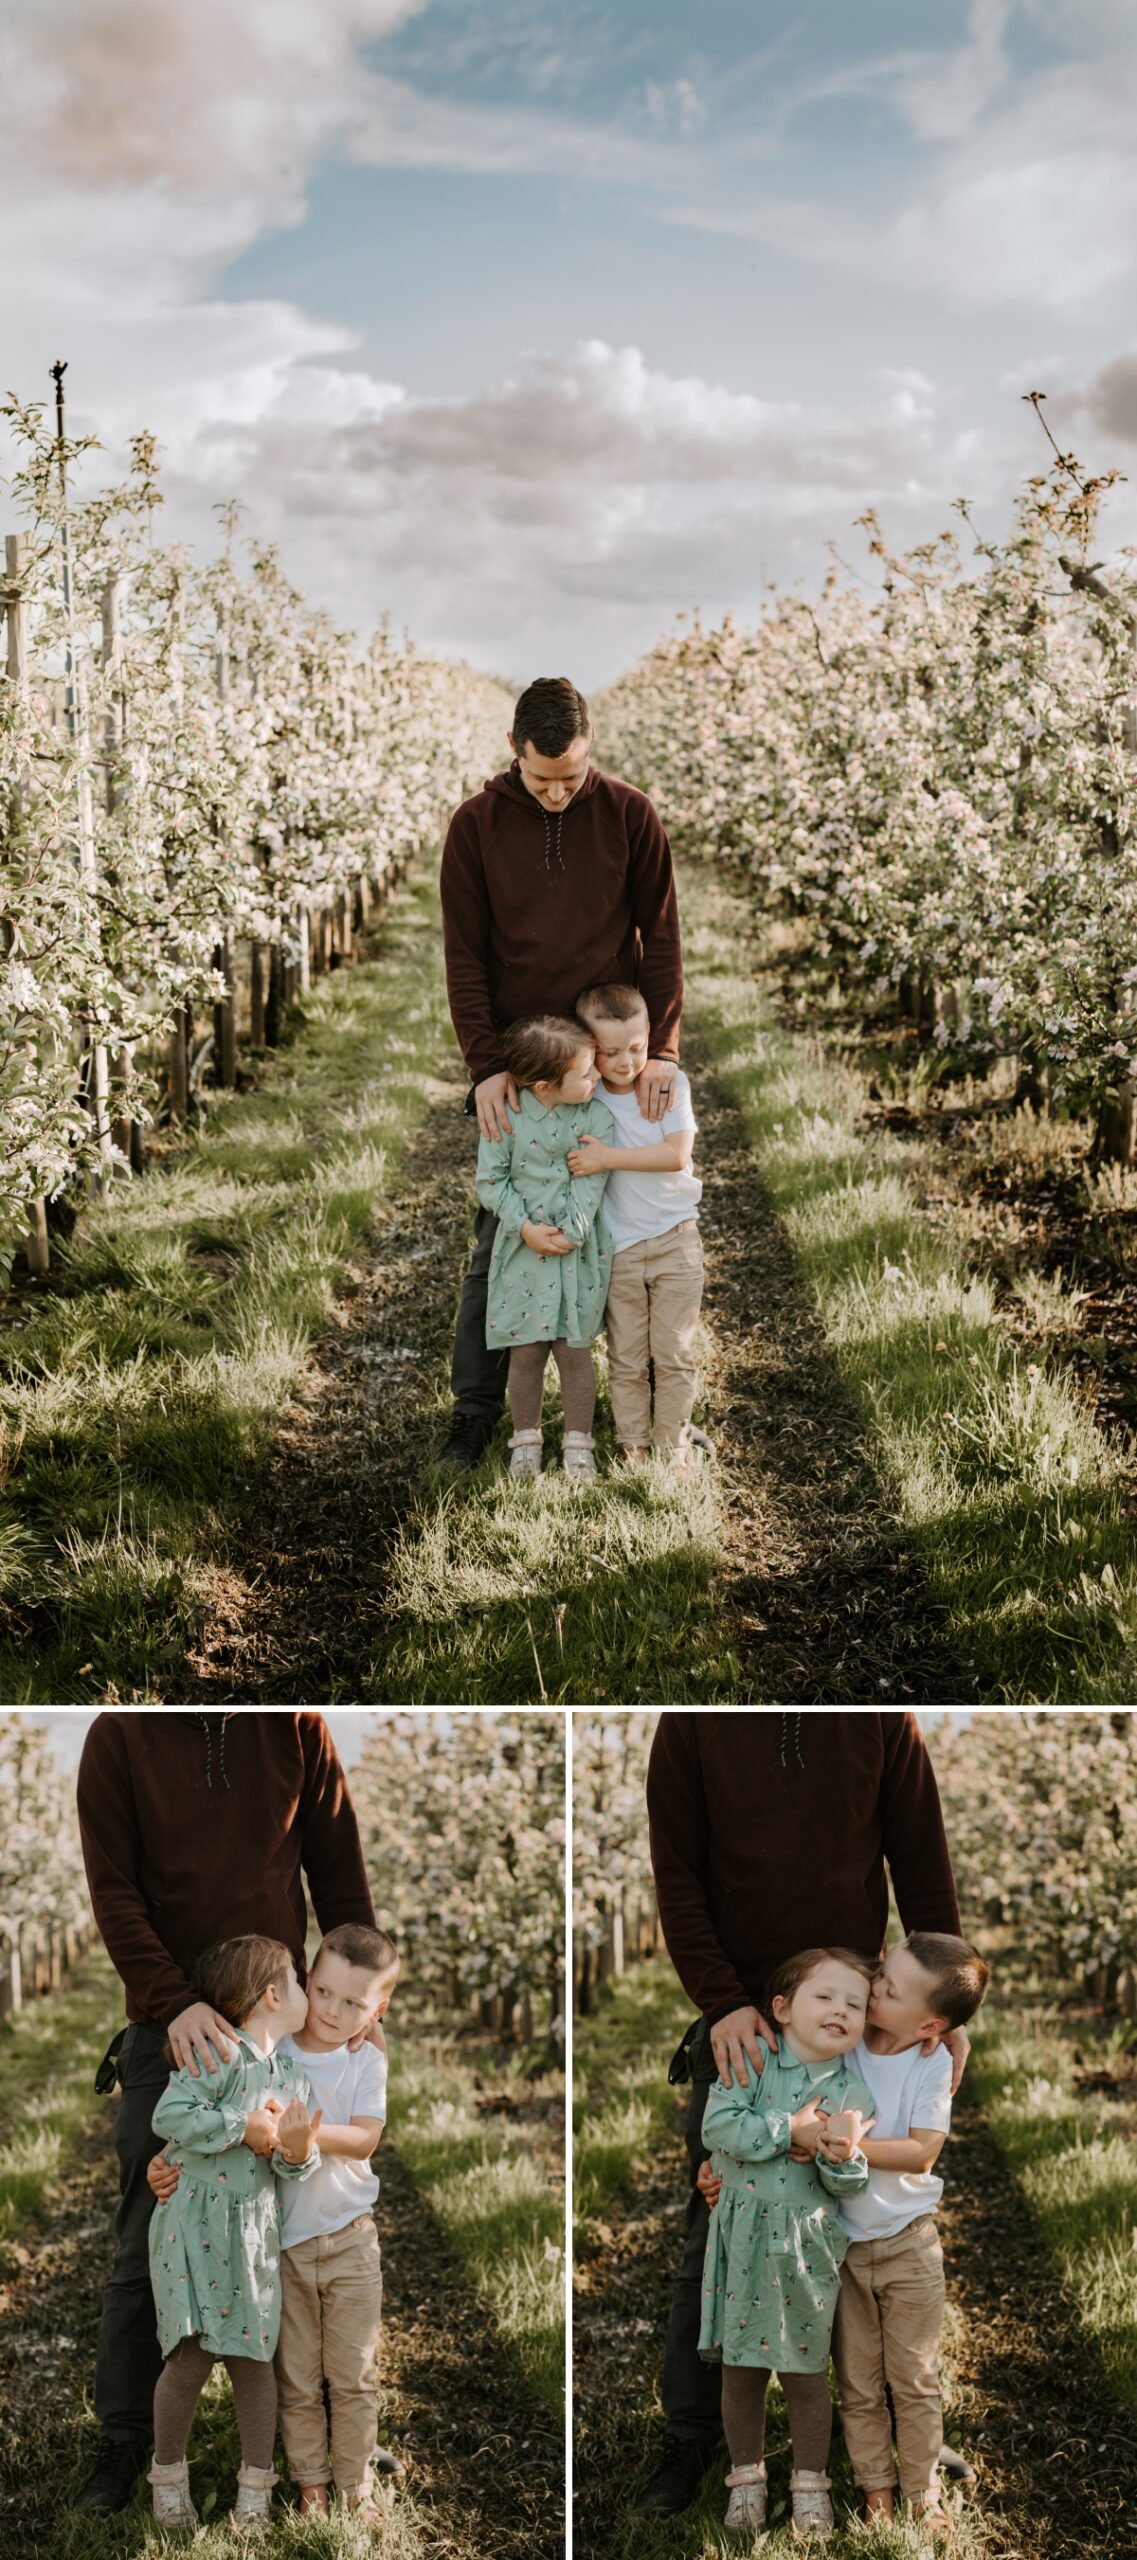
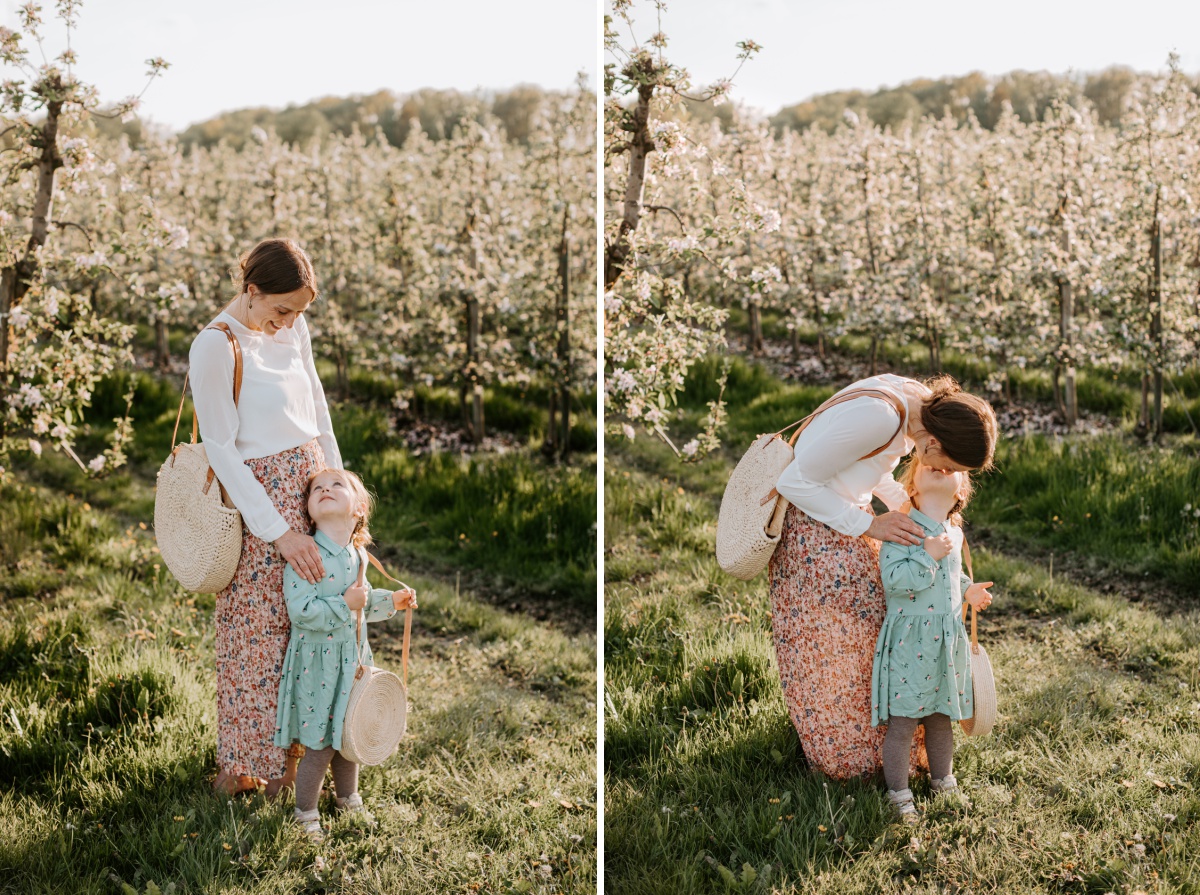
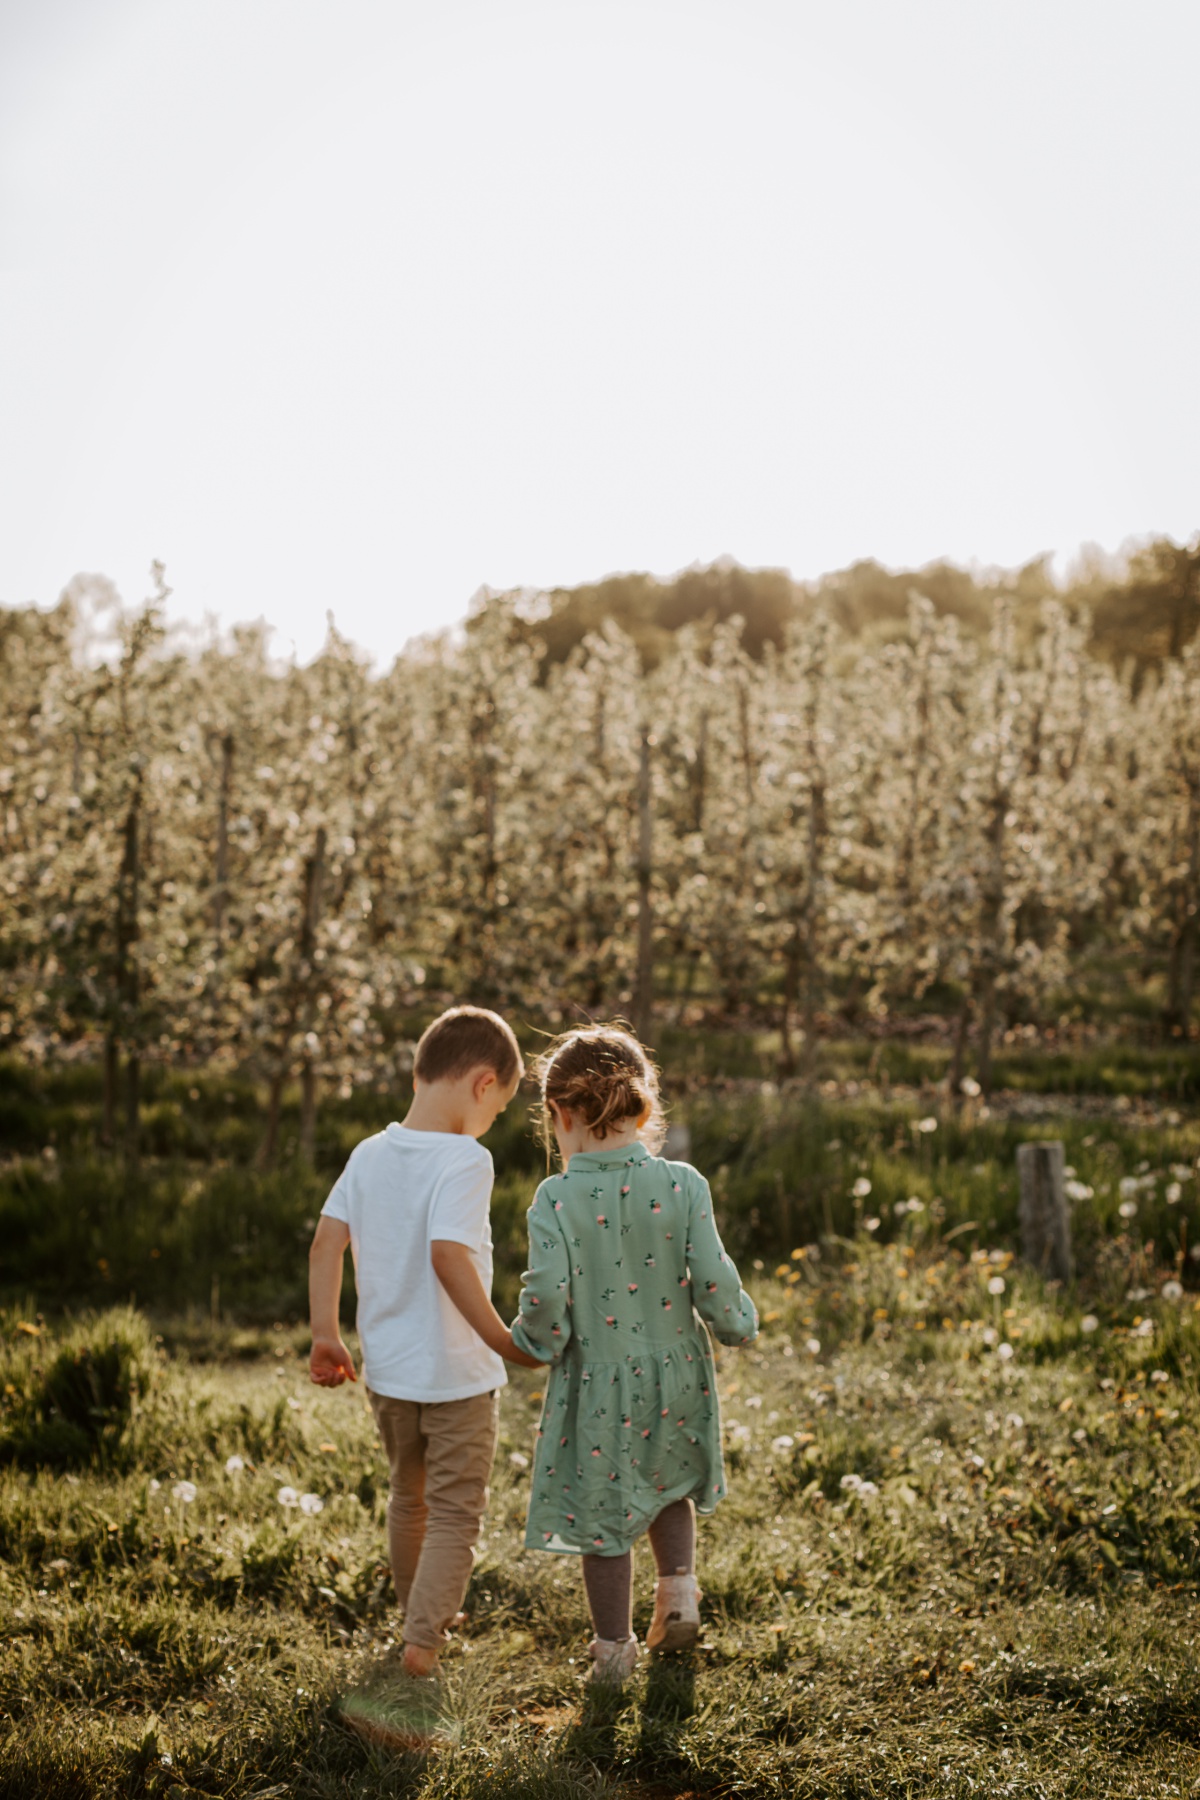
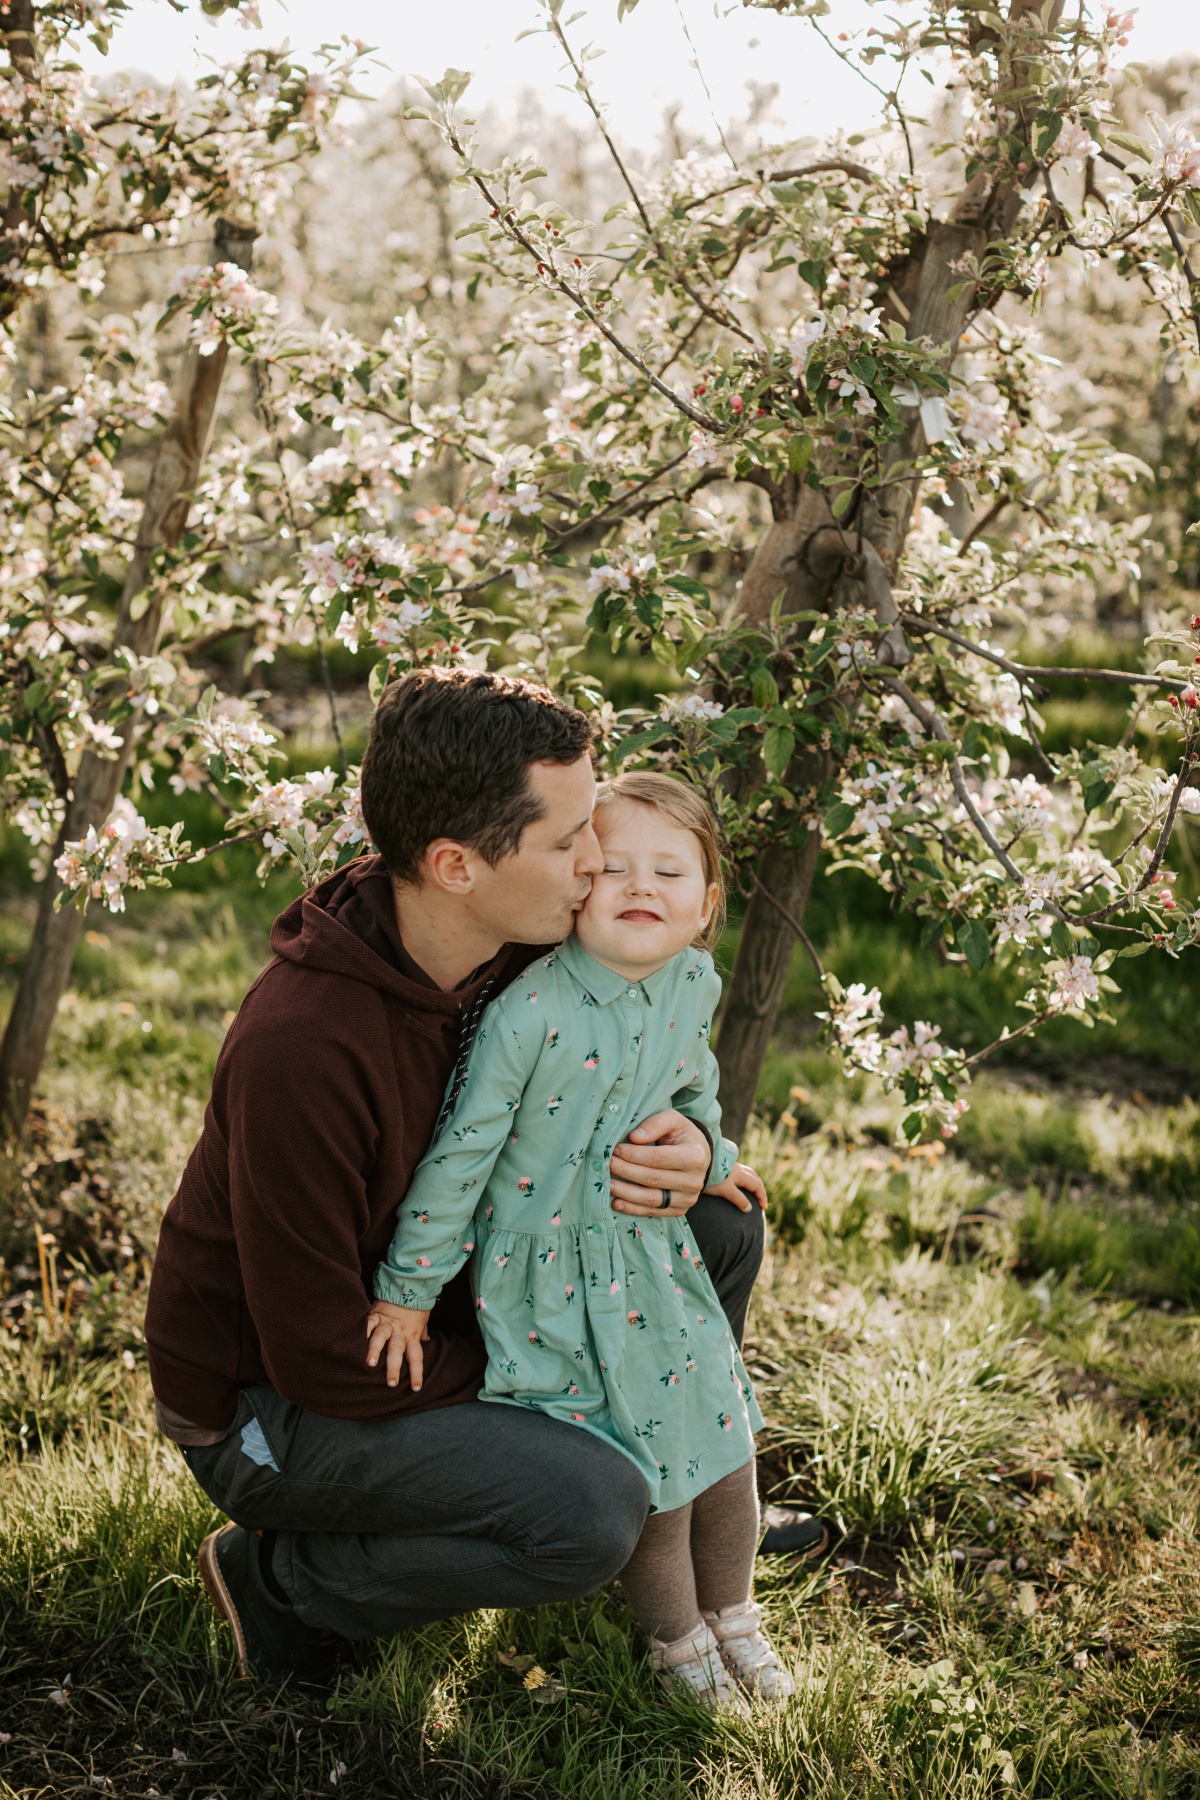
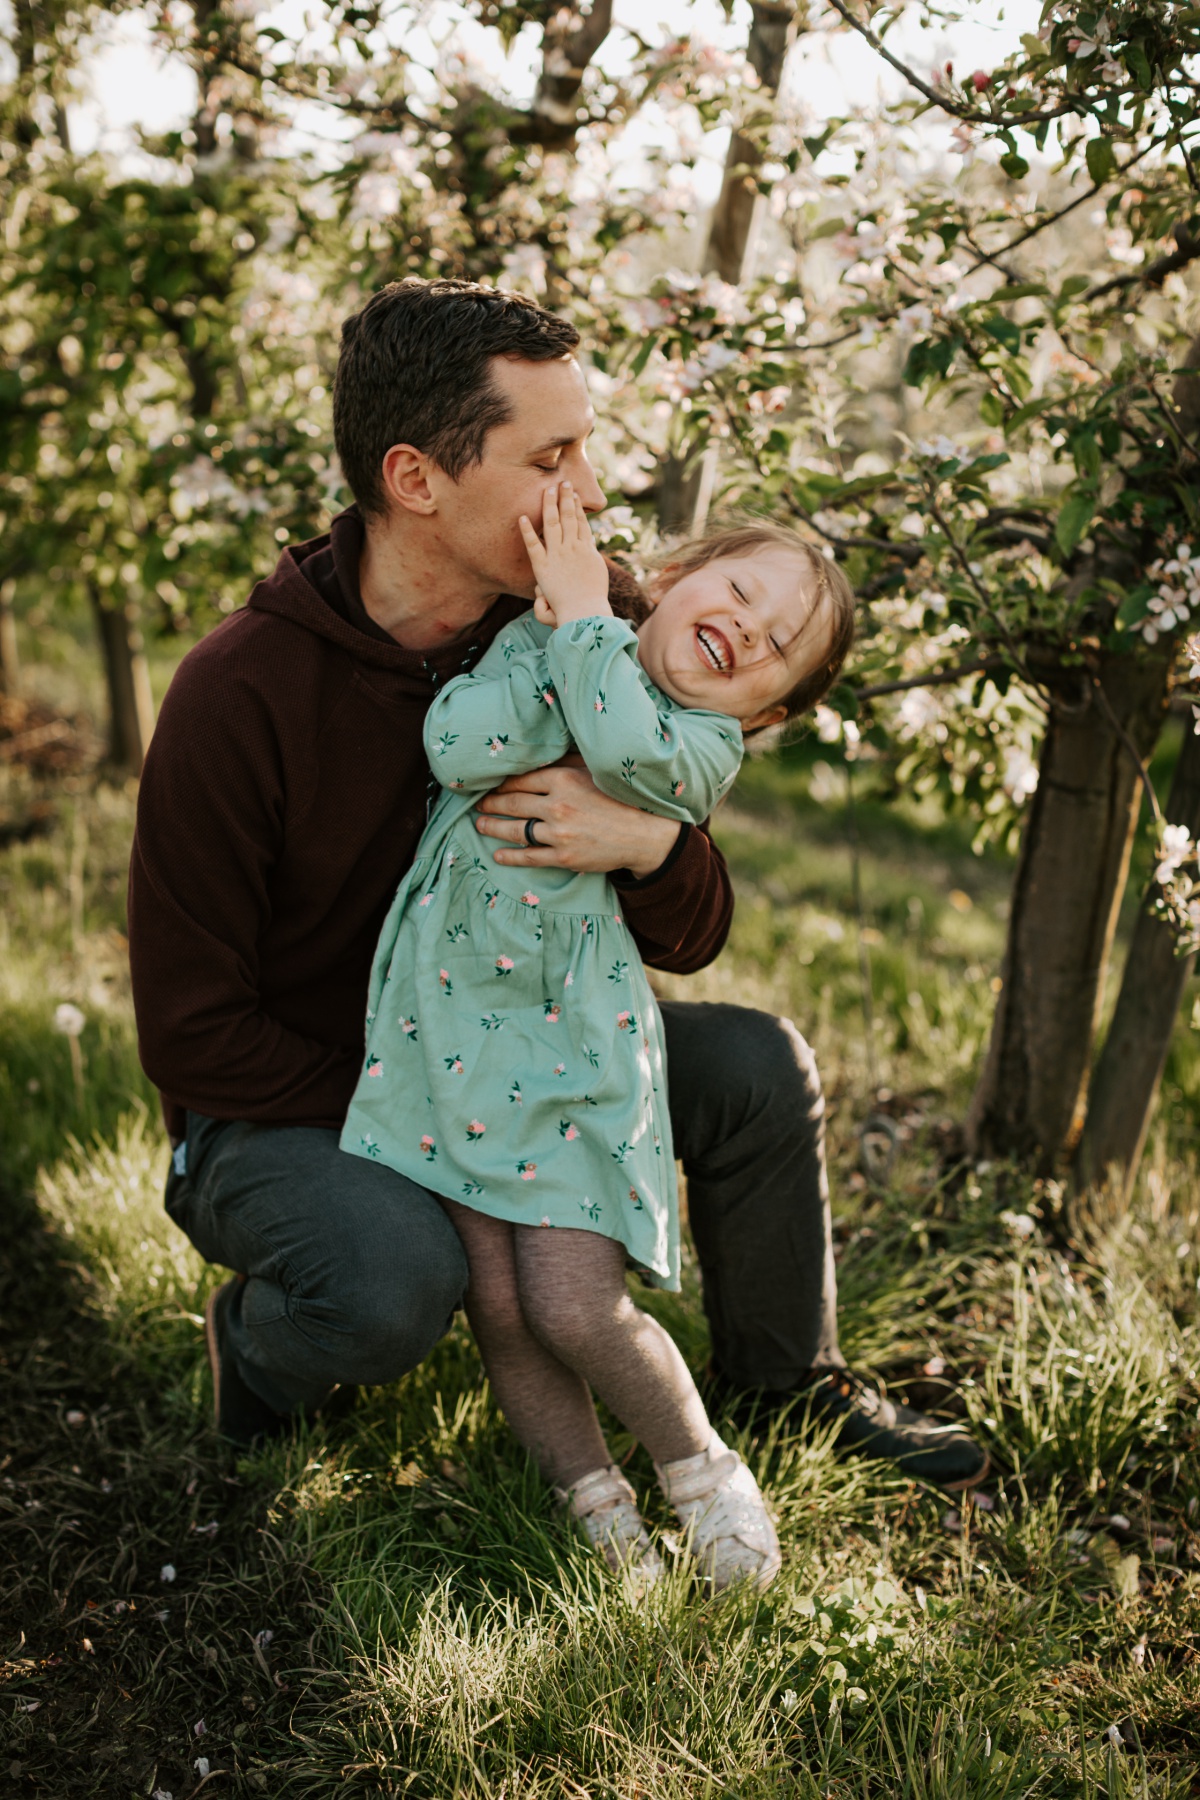
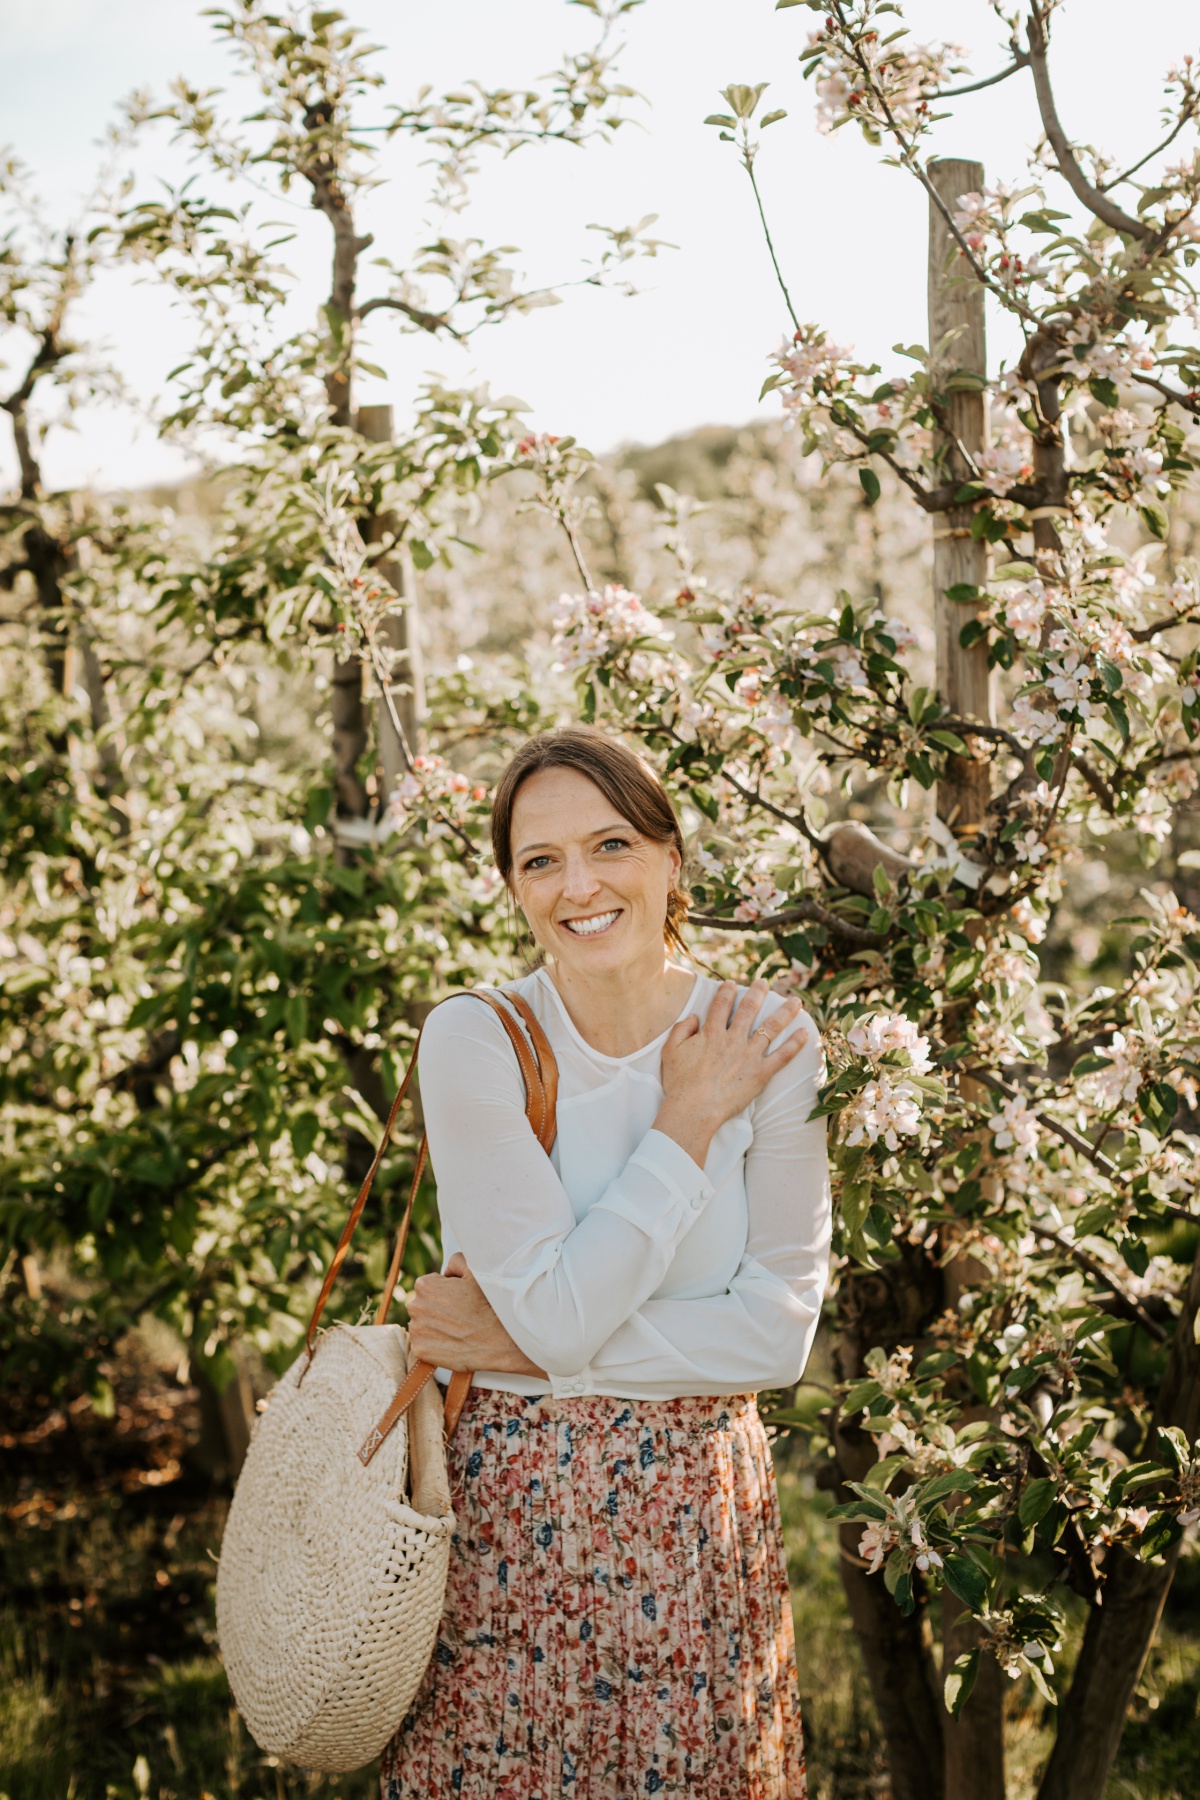
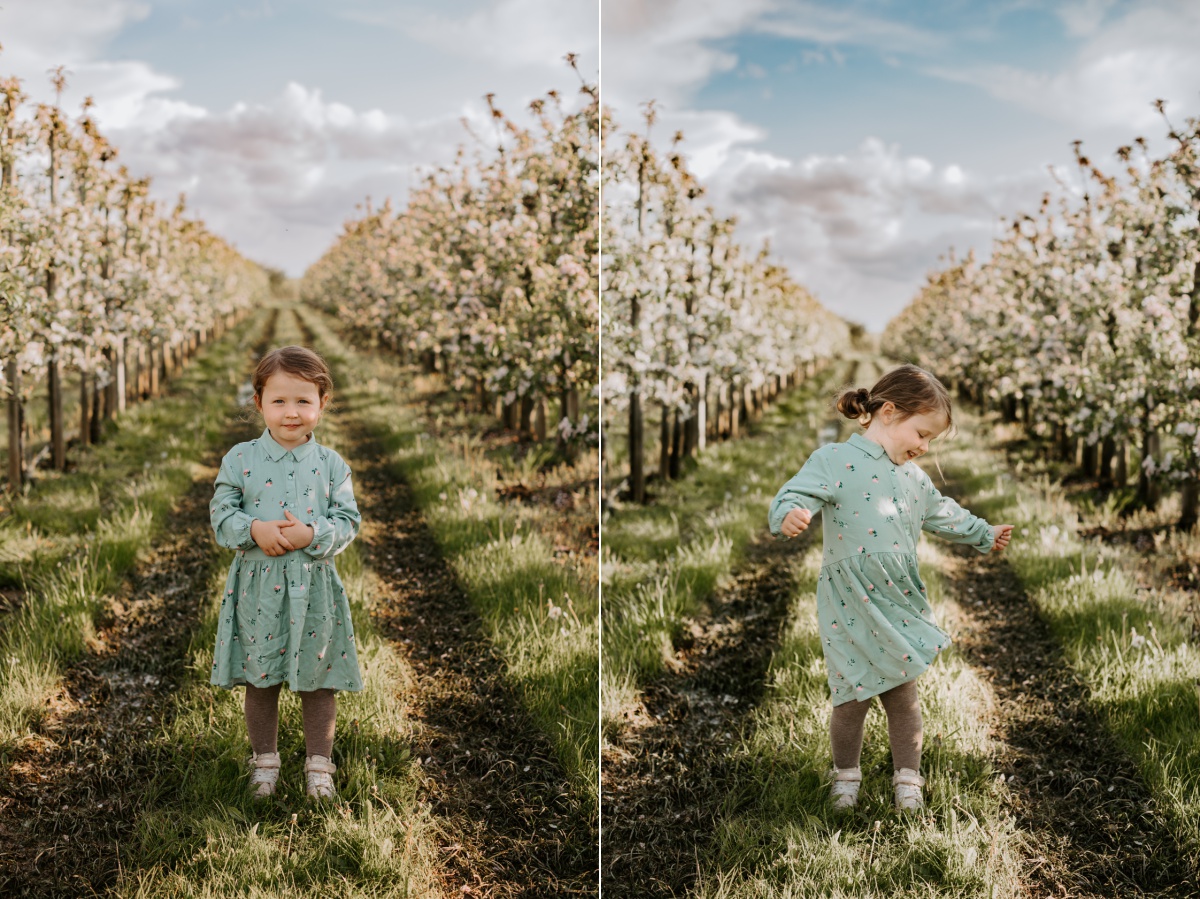
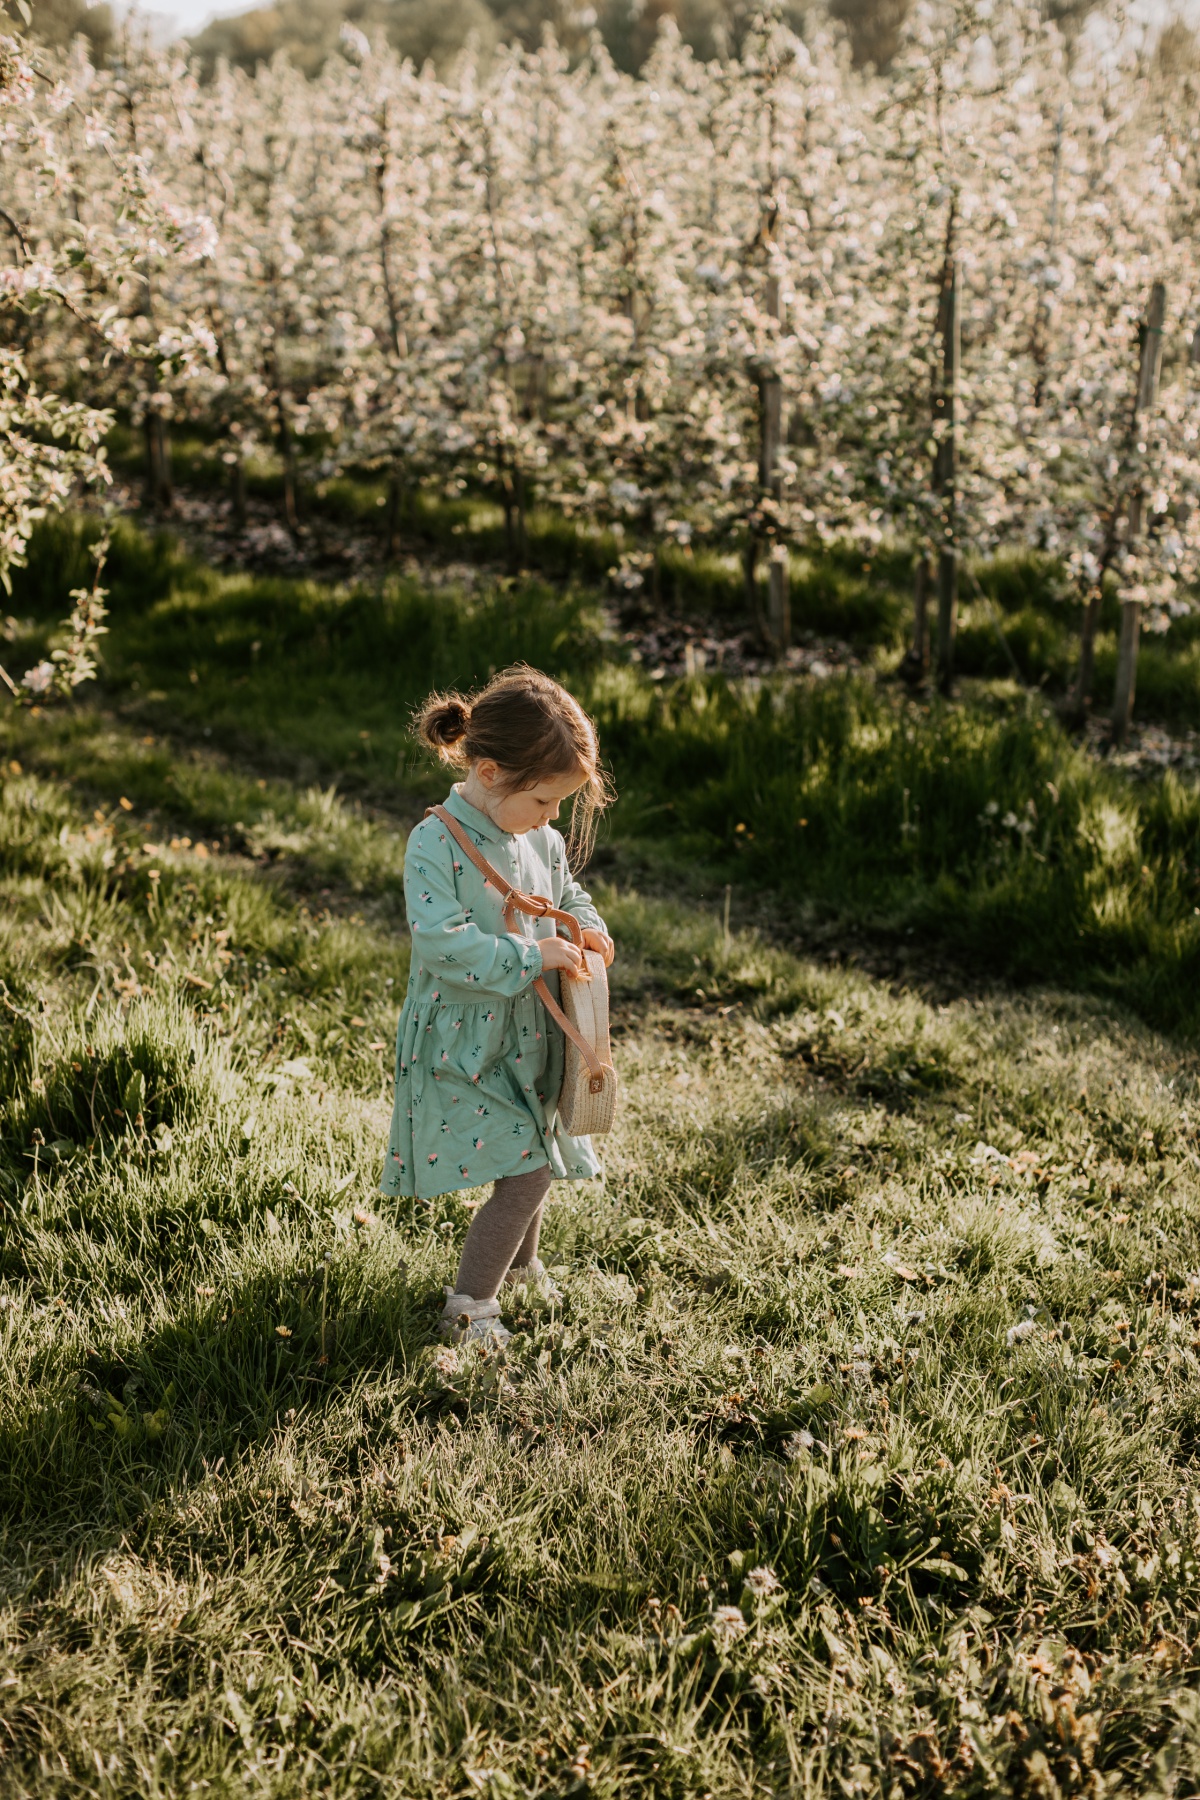
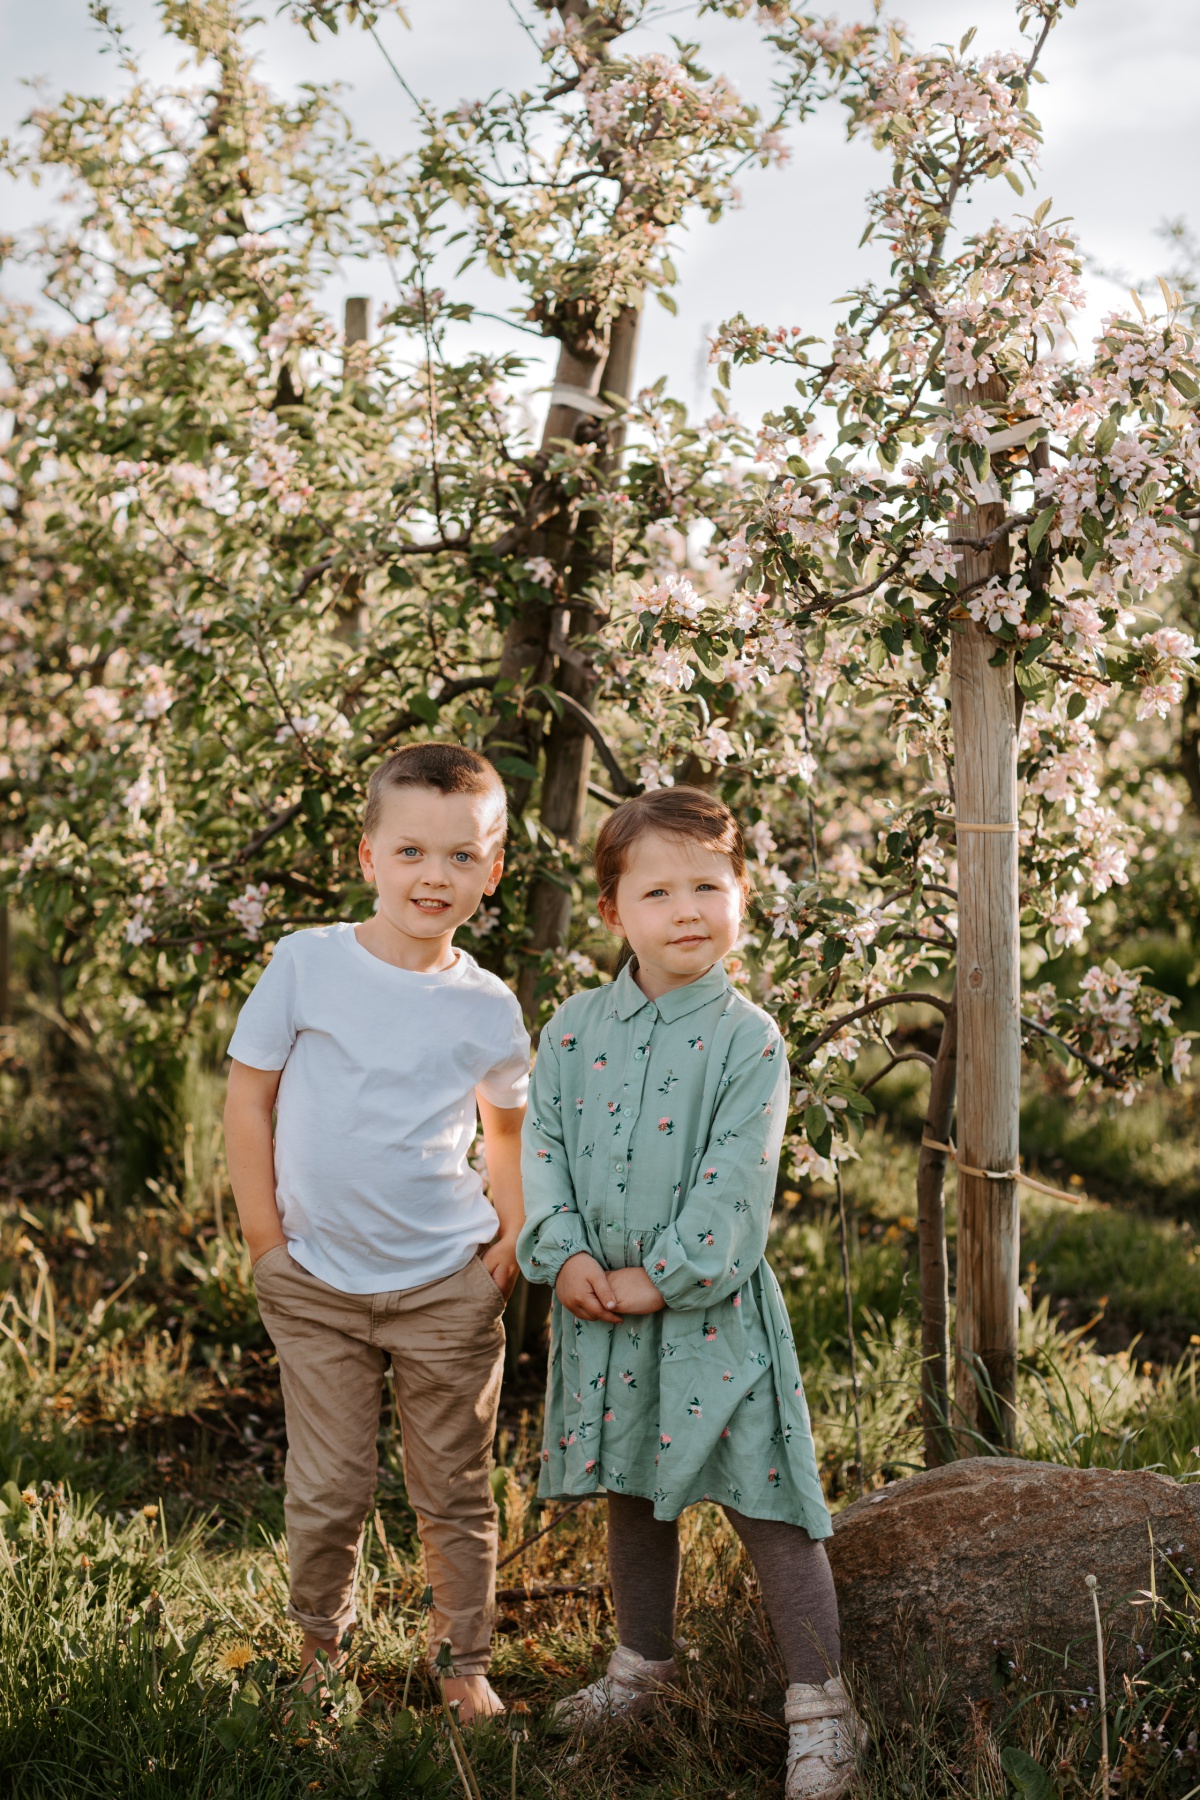
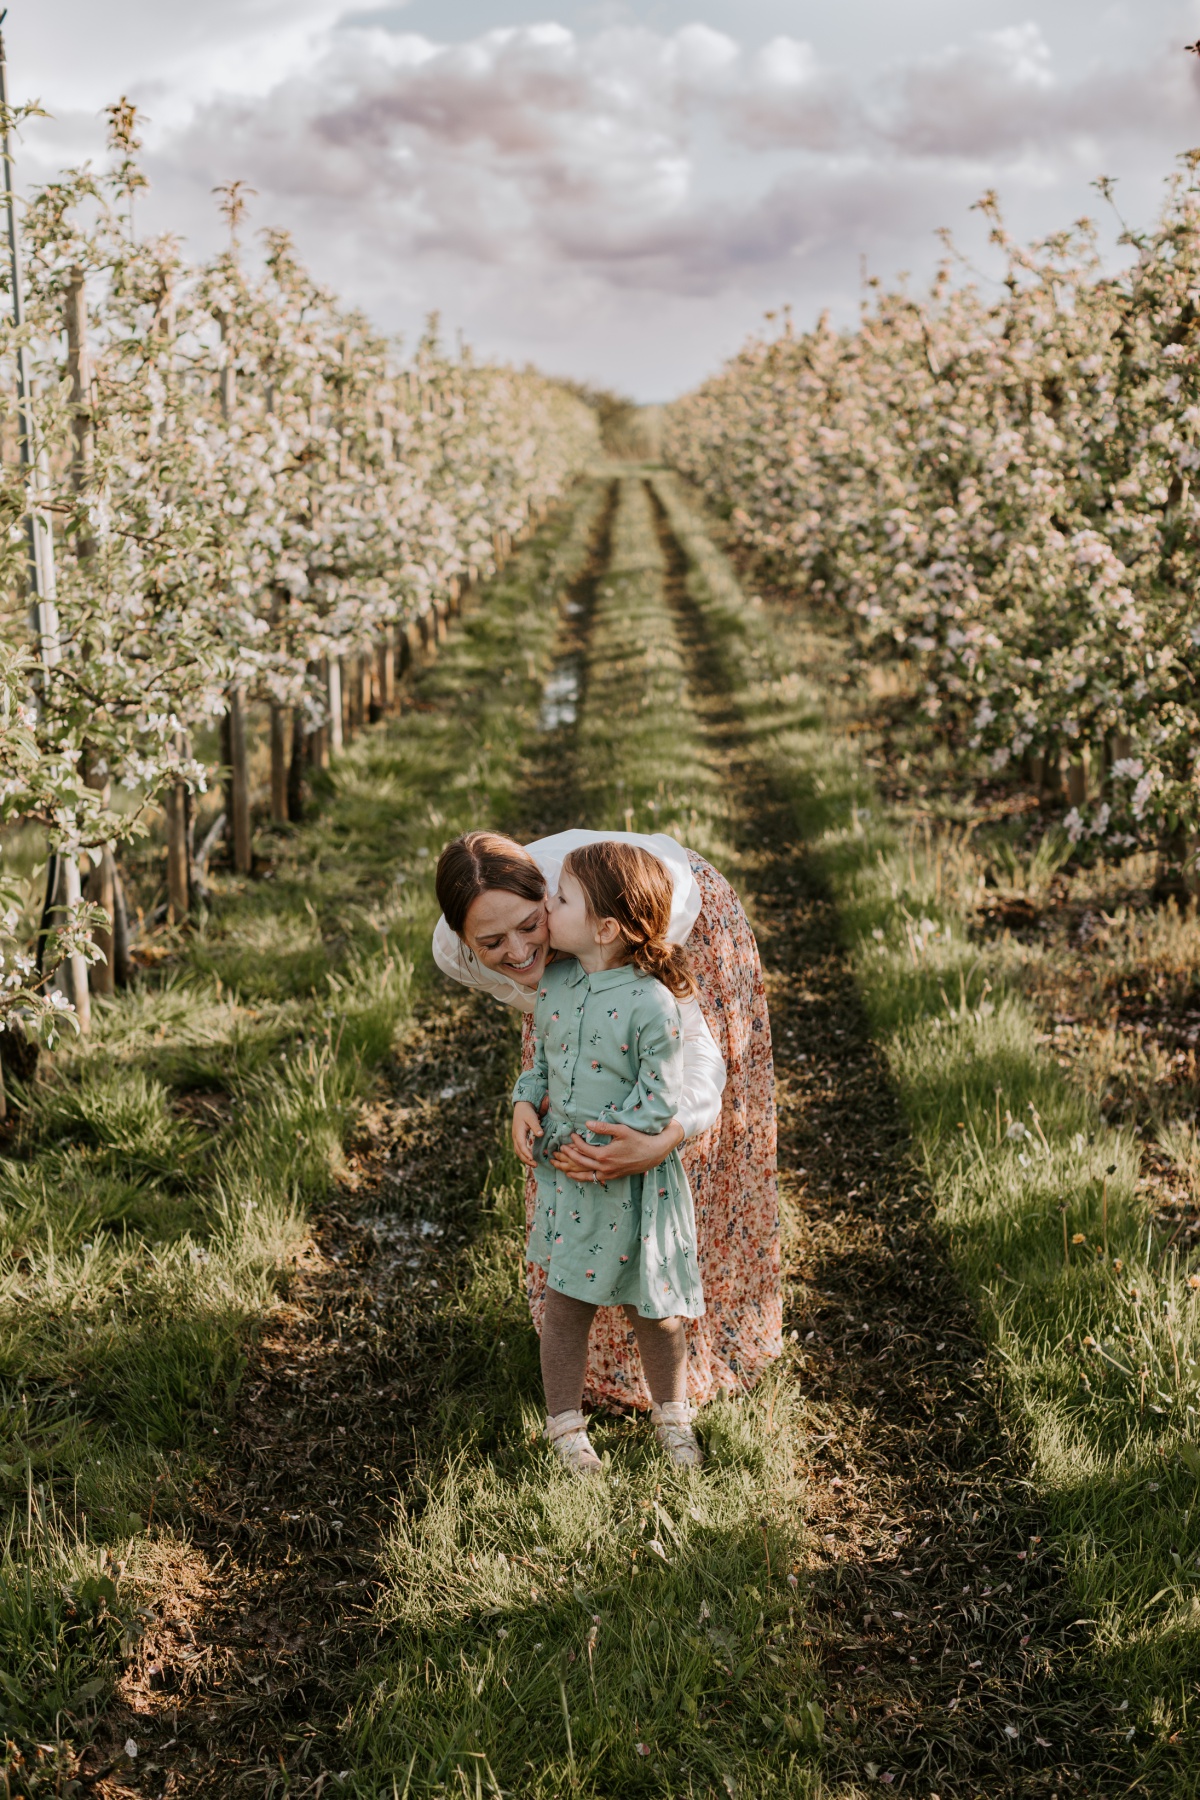
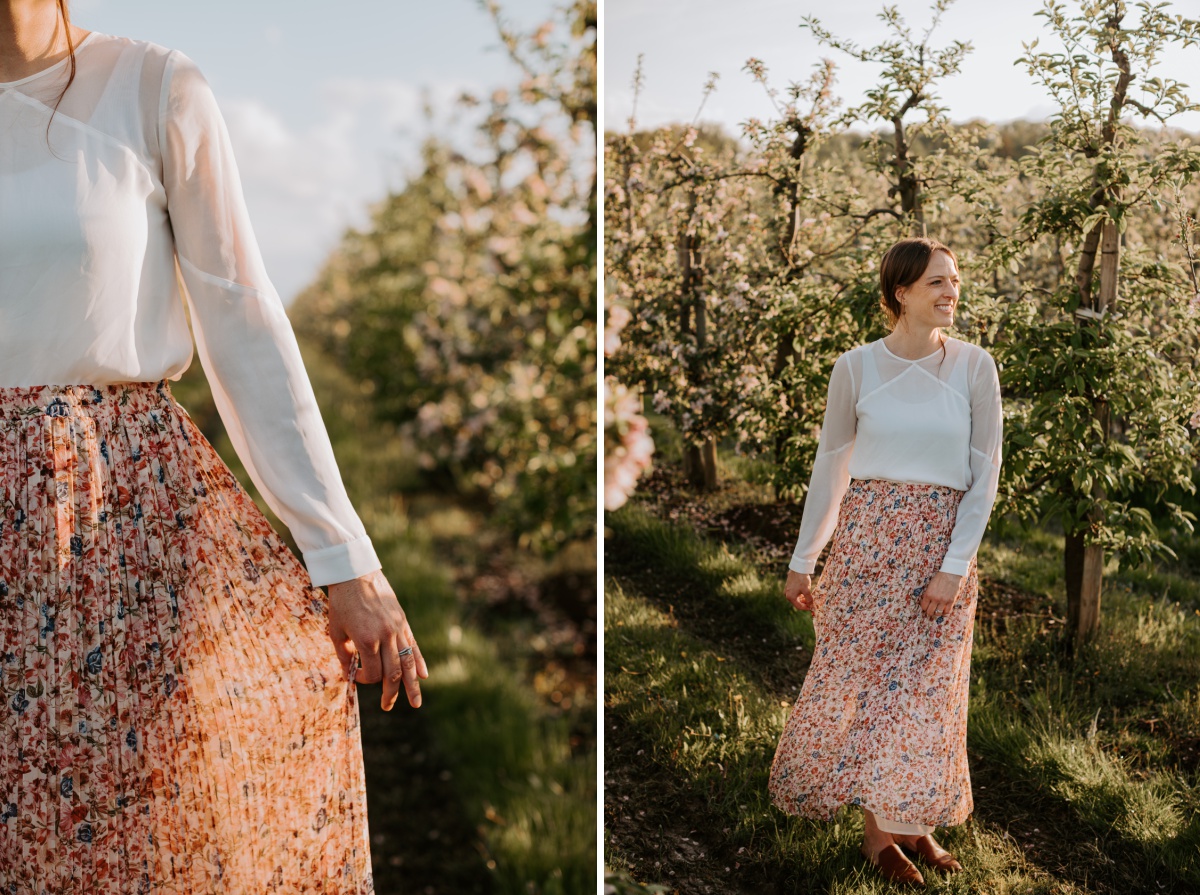
For our apple blossom photos I went with a soft pallet of greens, khaki, white and maroon. For the guys, I usually just use what they have around. A khaki pair of pants and white shirt for my son and some gray pants with a nice hoody for dad.
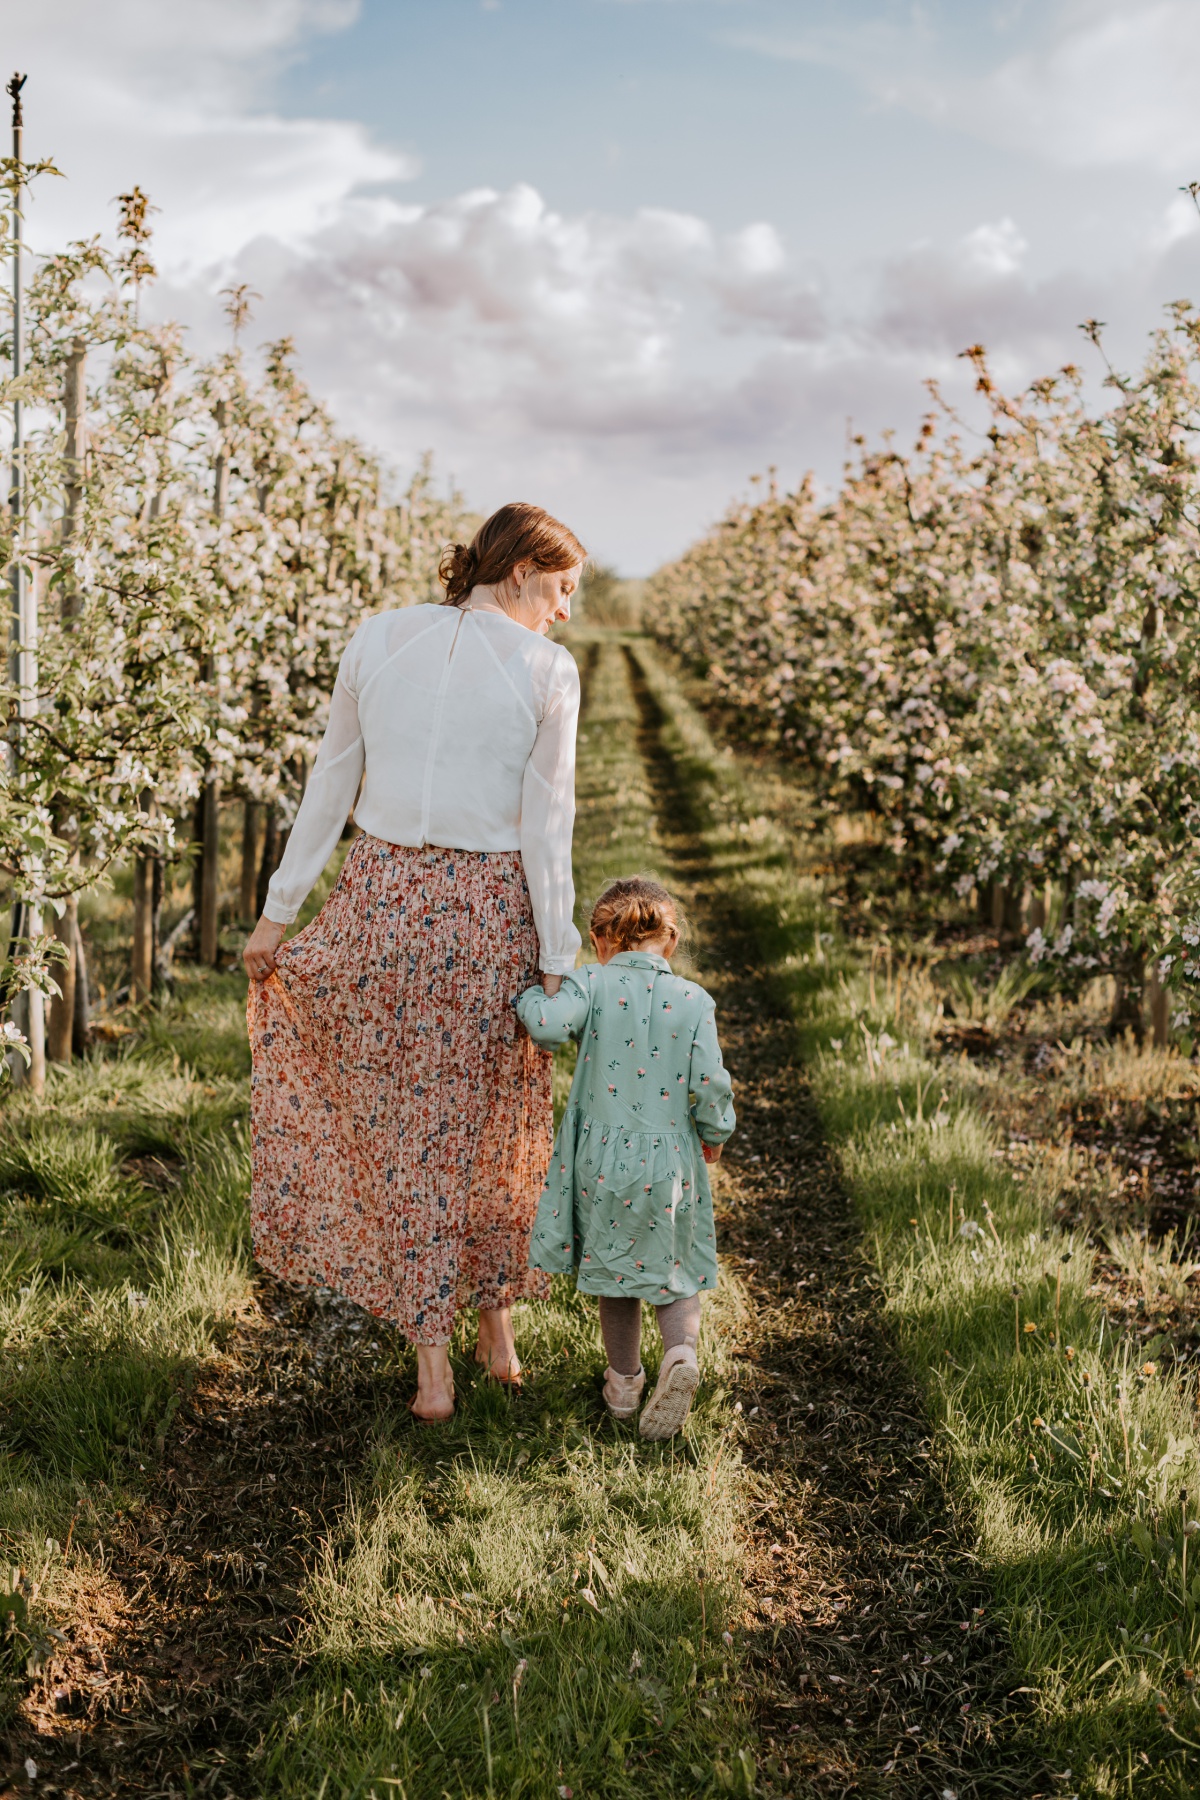
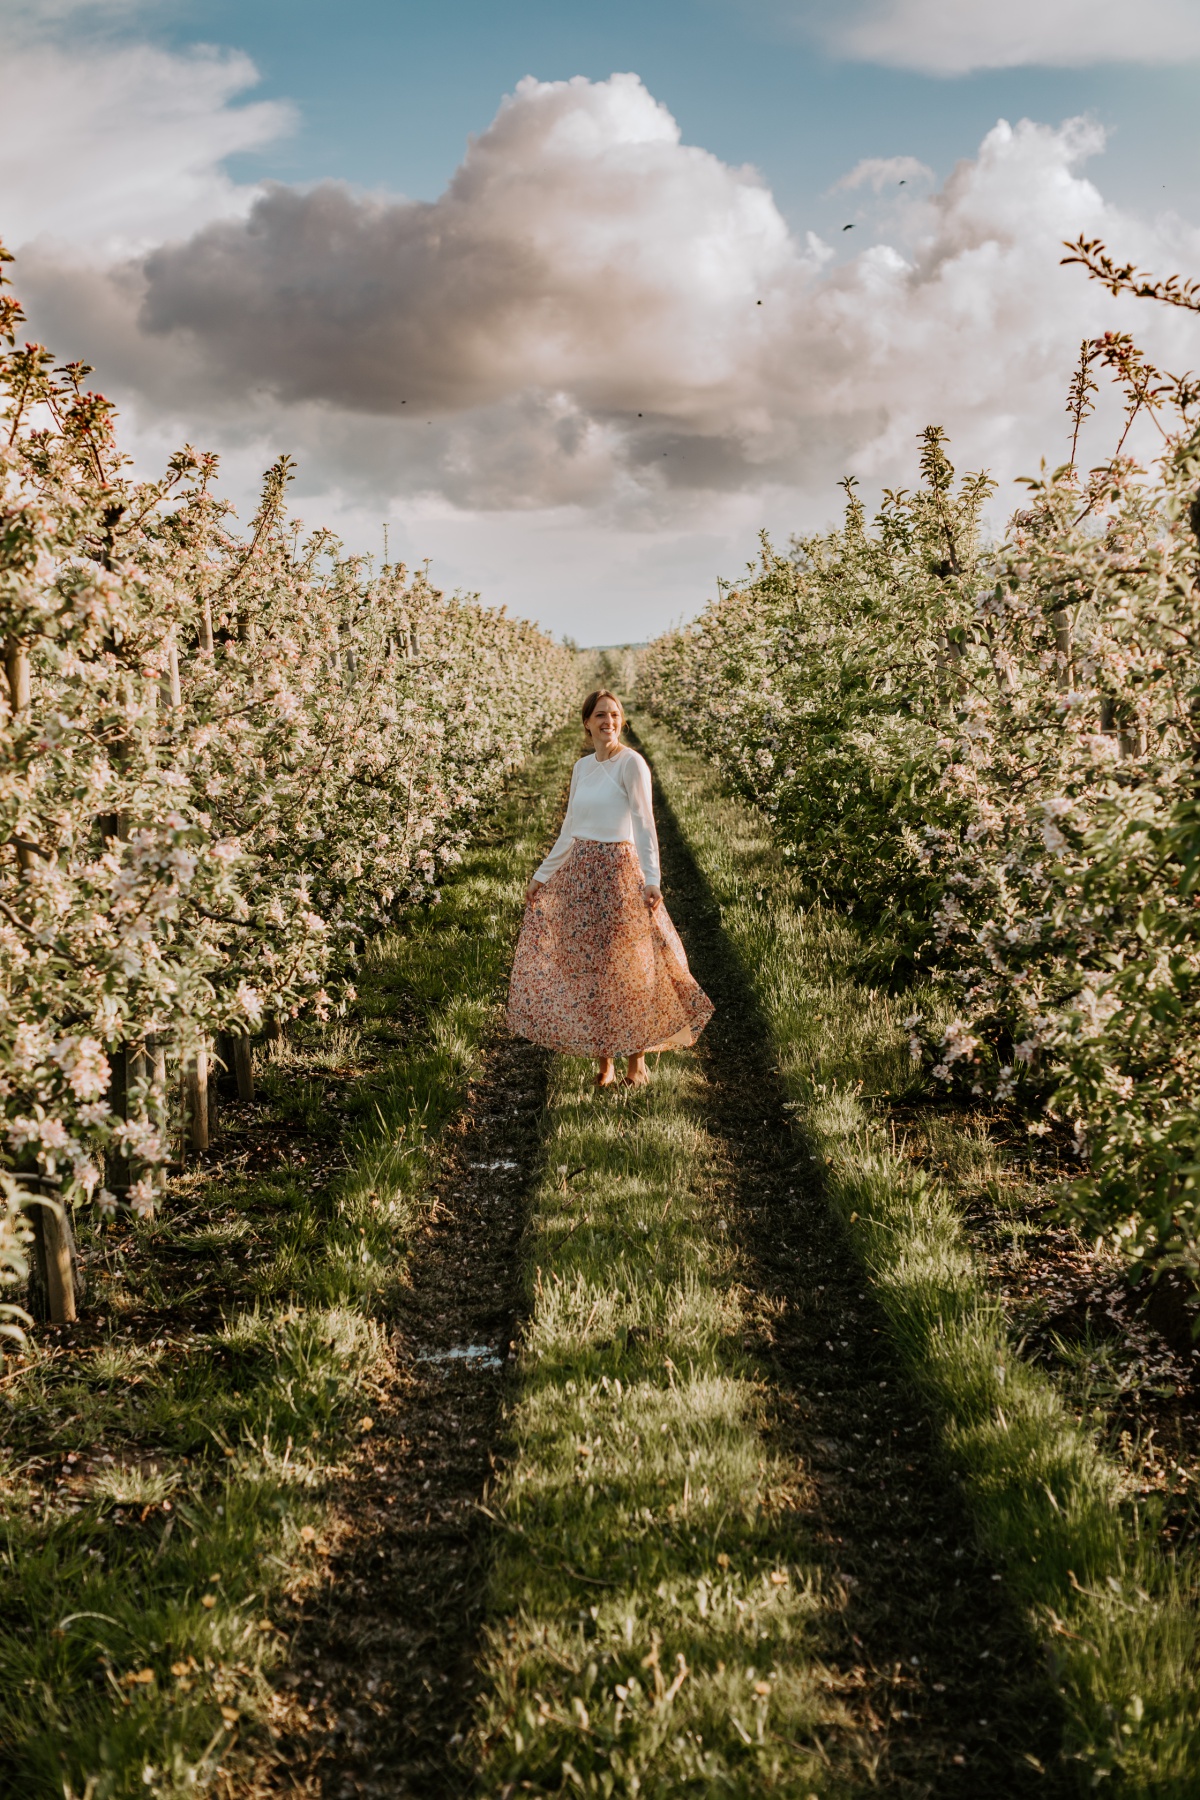
For us ladies I like to have us wearing dresses or skirts for a whimsical, classic photo. Ava had that dress since last fall from H&M and I recently bought this flowy skirt from Mango. (For this skirt I’d suggest buying a size down.) I combined it with a flowy white blouse that was in peril during our impromptu dinner out before the shoot, but by some luck (that isn’t usually mine), it came out unscathed!
Where to Shop for Outfits
If you can’t find everything you love in your closet here are my go to shops that won’t break the bank.
- A friend! Borrow some dresses or a button up shirt for your boys. FREE.
- Thrift store.
- Walmart for basic tees. I don’t love the fit of most of their boy clothes, but they have awesome basic shirts in all colors!
- H&M is my go to for the cutest and classiest kid’s clothes. Order in various sizes because returns are super easy (with tags on). Check their sales! I also have most all my outfits from there. Dresses especially. And they have the best selection of men’s pants in various styles and fit.
- Mango and Zara have a unique dress and skirt selection for decent prices and styles you’ll feel beautiful in.
Accessories to bring to photoshoots
It’s not a bad idea to bring something fun to take photos with. This is an easy way to give your pictures a storybook look. Leave it for the end of your shoot if you’re still feeling it! Here’s what I usually bring and suggest clients bring to help get some playful shots of their kids.
- A blanket
- Basket with flowers
- Fresh flowers
- Little picnic: Think classic picnic with fruit, tea sandwiches, glass juice container, colorful macaroons, bubbly, a pretty pie or mini pies.
- Bubbles (bubbly machines are fun too!)
- Fabric wands for twirling and dancing with.
- Big hats
- Pup to play with.
- A favorite yard game. Catch with a ball, croquet, boche ball, a giant ball or two from Walmart.
I’ll link the styles and similar ones below for you to easily choose your next spring family photo outfits!
Prepping the family for photos
Most people don’t look forward to family photos because of the chaos and emotions involved. We have that too! Kids forgetting suddenly how to smile or stand normal, shoes causing blisters and becoming unwearable (see my son’s bare feet in these?!), and dad saying “We got two photos, we’re good, let’s go!”🙄🙈
How to prepare for family photos
- Start early. Get ready early. Leave early! Less stress than being late!
- Feed everyone before hand. A full tummy will always keep kids happier.
- Give dad or begrudging parent a drink.(**or favorite non-alcoholic beverage) But really. Give them a beer or a shot or two of their favorite beverage. This helps more parents than you’d think 😂.
- Have everyone dressed before the shoot if possible. Getting dressed is the most stressful part and takes the most time. If your super paranoid that they’ll get messy before, layer something over the top! (For infants, dress them on location to avoid blowouts.)
- Bring or prep for bribes! For little kids, there’s no shame in bribes for photoshoots. I offered tablet games/movies in the car after this shoot. Sometimes it’s an ice cream stop or some candies. Be careful what types of candies/treats you might offer during a shoot as the colored/chocolate varieties often get all over faces and clothes! Old fashioned gummy snacks are usually pretty safe!
Choosing a Location for Photos
When choosing a location I think first of what photos I’d like to see printed in my house. Do you have a decor style that would look better with ocean blues, field tans, green foliage, or city bold colors? If this doesn’t matter to you read on for the backdrop idea list I run through.
**Keep in mind what setting will be the easiest to manage your kids in. I.e. Is water stressful? Are there too many rocks and ledges? Is the park going to be too distracting? Will there be too many cars or people in that spot in the city? If you feel safe you’ll have more fun!
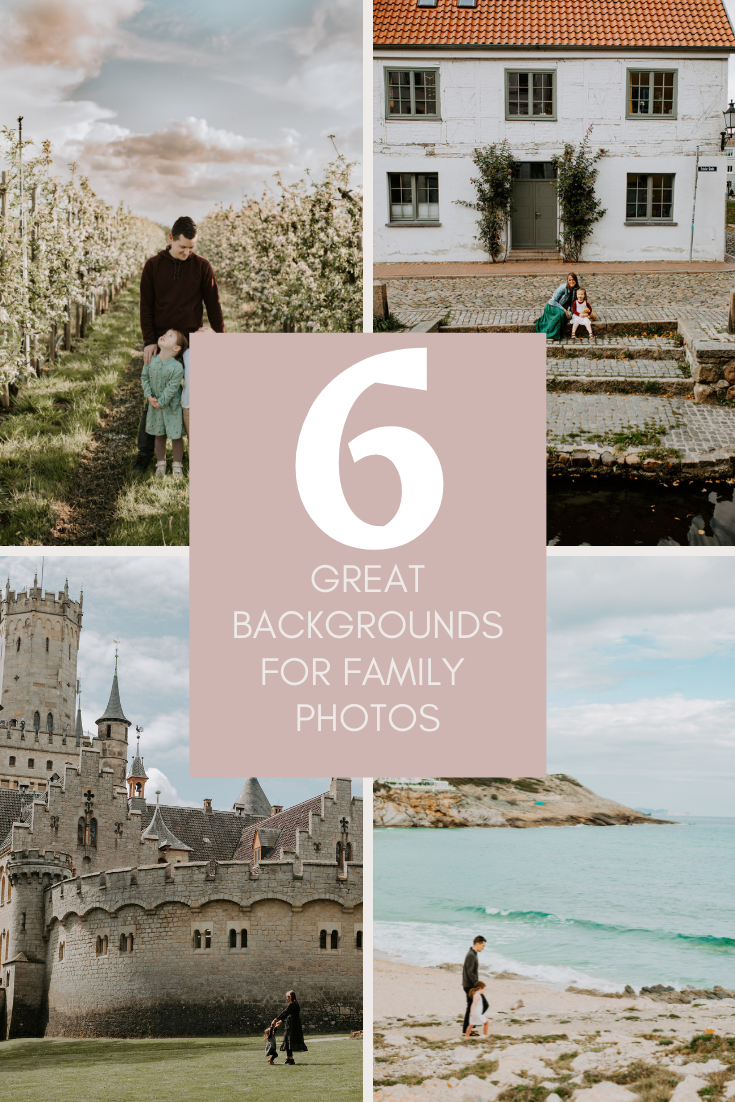
Location Idea List:
- Fields and meadows with tall grass. Tall grass will ALWAYS look better in your photos than freshly mowed or short green grass. Tall grass diffuses light for dreamy photos, short green grass reflects into your faces.
- Forest edge: I don’t like taking photos in forests because it’s too dark and does weird things with colors. But at the edge of the forest you can get some great photos!
- Cliffs, hill tops, and rocks: Get some impressive above the world shots in this location.
- Beach: Blue water, sunset, creamy sand or rocks, toes in the water, skipping rocks. The beach is classic.
- Cityscape: Get a little more industrial with alley ways, cool building colors, and street shots. This still works!
- Parks, boardwalks, and paths: Wandering around a park with narrow pathways or boardwalks create really interesting and fun photos.
Best hours for photos
The best time to take photos is 1-2 hours right after sunrise and right before sunset. Which one is easiest for your family? On a super overcast day you’ll want to add another hour on to have enough light for photos.
Lighting Tip: When it’s very overcast, face the sun when taking photos. All other times, face your shadow or have the sun at a low angle only hitting the hair side of your face. Or have an object (tree, post, building, etc.) blocking the sun from hitting faces. (Look through my shots in this post to see where the sun is!)
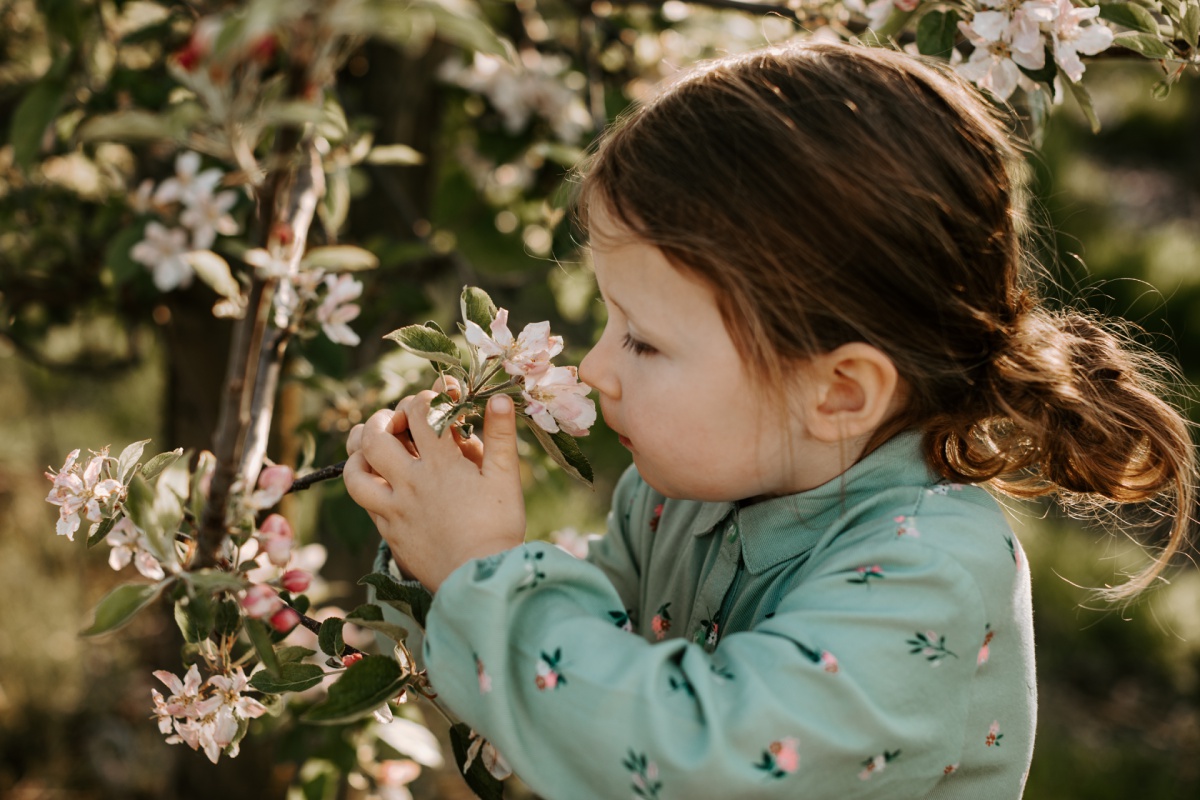
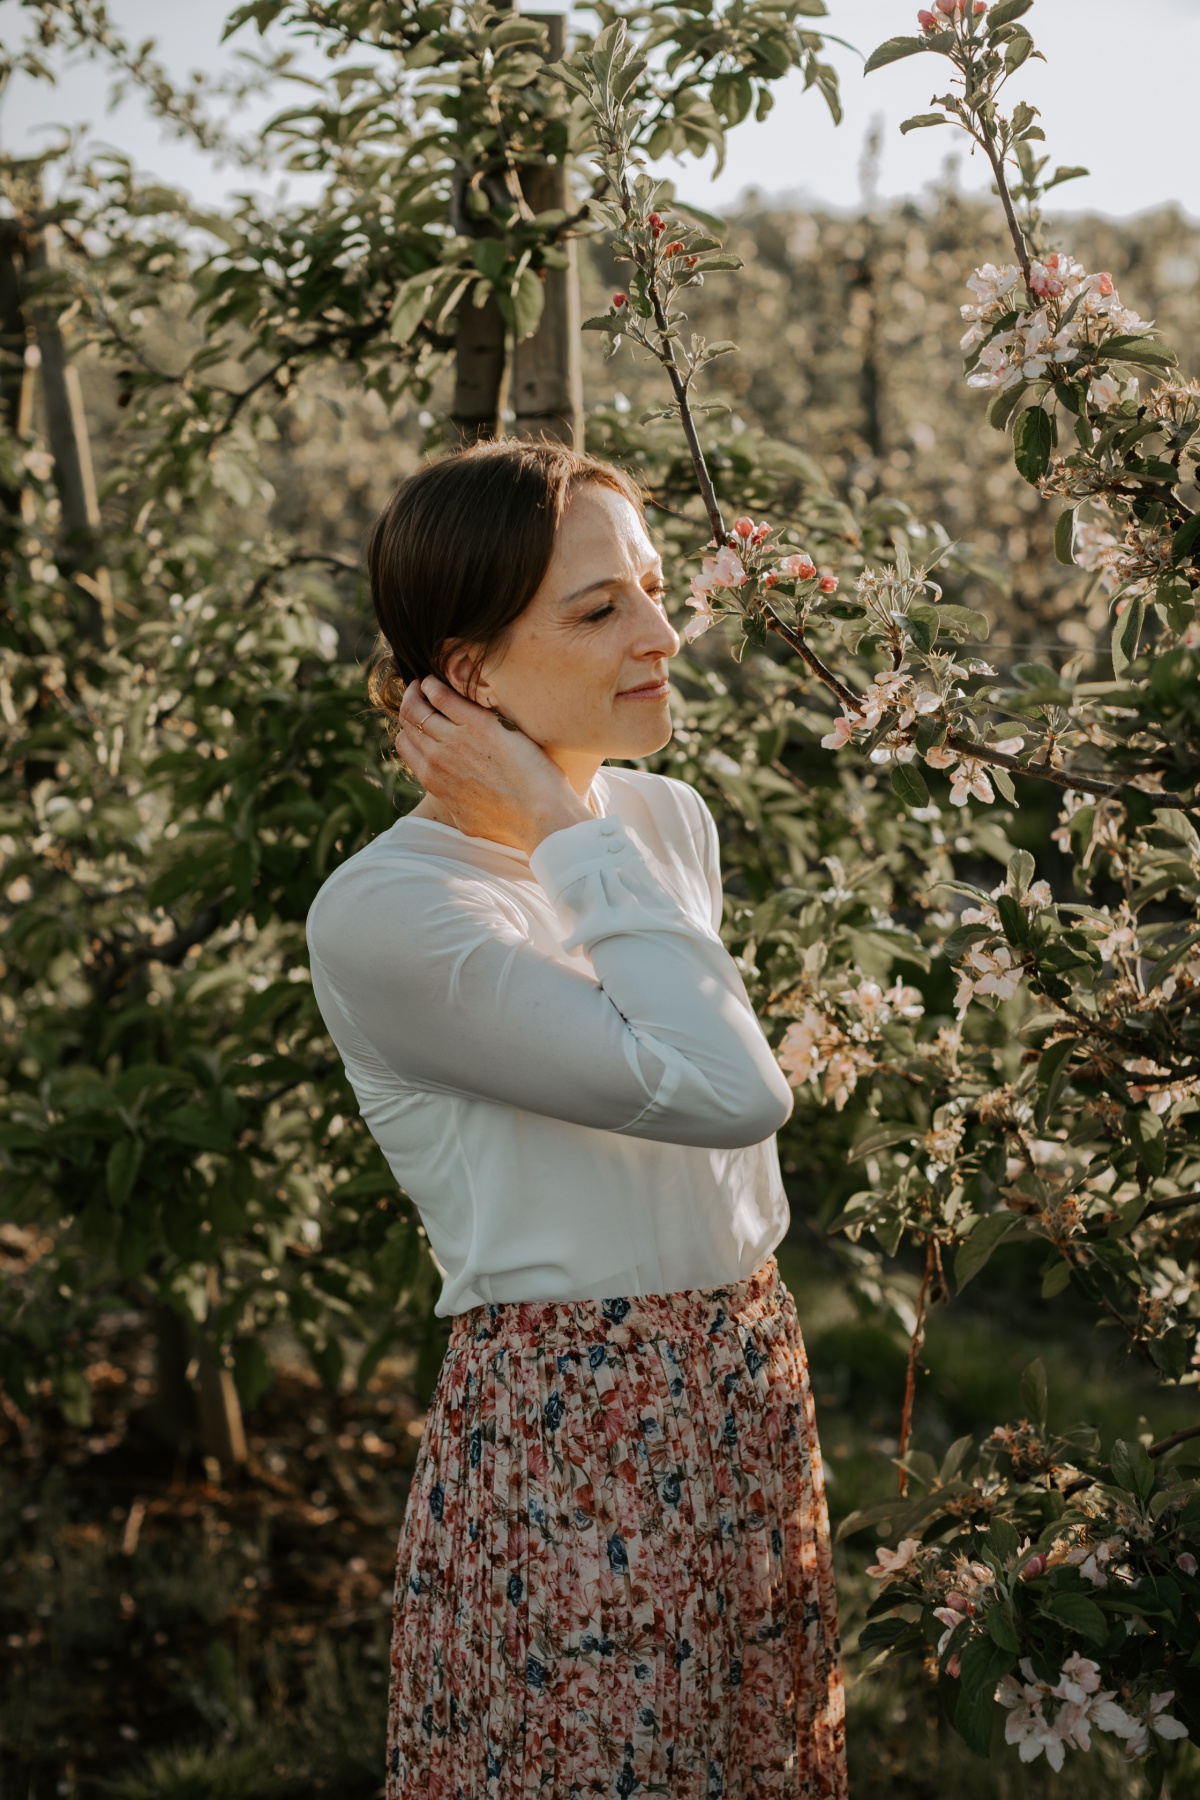
We took these photos during apple blooms in mid May. If you’re looking to take bloom photos you’ll need to ask the advice of some apple growers you know if you’re planning in advance, or keep an eye on the trees in your area if you’re planning a last minute shoot. As for timing, the best time to shoot is the hour before sunset. However, if kid’s bedtime is 2-3 hours before sunset, you can still get glowy photos like these 2 hours before sunset. I always check the Photographer’s Ephermeris to see where the sun angle will be at my location and when the glow is going to happen.
**But I get it…
Sometimes your just need to take photos at a realistic time and wherever you’re at! There are certain outings that I designate my “camera adventure” outings where I focus on taking photos with my nice camera wherever/whenever that outing is. I try to have the kids in practical/cute clothes and all of us carrying minimal items so we can get unburdened photos. Still prep your spouse that they’ll be taking some pictures for you and be sure to get in them! Have fun, get ice cream, be silly in an alley, and get action shots!
Best order to take family photos in.
- If you hired a photographer get the whole family photos done first when everyone is fresh. These are the photos you can’t get on your own so make sure you get plenty of these. Promise the kids that if they do these they get to be silly after in a later photo.
- Take individual photos of parents with each/all the kids. Make them sweet and make them fun. You’ll treasure these one on one shots with your kids!
- Get the kids photos together or individually next. This is a good time to allow them to be silly and fun and then catch those natural smiles. Bring in the props/accessories for them to take photos with or to warm them up.
- If you hired a photographer do parent photos together. Get some lovey dovey photos with your spouse at the end when the kids are in the car or distracted with their treats. These are always my favorites to take and do! (Obviously not in this spring shoot as I didn’t have a tripod!)
- Know when your kids (and spouse) are done. And if you’re still feeling it, get some shots done of you on your own looking beautiful! Get that new professional and also fun profile photo.
Your Shot list for family photos
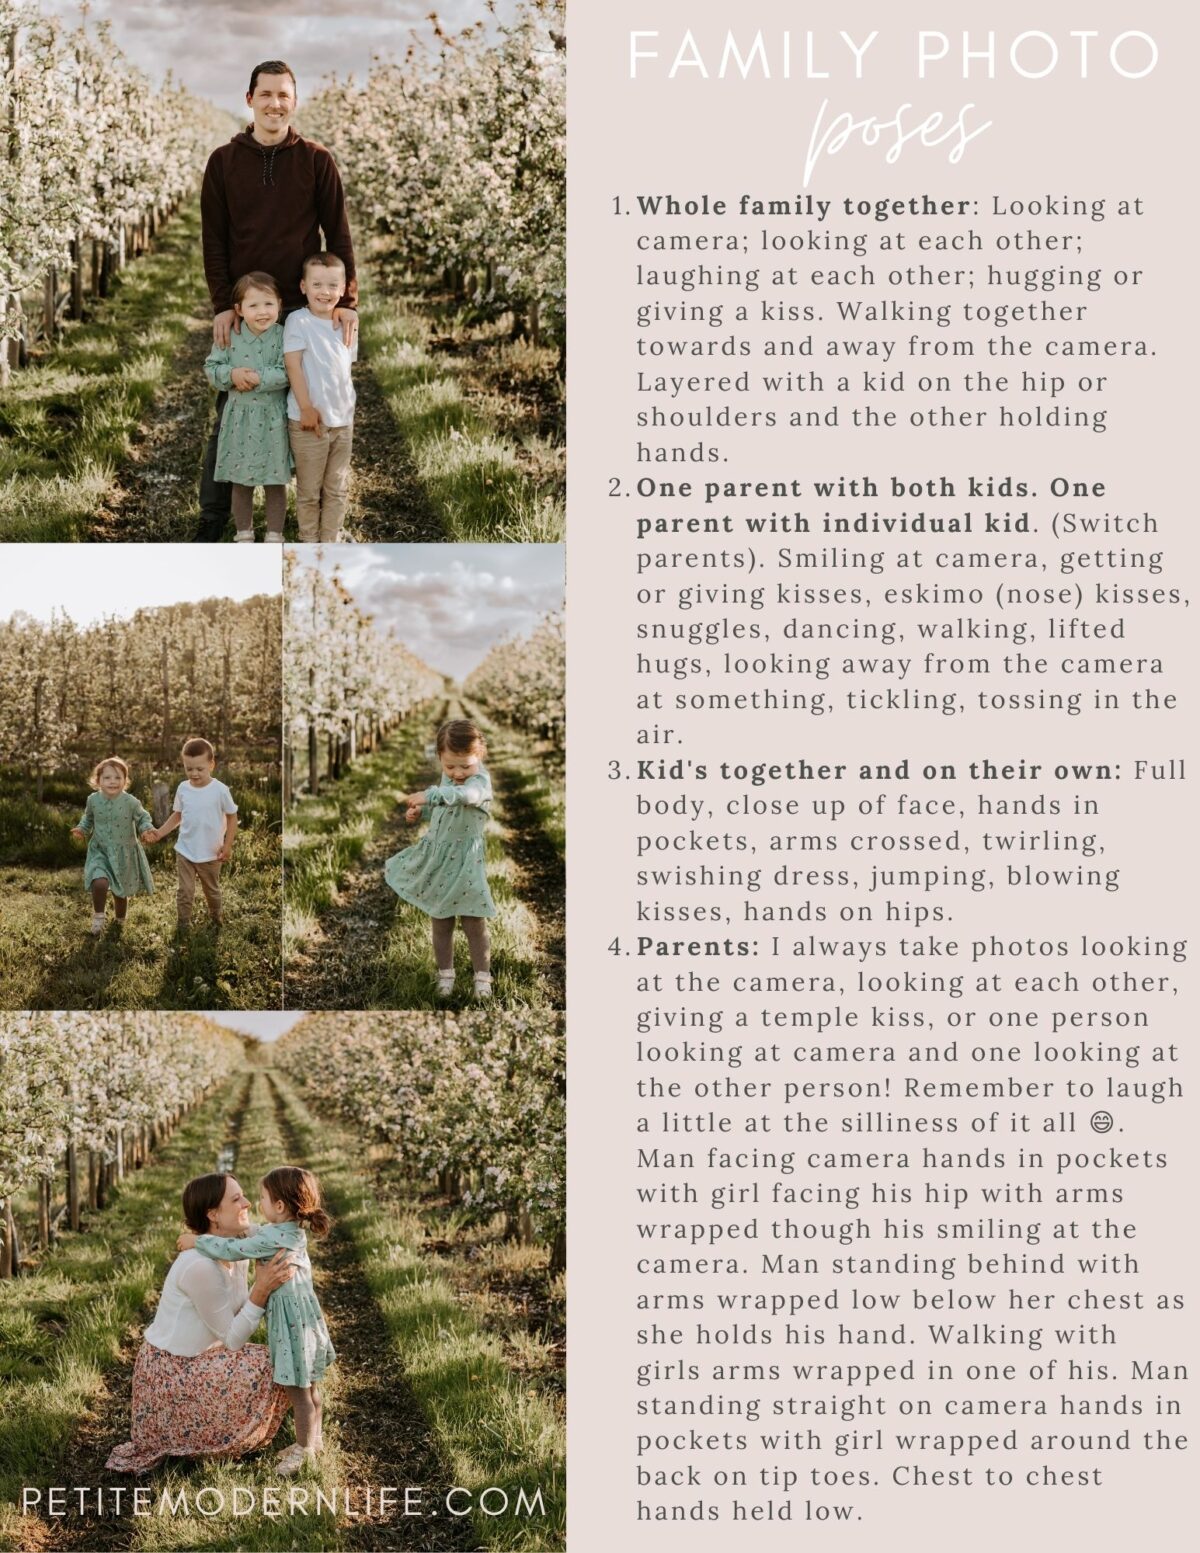
Knowing what pictures to get can be the frustrating part. I’m all for natural photos, but my most natural moments always come after a little playful prompting. “Snuggle up! Look at each other. Walk towards me!” Copy and paste these pose prompts to your phone! And save photos from Pinterest to your images too!
- Whole family together: Looking at camera; looking at each other; laughing at each other; hugging or giving a kiss. Walking together towards and away from the camera. Layered with a kid on the hip or shoulders and the other holding hands.
- One parent with both kids. One parent with individual kid. (Switch parents). Smiling at camera, getting or giving kisses, eskimo (nose) kisses, snuggles, dancing, walking, lifted hugs, looking away from the camera at something, tickling, tossing in the air.
- Kid’s together then on their own: Full body, close up of face, hands in pockets, arms crossed, twirling, swishing dress, jumping, blowing kisses, hands on hips.
- Parents: I always take photos looking at the camera, looking at each other, giving a temple kiss, or one person looking at camera and one looking at the other person! Remember to laugh a little at the silliness of it all 😄. Man facing camera hands in pockets with girl facing his hip with arms wrapped though his smiling at the camera. Man standing behind with arms wrapped low below her chest as she holds his hand. Walking with girls arms wrapped in one of his. Man standing straight on camera hands in pockets with girl wrapped around the back on tip toes. Chest to chest hands held low.
Save this to your phone!👇🏼
Best cameras and lenses for your photos
I shoot my family photos on a Canon 5D Mark IV usually with a 50mm fixed lens. Now, this is my professional camera and may not be the family camera you are looking for. None of the cameras I’ll suggest have flashes. You can buy a $45 hotshoe flash for interior or dark photos, but honestly I prefer to use my iPhone for these! You’ll always get better photos on a nicer camera than your phone though, so here are the next tiers down I’d suggest for cameras!
Camera Bodies to Buy
A full frame camera has a wider photo area like the professional cameras. It’s not necessary for nice photos, especially if you’re taking photos in wide open spaces! They are more expensive than cropped sensor cameras, but I love this Canon 6d that is my second camera. (And was my first wedding camera!)
If that price tag is too high, but you’re still looking for something nice. Check out this cropped sensor camera the Canon EOS 70D. This was my first DSLR camera with interchangeable lenses and it was amazing to learn on and start my photography business with.
Camera Lenses to Buy
I’ve never bought a camera with the kit zoom lenses. Instead I opt for the body only and then buy fixed lenses (no zoom). They take sharper photos and allow you more control over the settings in your camera without worrying where your focal length is at. Then YOU become the zoom!
What I use: With a full frame sensor I use my 50mm and 35mm the most! The 50mm is always on if we’re going to the beach or somewhere with a lot of space. The 35mm is what I have on when we’re touring towns because it allows more space in a photo to get the buildings and people in.
Budget buy: It’s argued on the internet that the least expensive 50mm canon lens rivals the most expensive one and actually surpasses the mid grade one in various tests. Definitely own this!! If you buy the cropped sensor also get this baby 24mm fixed lens to get more space in your photos with the cropped sensor. Technically a 50mm lens on a cropped sensor will act like an 85mm lens and get pretty close to your subject. A 24mm lens on a cropped sensor will act like the 50mm I use on my full frame camera.
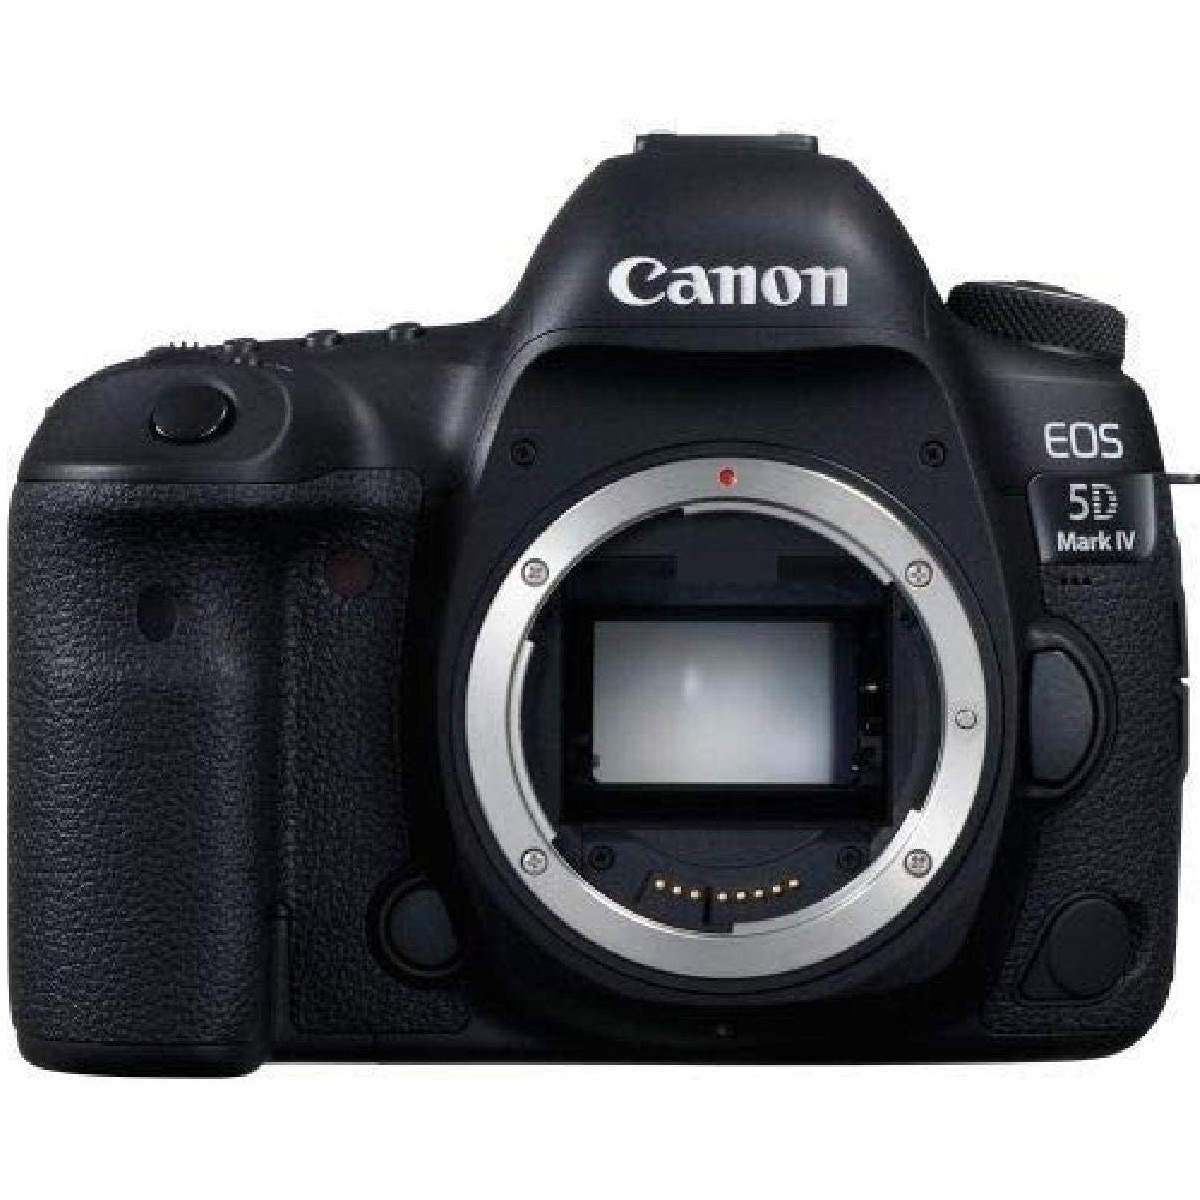
Canon EOS 5D Mark IV Full Frame 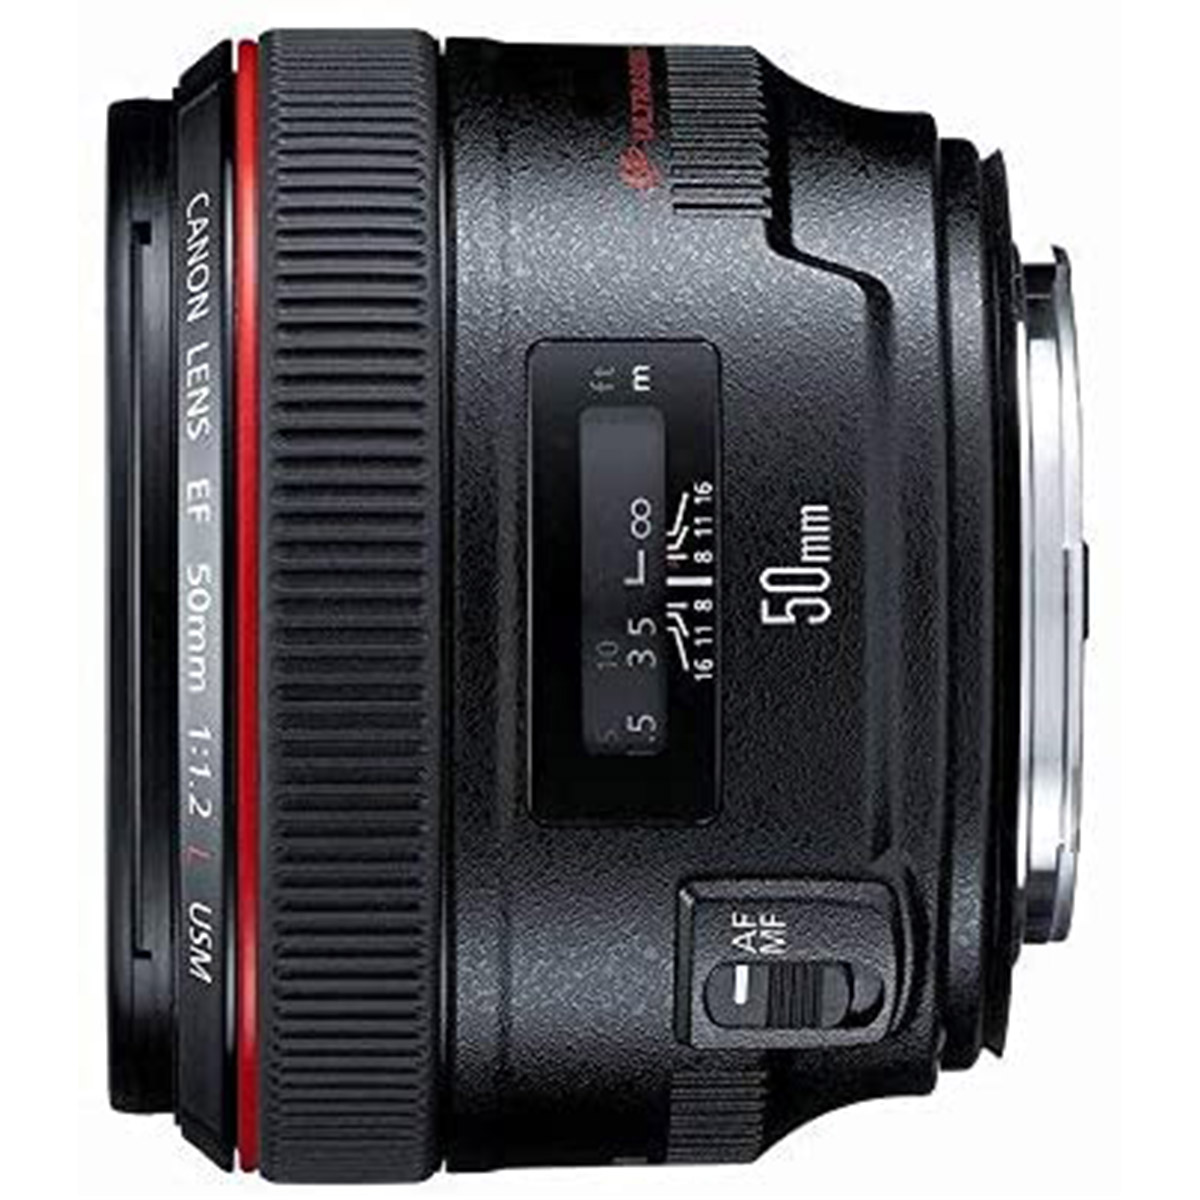
Canon EF 50mm f/1.2 L USM Lens 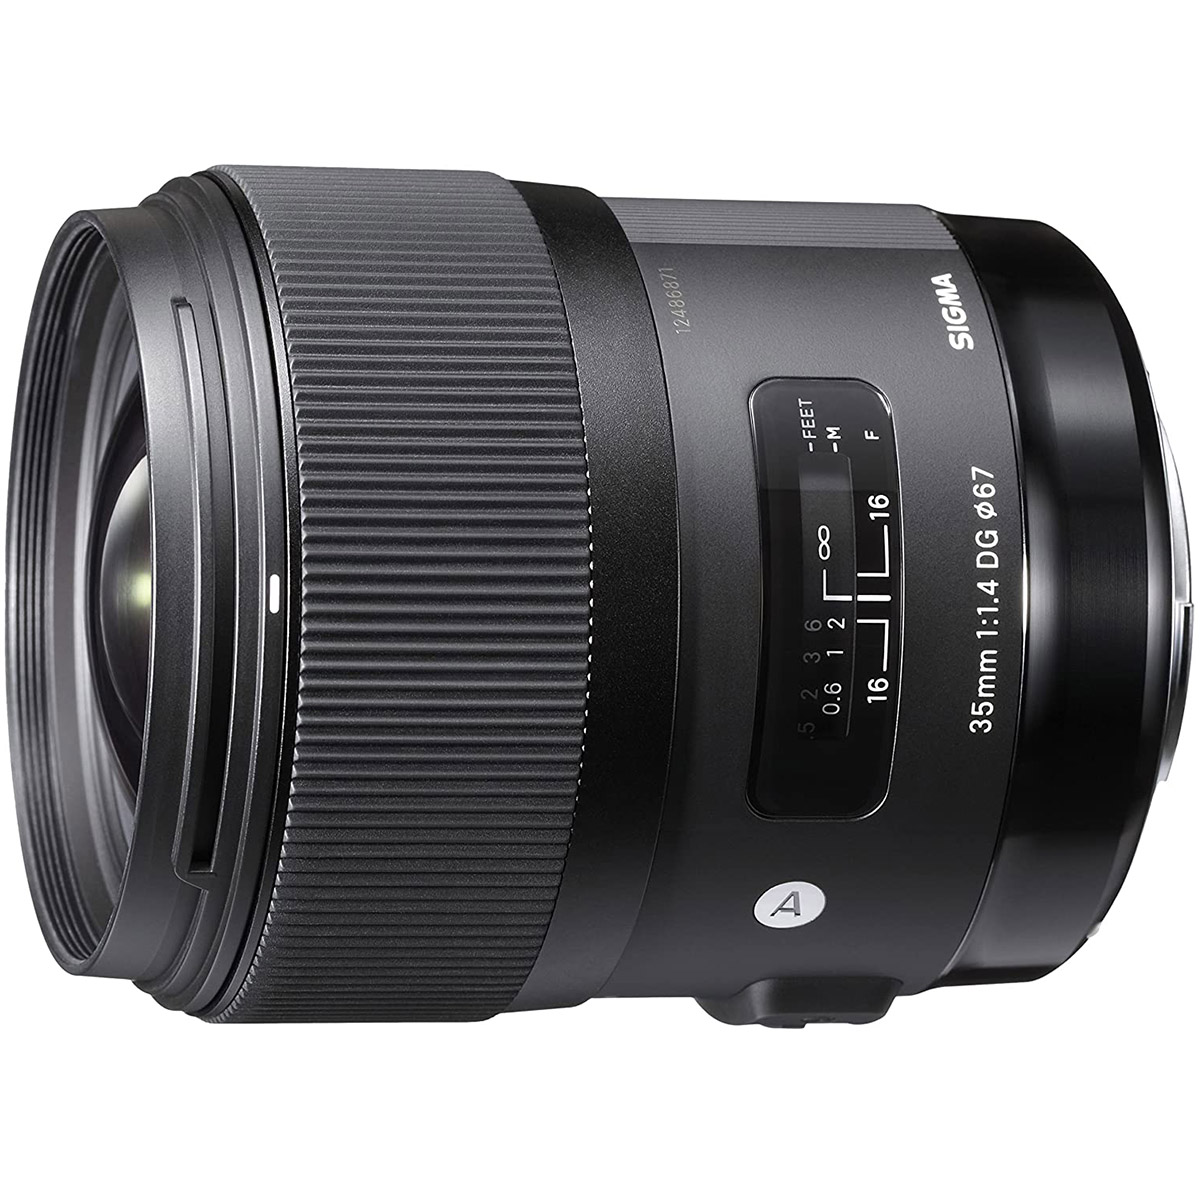
Sigma 35mm F1.4 Art 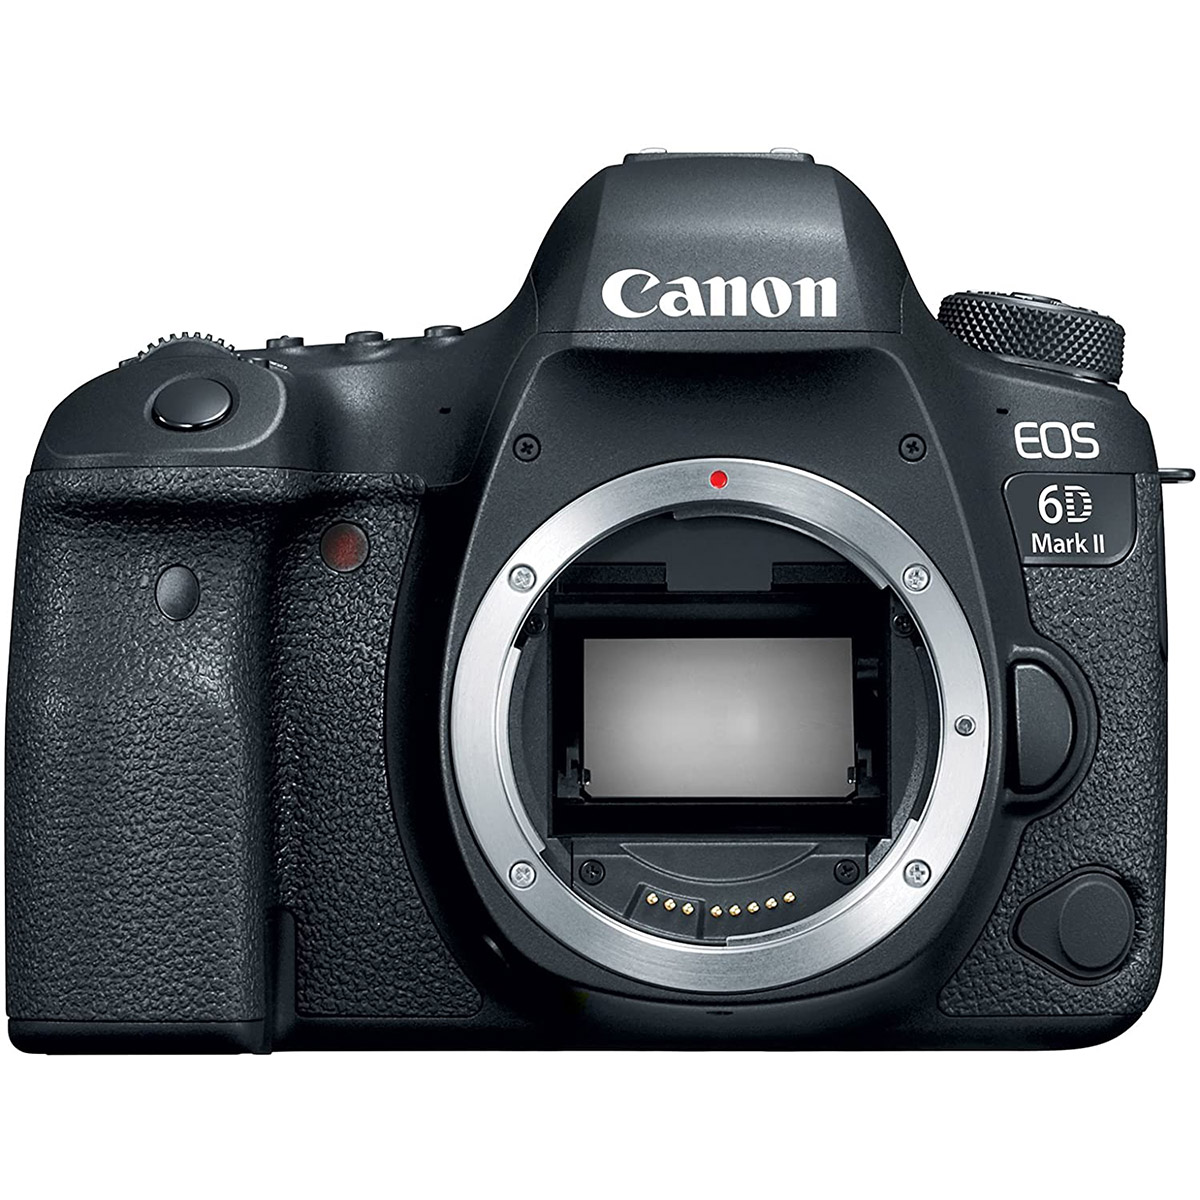
Canon EOS 6D Mark II Full Sensor 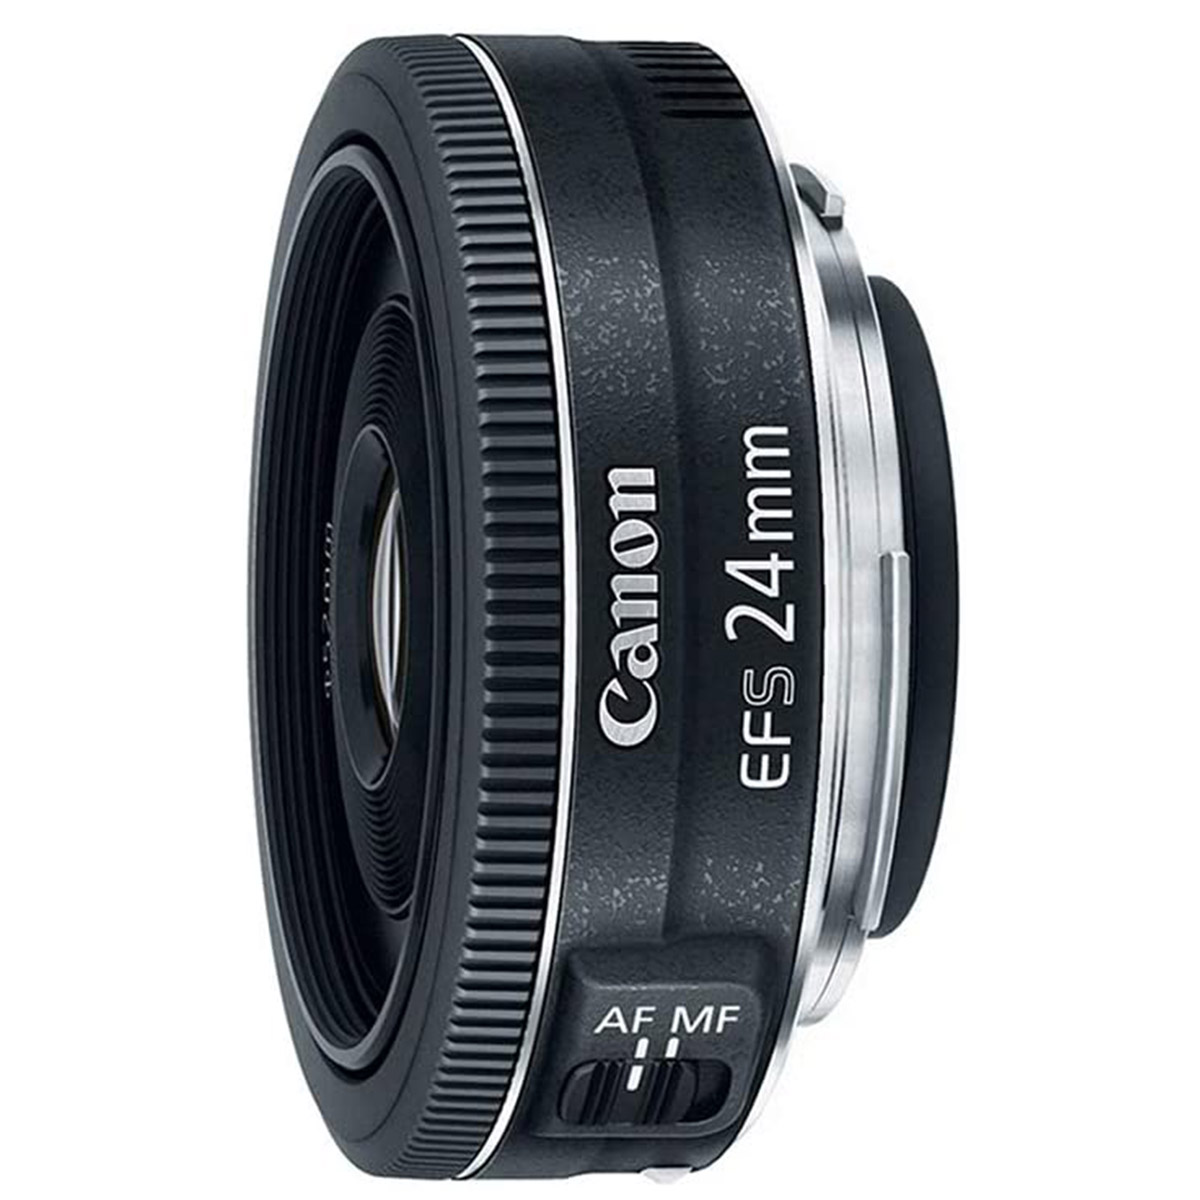
Canon EF-S 24mm f/2.8 STM Lens 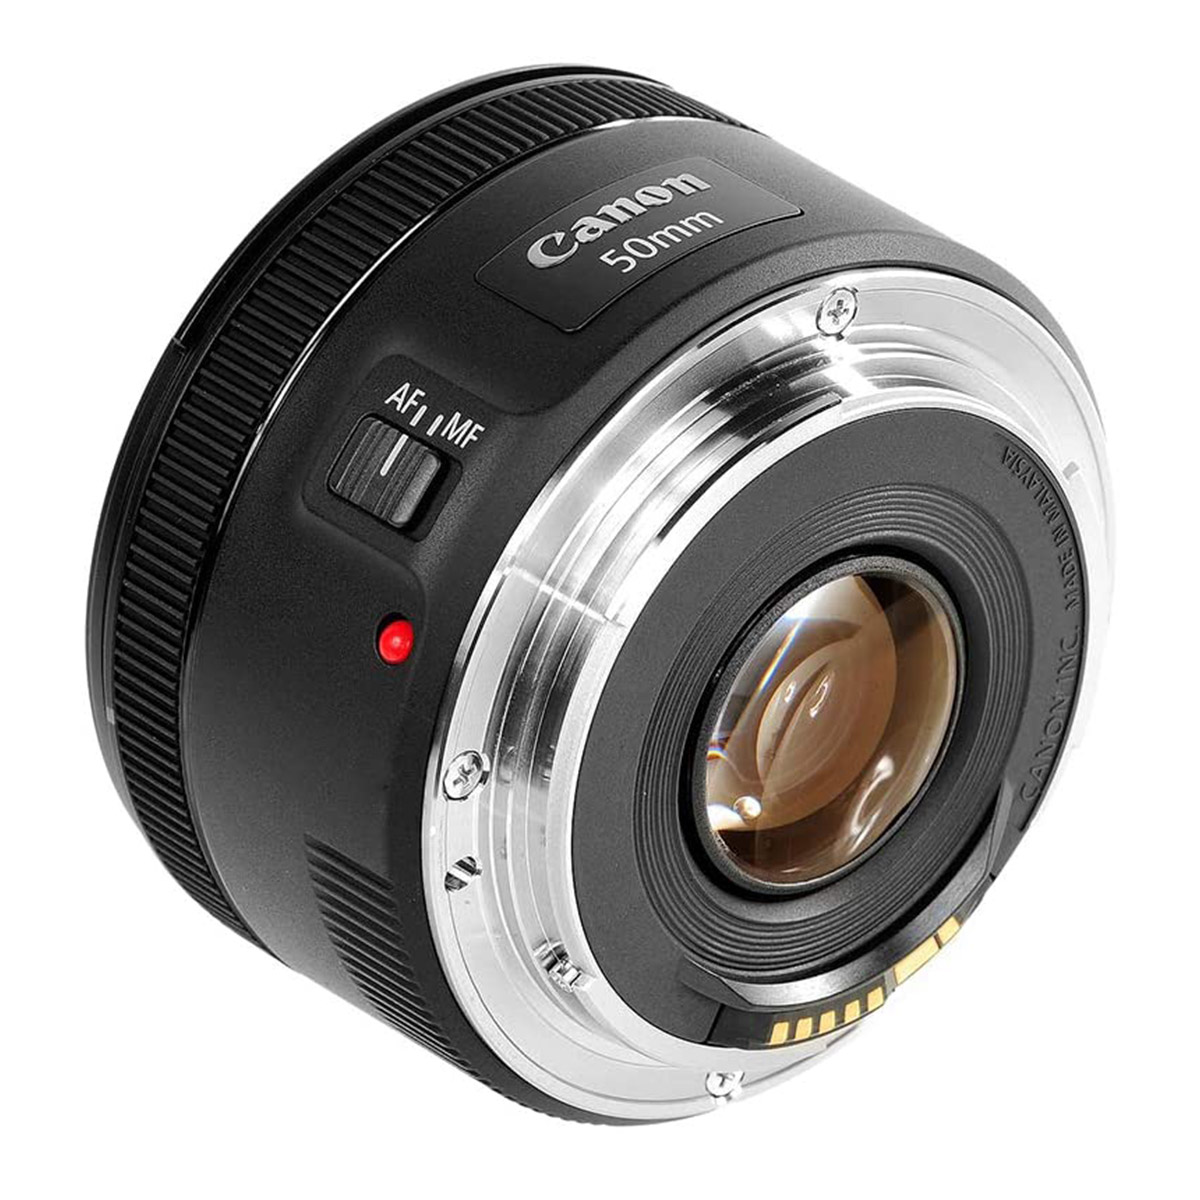
Canon EF 50mm f/1.8 STM Lens 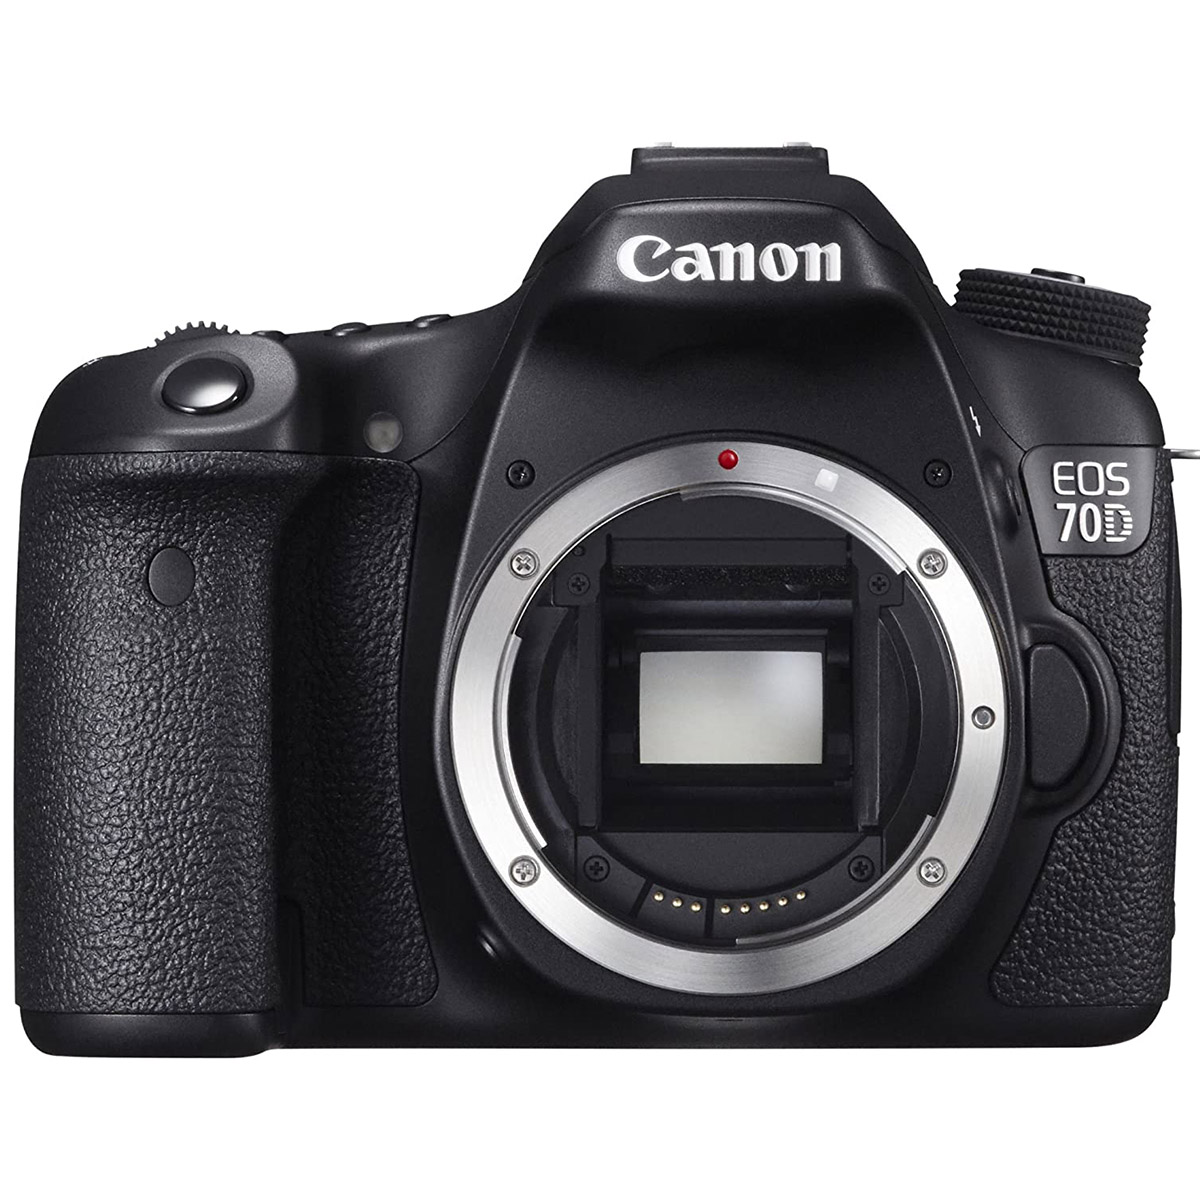
Canon EOS 70D Digital SLR Camera Cropped Sensor
Canon EOS Mark IV Full Sensor Camera
Canon EOS 6D Full Sensor Camera
Canon EOS 70D Digital SLR Camera Cropped Sensor
My camera settings for a golden hour shoot
First, make sure your camera is taking photos in RAW. You’ll want a 32GB+ SD card in your camera and more on your person. RAW photos are what you edit in Lightroom. So have this on! I never shoot with JPEG because I always edit my photos and don’t need to quickly view them in folders. RAW photo files are not viewable in a finder folder, but they’re still photos!
I always shoot manual for all my photos. I like having the control over each setting and learned how by studying what ISO, Shutter Speed, and Aperture are and how they work together (and really just messing around with it over and over and over). Some more basic camera models do not provide access to all of these settings or at least not as customizable as the more expensive DSLR models. But you can definitely practice these settings on most cameras! Here is my really simplified explanation of these camera settings.
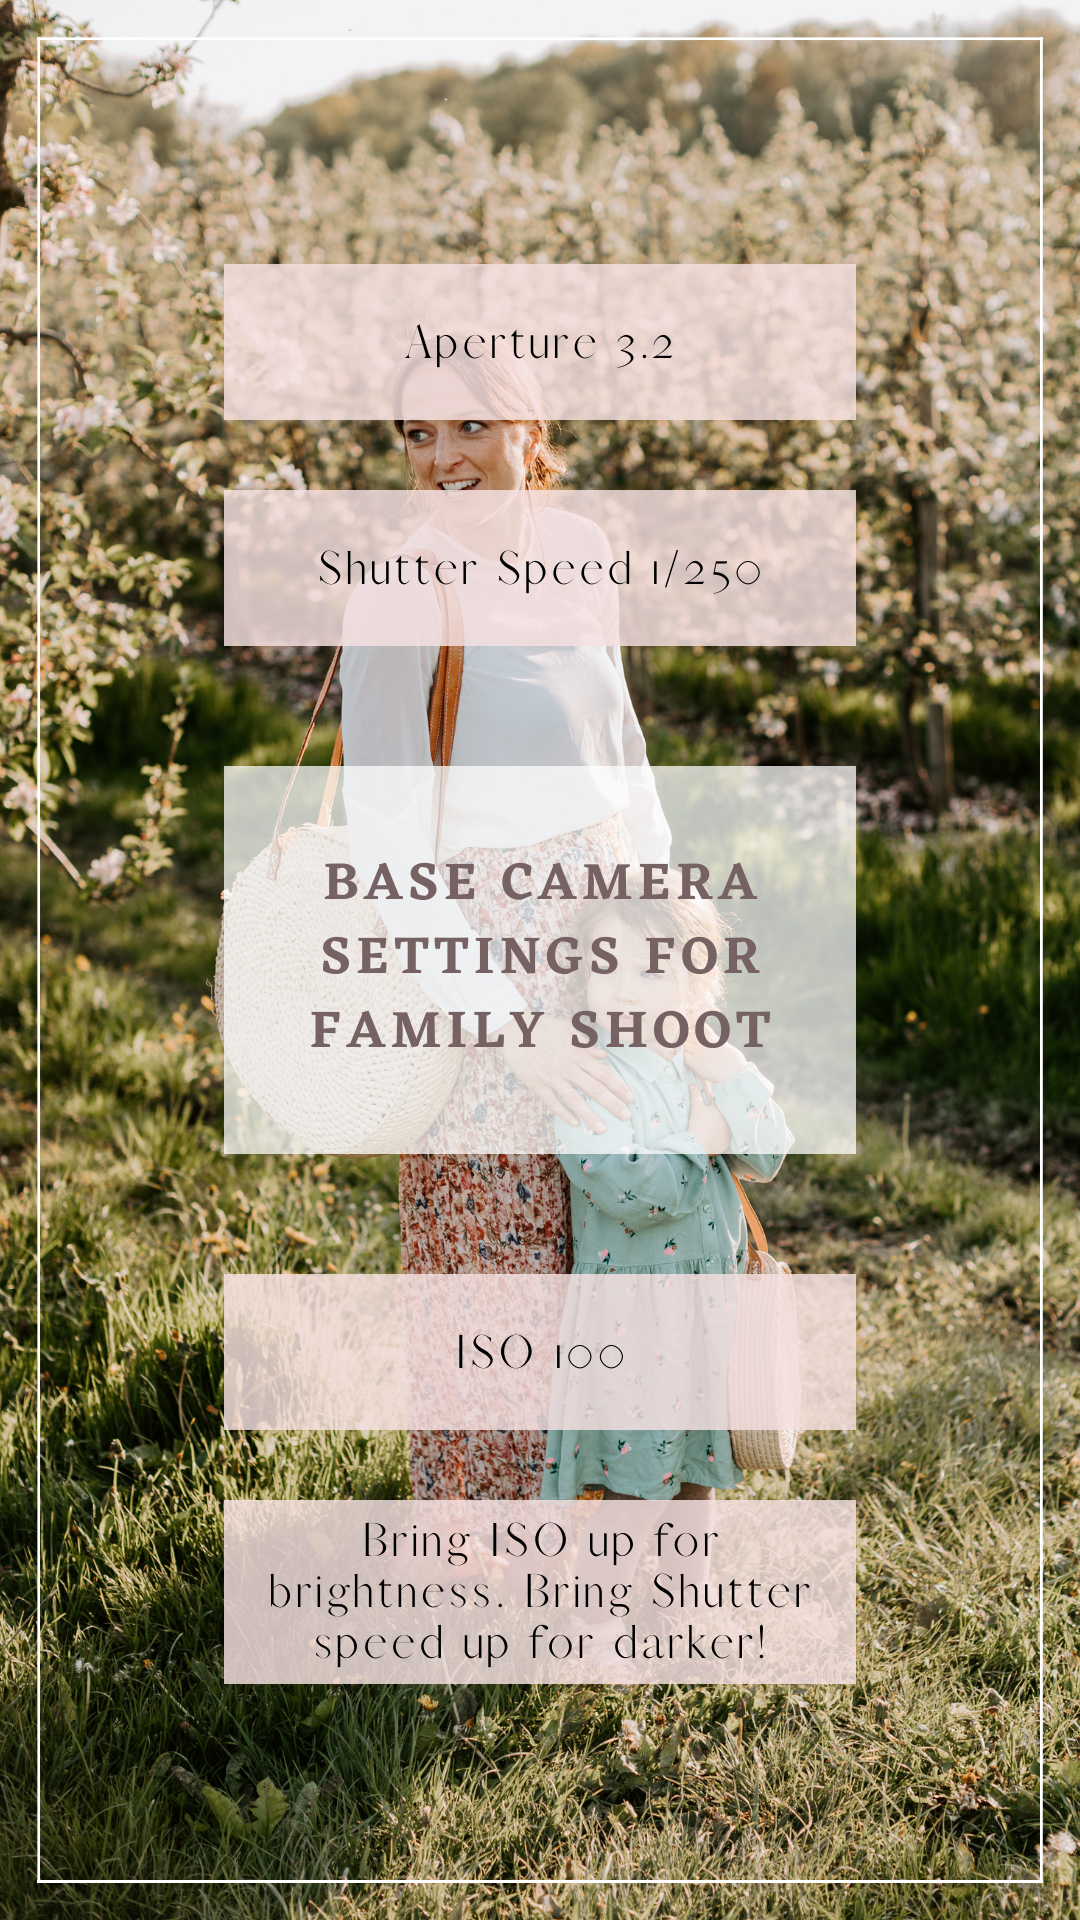
ISO: The numbers usually go up by 50 increments 100-2000 on a fancy camera. The higher the number the brighter your photo will be. If you go over 1000 your photos might get grainy. I like to keep mine at 100 for sunny day shooting. For golden hour I use it around 200 ISO when the person is facing me with the sun behind them.
Shutter Speed: This is the one that shows 1/80, 1/100, 1/250.. This controls how fast your camera takes the picture. This affects light and motion in a photo. A low number like 1/150 and below allows for a lot of light in your picture, but also causes motion blur or camera shaky images that aren’t focused. Too high and the photo will be very dark. I always aim to keep my shutter speed at least at 1/250. If it’s really bright out, or the sun is on your subjects you’ll want to bump your shutter speed up up up until you can get a balanced photo.
Aperture: This number shows as 1.8, 2.0, 3.2, 4, etc. The number on your lens, like a 50mm 1.8, determines your lowest aperture. The aperture is basically how much area of your subject is in focus. Say your subject is sitting at an angle. At 1.8 you can literally get just an eye in focus with the rest of the photo blurry. The higher your number is the more picture is in focus. For family photos of 2+ people I like to shoot at 3.2 or higher. This is a fun setting to practice with! Just set objects on a table outside and practice changing the number and moving the objects around to see what happens!
How they work together: Loosely put. I start with my aperture setting at 3.2, my shutter speed at 250, and my ISO at 100. When I take that first photo at golden hour and find that it’s too dark I bring up my ISO to 400 or higher. If it’s too bright I bring my shutter speed up to 300 or higher. I keep my aperture the same for that pretty blur. I like to take my photos a little darker so I can edit them better later on. Too bright or too dark and you lose the details you can edit.
How I edit my photos
After taking 400 photos for a family shoot. (But really I do– at a minimum😂.) I pop the SD card into my computer and import them all into Lightroom Classic. This is part of the Adobe Cloud Membership that I pay for monthly. I’ve purchased presets in the past from my favorite photographers and I’m developing my own that fit my aesthetic that I hope one day to share. For now you can find some amazing presets like these, for golden hour shoots!
Editing your photos will help you narrow down your favorites and create an end product memory you’ll love! Print them for the home or in photo books. It’s worth it!
Ps. Most DSLR cameras can WIFI connect to your phone using the camera’s app. I use a Canon app and can get my RAW photos immediately from the camera onto my phone to edit in the free Lightroom mobile! Get Lightroom mobile presets for cheap (I share how in this post) and edit like a pro instantly!
Start taking family photos you love.
Wow! If you’ve made it to the end of this post I hope this read will continue to be helpful to you as you have more serious fun taking family photos. Keep practicing. You’ll start learning by trial and error, but if you love cameras and photos like I do, or if you have a nice camera sitting around collecting dust, you’ll be so proud of your work if you go do it! If this post gets some positive feedback and questions, I’ll be happy to come back and share more of my tips and tricks with photography and editing! I can’t wait to see what you make!
xoxo Karisa
*This post may contain affiliate links to products I use and love. Read more on my FAQ page.*



Leave a Reply