One of my favorite pastimes is editing photos. Is that weird to you?! It’s seriously the way I find my zen throughout a day of chasing around my kiddos and accomplishing my to-do list.
I realize it’s not everyone’s forte, but so many people have loved my photo editing tutorials on Instagram, that I thought I’d start sharing a weekly behind the scenes Lightroom Mobile photo edit to help inspire and teach you about phone photography and editing!
Tips for starting:
- Read my post for how to install Lightroom Mobile Presets
- The Lightroom Mobile presets I use are from here + here
- I take pictures with an Iphone 7 and this Canon Camera and usually this lens or this lens.
Watch me edit this photo live in this video!
Let’s Talk About Lighting
This room is naturally lit with all additional lights turned off. This makes for even lighting tones and colors across the photo. There’s a big window to my right and a little window in front of me to my left.
I shot this on my Canon, with my 35mm lens ISO . The room is white which helps keep the colors even and realistic.
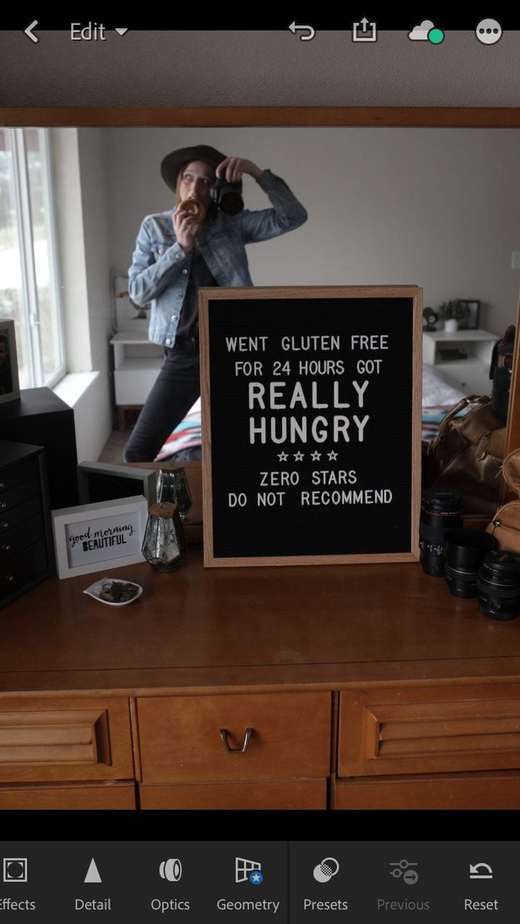
Step one: Open photo in Lightroom Mobile App
Step two: Select wasabi 4 preset
-
- Open the image in Lightroom Mobile
-
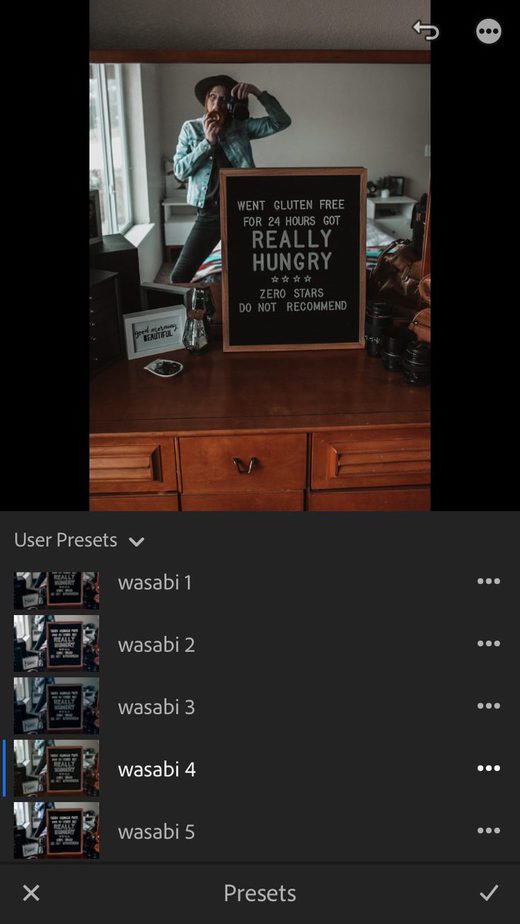
- Selected Wasabi 4 Preset
Step 3: Click “Light” and increase exposure and shadows to brighten the image.
-

- Increase the Exposure
-
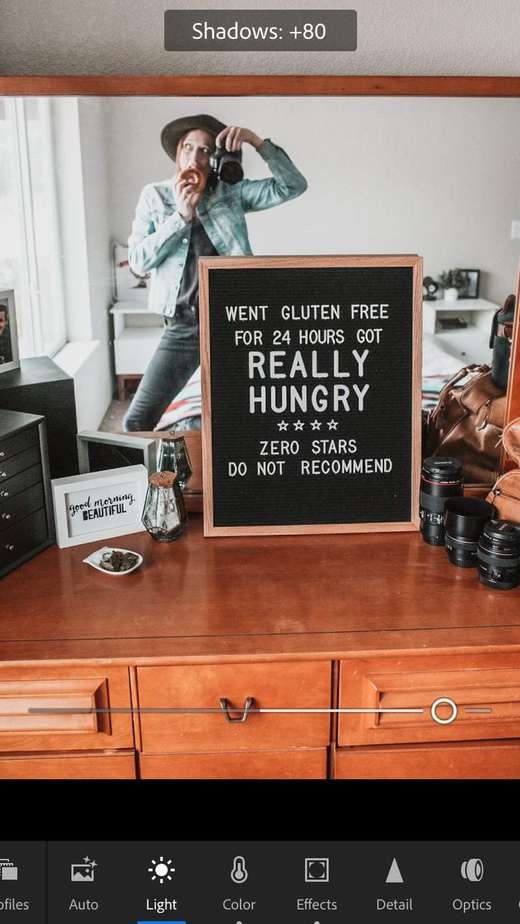
- Increase the Shadows
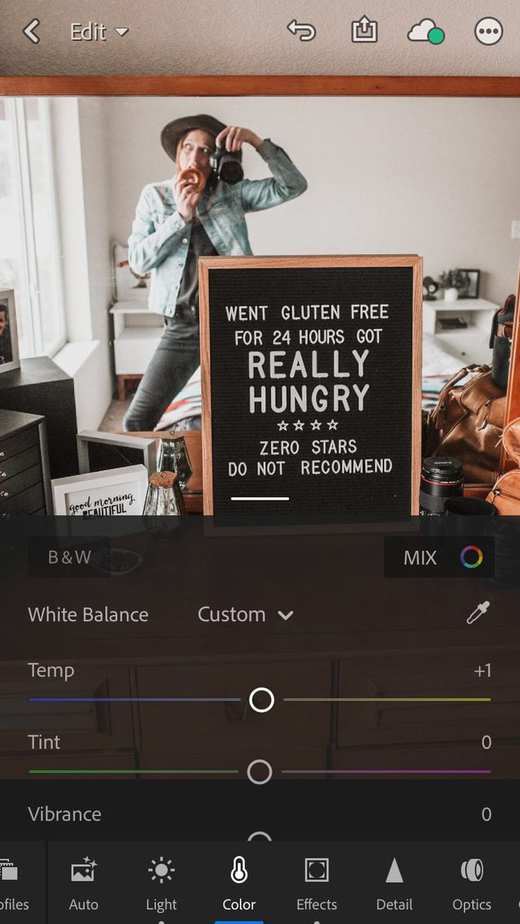
Step 4: Click “Color” and increase the temperature to warm up the photo.
-
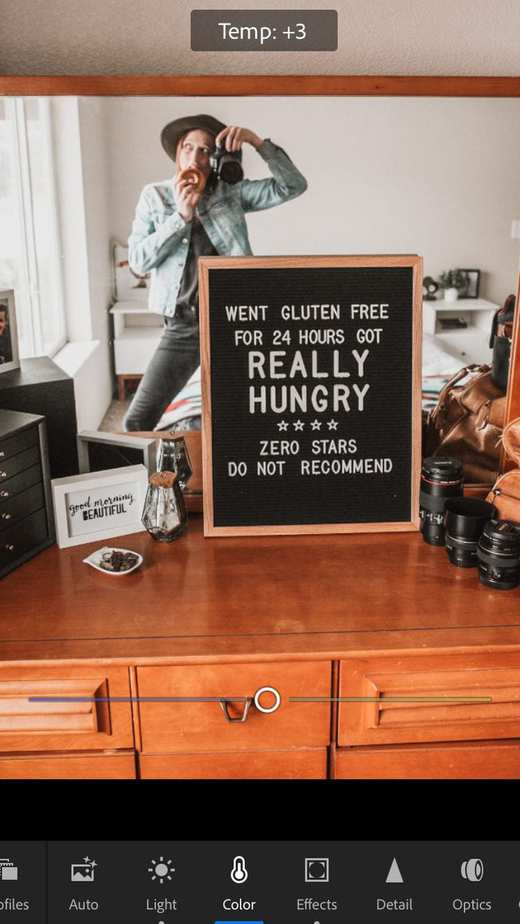
- Increase the temperature towards the yellow to warm up the picture.
-
- Click the “Mix” button on the right side
Step 5: Click “Mix.” Increase the saturation of the blues and decrease the luminance for more color pop.
-
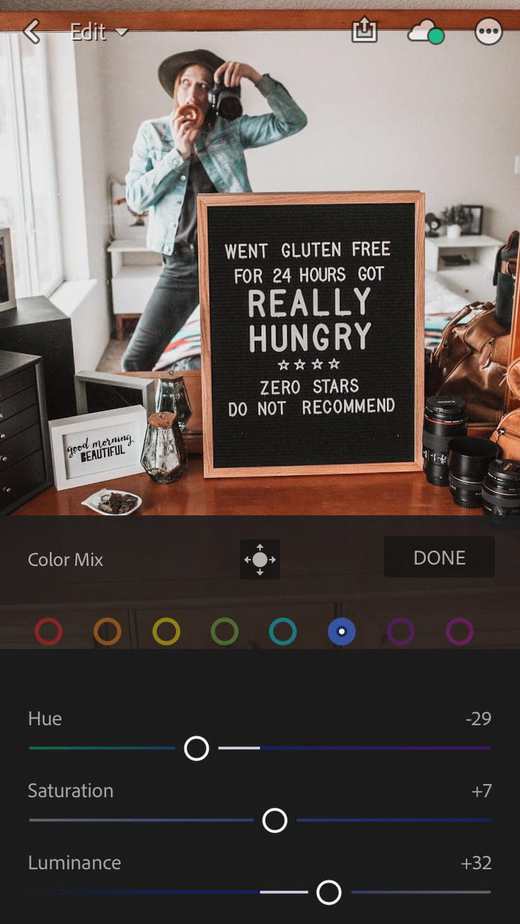
- Adjust the luminance and saturation for the blues
-
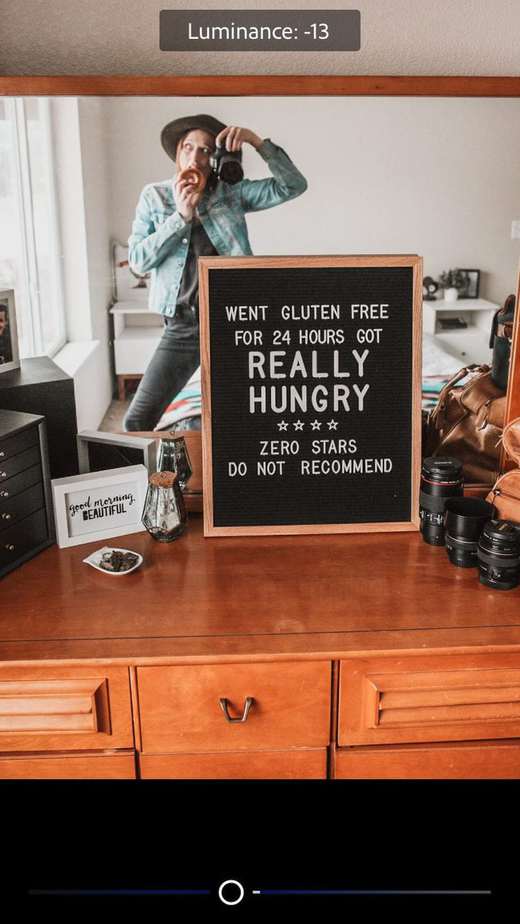
- Increase saturation and decrease the luminance for more pop.

Step 6: Adjust your alignment and crop size. For Instagram feed choose 4×5, for Instagram stories choose 2×3
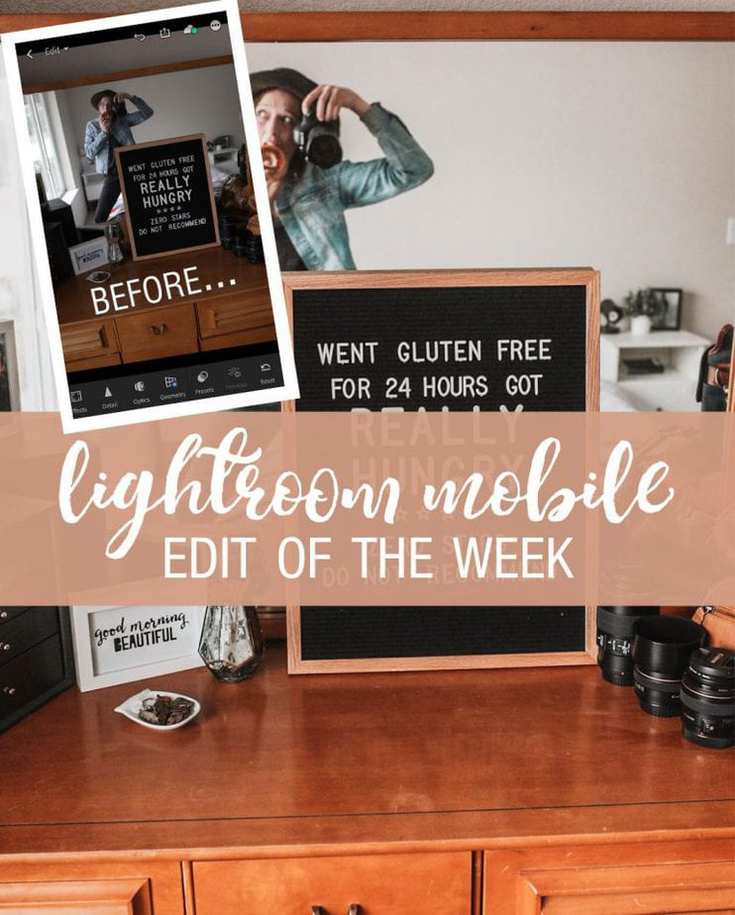
Before and After!
-

- Before
-

- After
I hope you enjoyed this week’s Lightroom Mobile photo edit! Ask any questions in the comments below and I’ll get back to you!


Leave a Reply