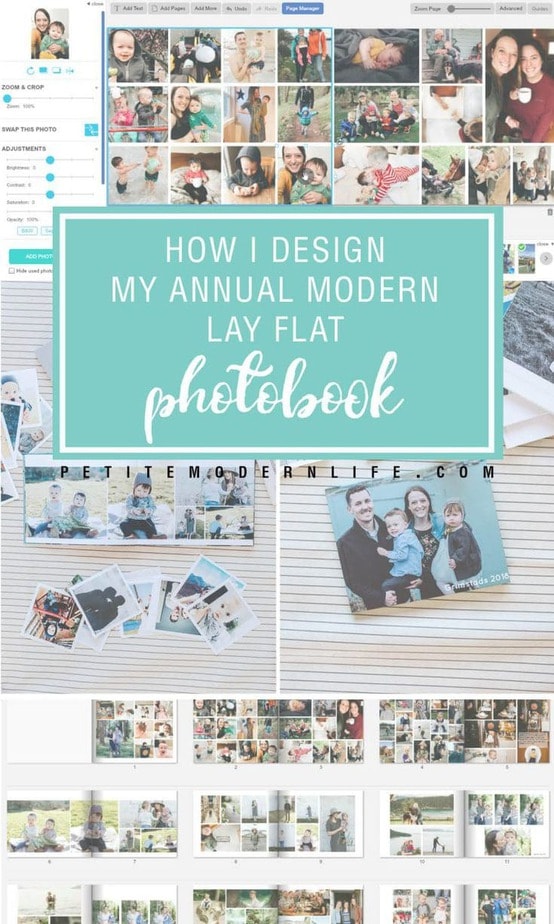
A while ago on Instagram I shared a comparison of all the photobooks I’ve used. My top favorites are Artifact Uprising and Picaboo. Artifact is my go to special events photo book creator and Picaboo is best for my annual family photobook. This is because I’ve found the best value for quality for these large annual photobooks at Picaboo! Today I’ll share how I design a lay flat photobook for only $50!
How to Start Creating Annual Photobooks?
I know many of you are intimidated to start making photobooks because there are years of photos on your phone or computer that are overwhelming your thought processes and stopping you from even starting. Here are my tips!
- Start with the most recent year! Find all the photos from last January to December.
- Organize all those photos into 4 computer files: Winter, Spring, Summer, Fall, Winter.
- Organizing into seasons can help you remember big events better than trying to think of 12 individual months. (Starting with the most recent year will help you move faster because you remember events better. This will make going back to previous years easier!)
- Once you’ve found all your photos, create an account with Picaboo and upload all the photos to a new project gallery.
- Design the majority of your pages around big events: Ie. Birthdays, holidays, family events, and vacations. Then create mass collage pages of other favorite photos that happened in each season (usually all those phone pics.)
- Make a first run through the whole year being a bit more selective with photos. When you’ve reached the end, decide if your book can afford more pages and add in any other photos from your gallery you feel it is missing!
- Get your best friend to start making photobooks too so you can encourage each other each year to get it done!
- Start gathering your images in the month of January after the crazy Christmas season is over and create the book in that lull winter month of February!
- Edit your phone (and camera pics) with Mobile Lightroom! Use my tutorials for How to Install Lightroom Mobile and how to best use it for beautiful consistent photos!
How to Purchase Your Lay Flat Photobook Voucher
A few more details about Picaboo. They send out weekly promotional emails with various discounts throughout the year. I always wait for their 67%-75% off store coupon (Black Friday is the biggest discount) to show up. It looks like this. (You can find their offers here on their site too!) I LOVE the lay flat book and highly recommend you choose that one. The pages are THICK. Thick enough I feel comfortable letting my toddlers leaf through it on their own. The lay flat photobook looks beautiful too. All middle of the page pictures are easily seen!

You purchase the “voucher”, say $40 for a $120 store credit. And you get to save it until you create. They usually give you 4 or so months to use the promotional value, otherwise you just have the money you spent to use towards a project.
Steps to creating a seamless photobook with Picaboo
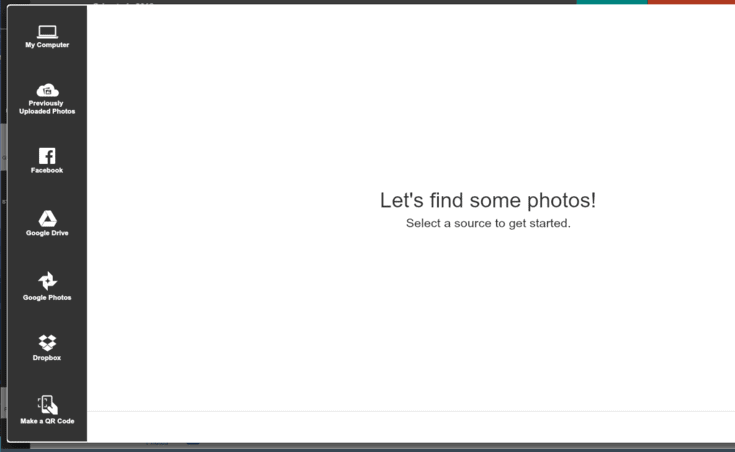
Step One: How to start adding your photos!
I love that you can add photos directly from all different accounts! For my 2018 photobook I uploaded 487 pictures!!
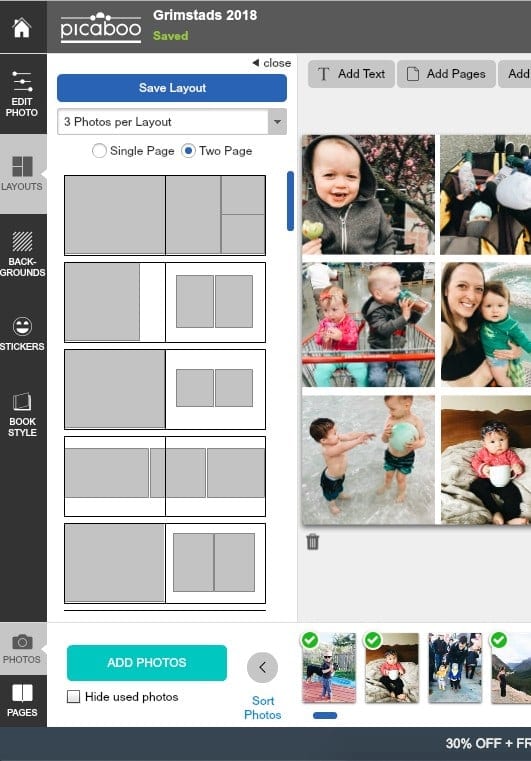
Step two: Choose your layout and backgrounds
I always stick with the minimal or white themes. You can choose your layouts for one page or both pages. You can also toggle how many photos you want to fit on those pages!
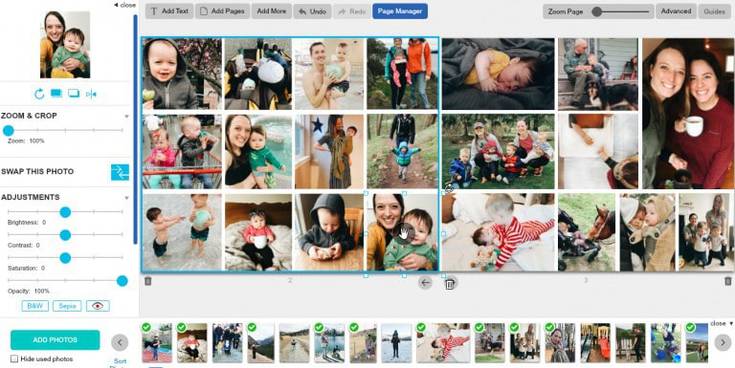
Step Three: How to custom adjust your pictures.
Although you can just about choose the perfect layout without tweaking, I tend to cram a lot of seasonal adventure photos onto a single spread (two conjoined pages), so I sometimes custom adjusted my photos. Just click on a picture and drag the adjuster tabs to change the size. The picture will automatically adjust. Use the hand tool in the middle to re-position the picture. If you’re happy with that size, you can use hot key commands to copy and paste the picture as many time as you’d like. (It can sometimes take a little time for it to load and appear.) Then, use that ![]() double arrow symbol on the left side that says “SWAP THIS PHOTO” to exchange the picture for a new one.
double arrow symbol on the left side that says “SWAP THIS PHOTO” to exchange the picture for a new one.
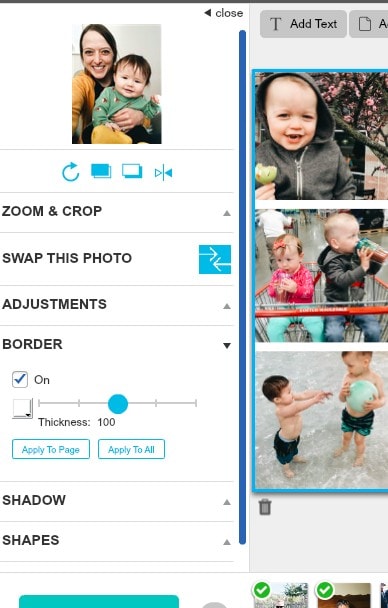
Step 4: How to add photo borders for a clean look.
On the left menu dashboard you can add colored borders to your pictures. I like the way this spaces the images apart. I actually ended up doing this for all images in my book.
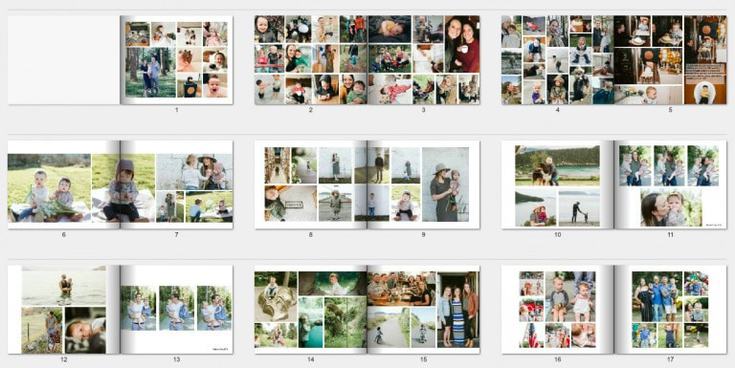
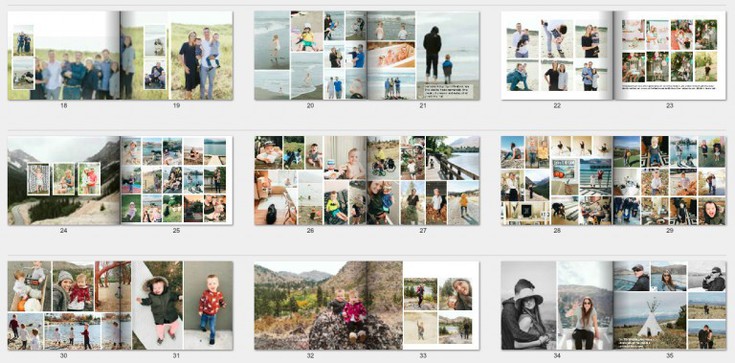
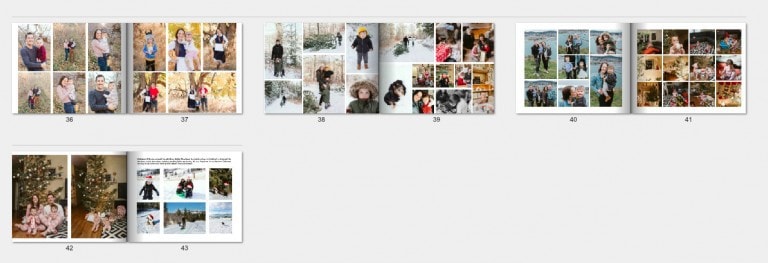
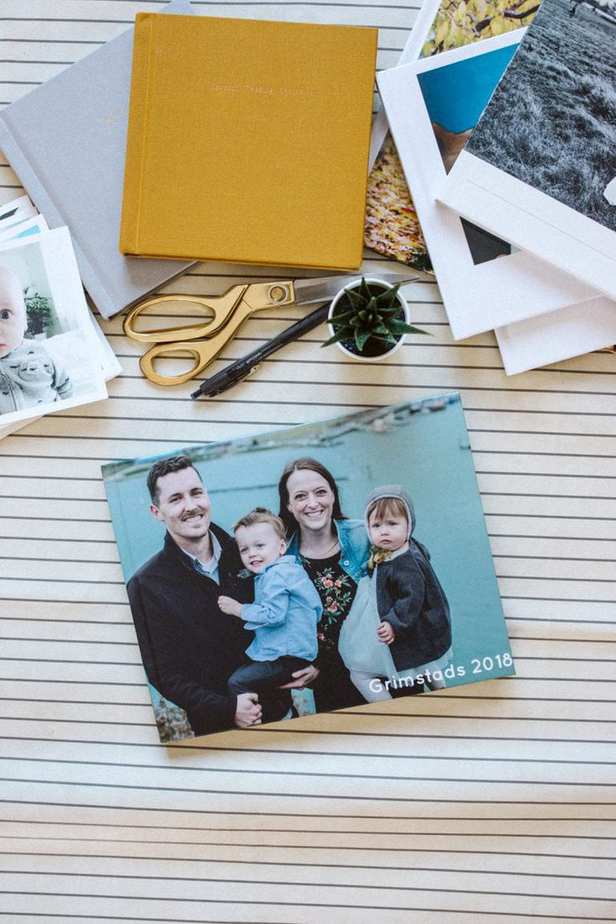
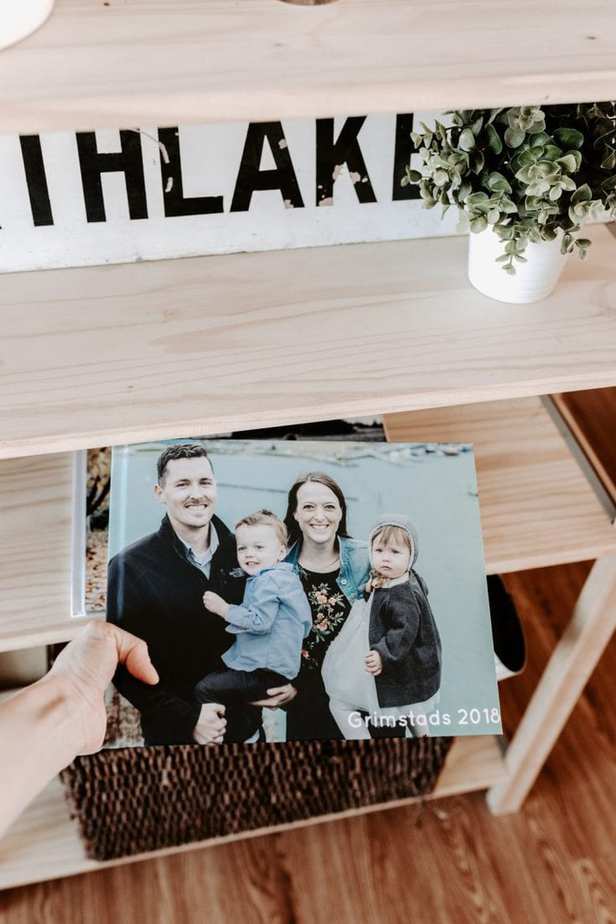
My book ended up being 43 pages long and I only spent my voucher limit (plus $10 shipping– it’s never included.) So this gorgeous photobook cost me $50 total!
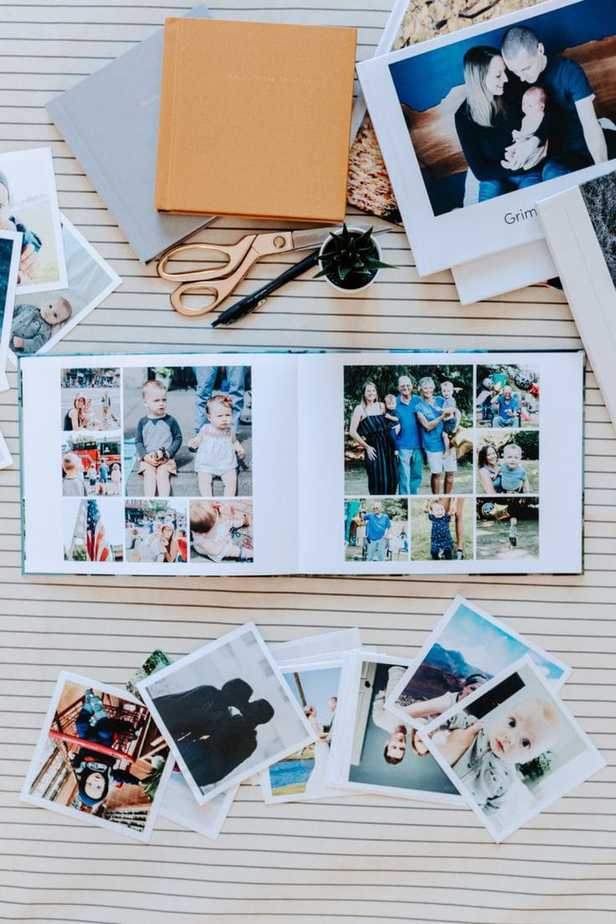
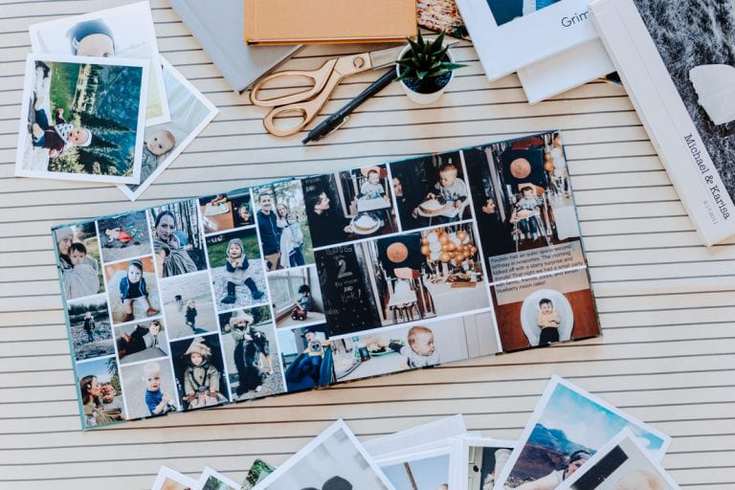
Here’s a closer look at my finished photobook layout. Notice a few things:
- I chose to keep all my perfectly vertical or horizontal, not angled. (This did involve a bit of customization to get the most out of each spread.
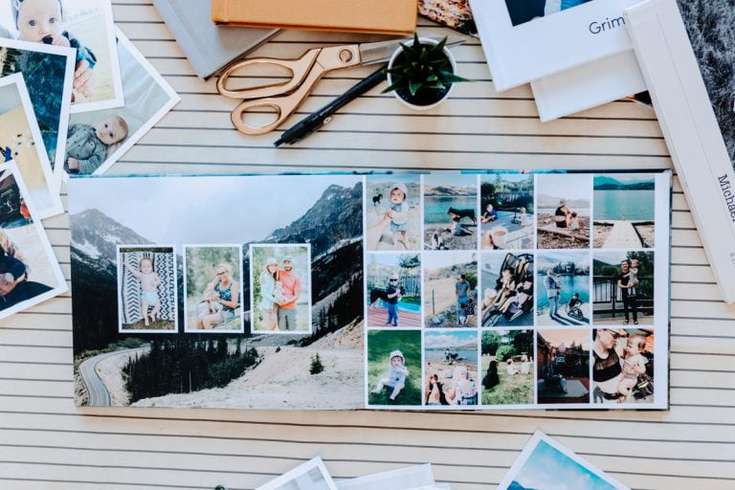
- All smaller photos have a white border to make them pop.
- My busiest pages were the most generic “seasonal” photos. The larger photo spreads were usually event based. Ie. Mother’s Day, Father’s Day, zoo trip, 4th of July, Grandpa’s 80th birthday, birthday’s, our anniversary, Halloween and Christmas pictures.
- I overlapped a few full spread pictures with smaller specific pictures for variation.
- I added a little text to a few events for clarity, but I usually just let the pictures speak for themselves.

I hope you enjoyed this post and feel excited to get those pictures off your phone and camera and into a photobook! Let me know if you have any questions in the comments below!






Leave a Reply