Alright so you want to makeover you Instagram account like we discussed in the previous post! Yay! You’ve also chosen some Lightroom Mobile Presets to use on your photos. Now let’s talk about how to install Lightroom Mobile Presets on your phone!
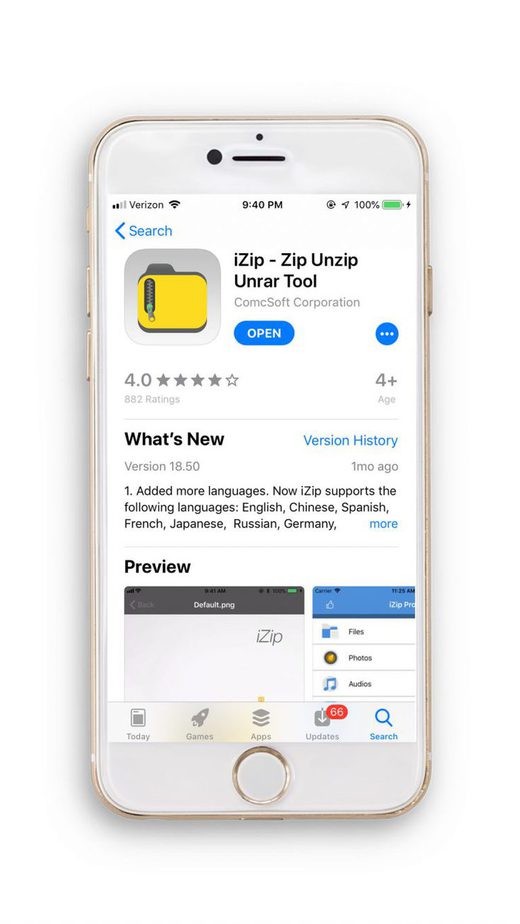
Step One Download Lightroom Mobile and IzIP
Step 2: Add your ZIPPED presets file to Dropbox or Google Drive on your computer. Make sure to have the apps on your phone.
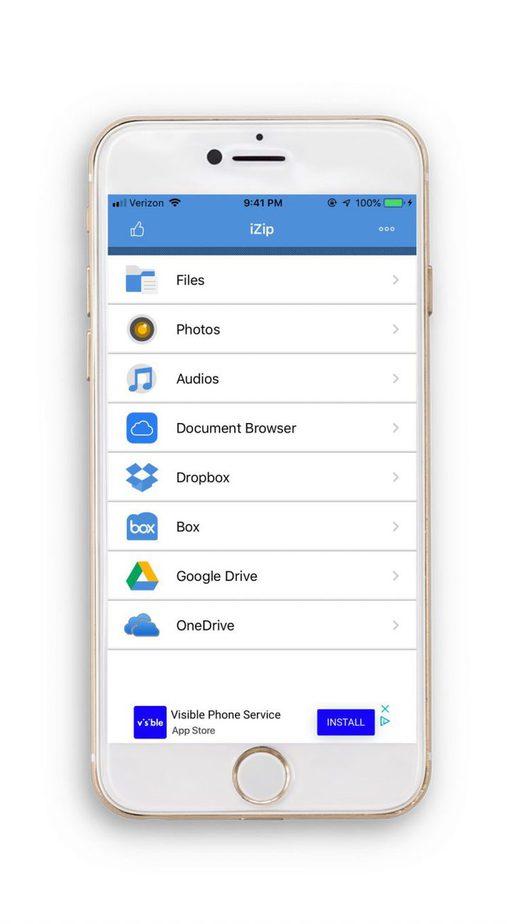
Step 3: Open iZip. Find the drive that has your files in it. Click to open.
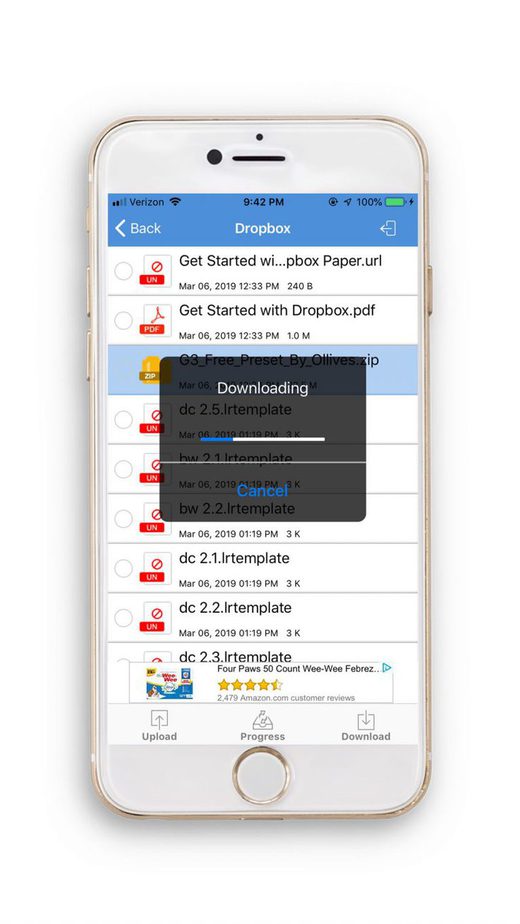
Step 4: Click the preset file to download.
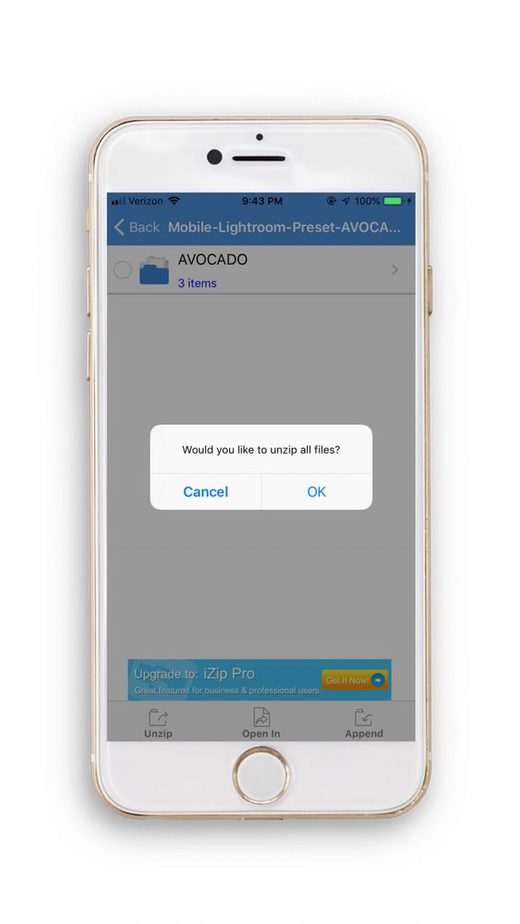
Step 5: Find and open the preset folder in Izip’s “Files” tabs on the home screen. Select “OK.”
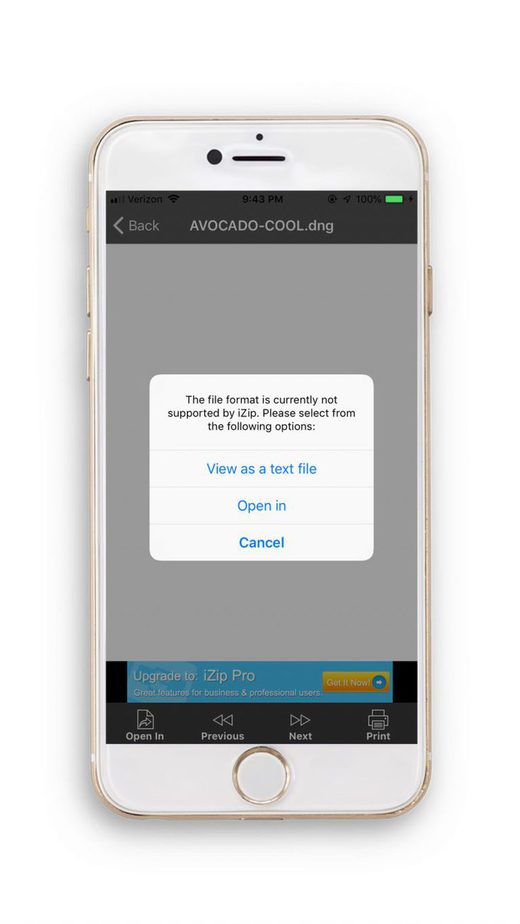
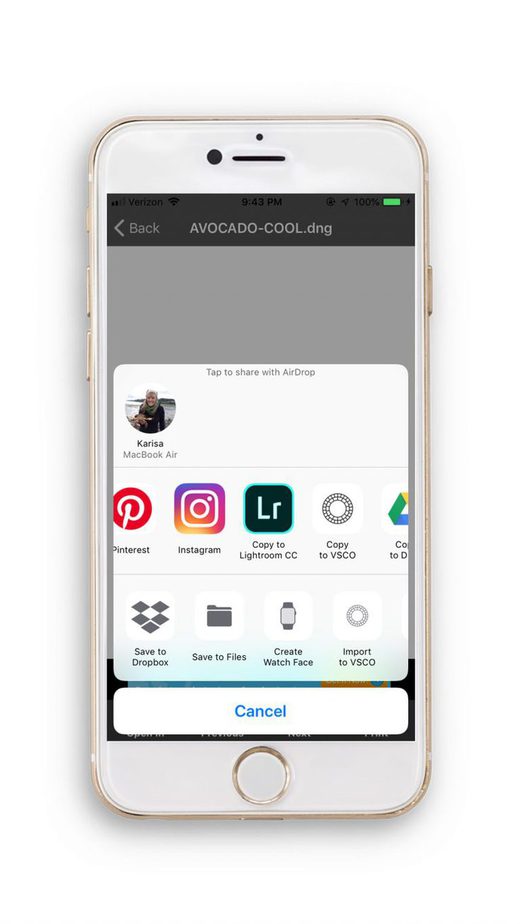
Step 6: Click on one of the unzipped presets and then select “Open In.” Then scroll over and choose the Lightroom App.
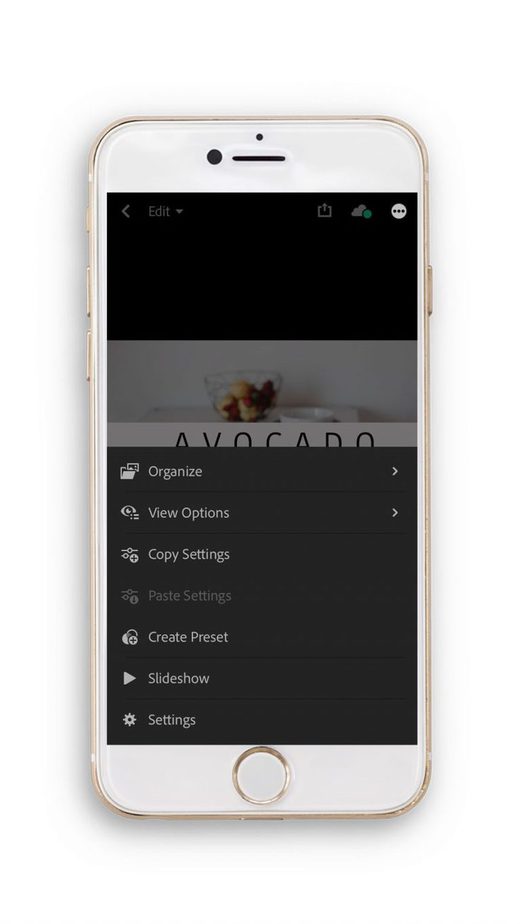
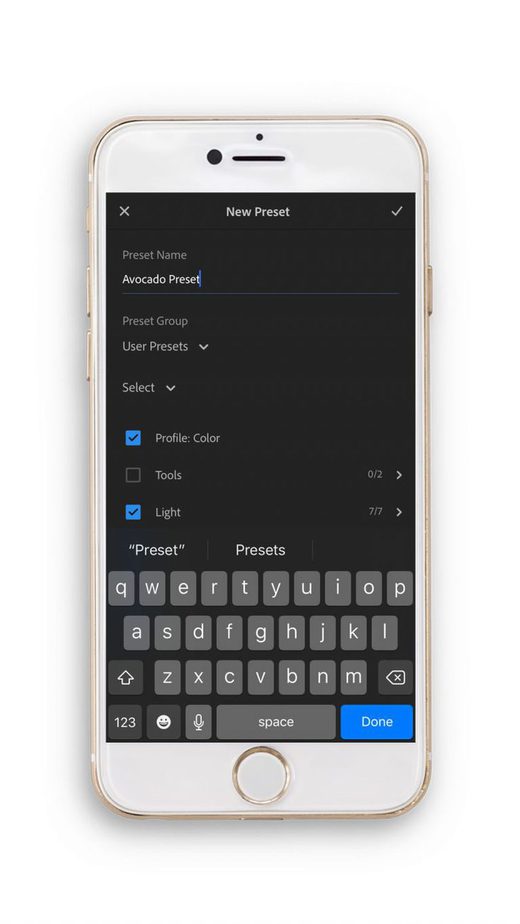
Step 7: Lightroom will open the preset as a photo with all the data recorded in it. Click the 3 dots in the upper right hand corner. Select “Create Preset.” Name the preset and click the check button. Repeat steps 6 and 7 until all your presets are saved in Lightroom.
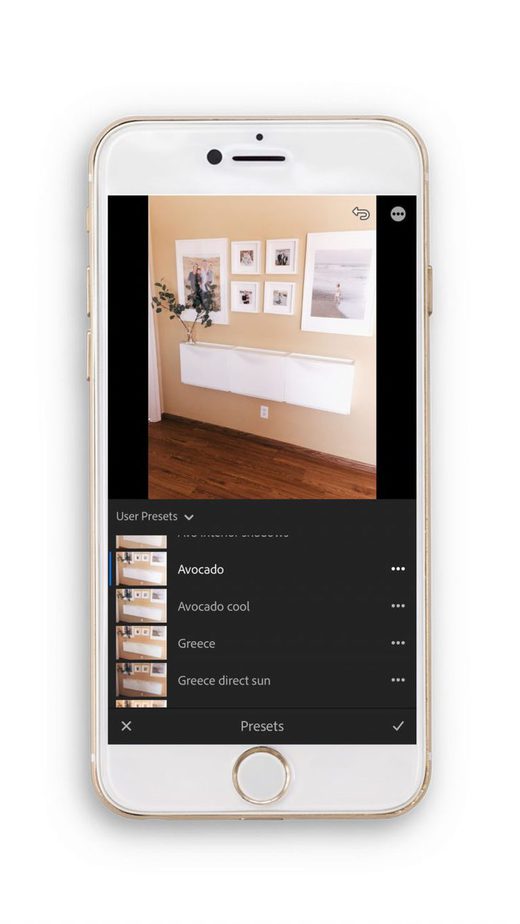
Step 8: Open a photo from your Lightroom Library (or add one by clicking the photo+ icon in the bottom right hand corner). Scroll all the way right in the bottom editing module and click “presets.”
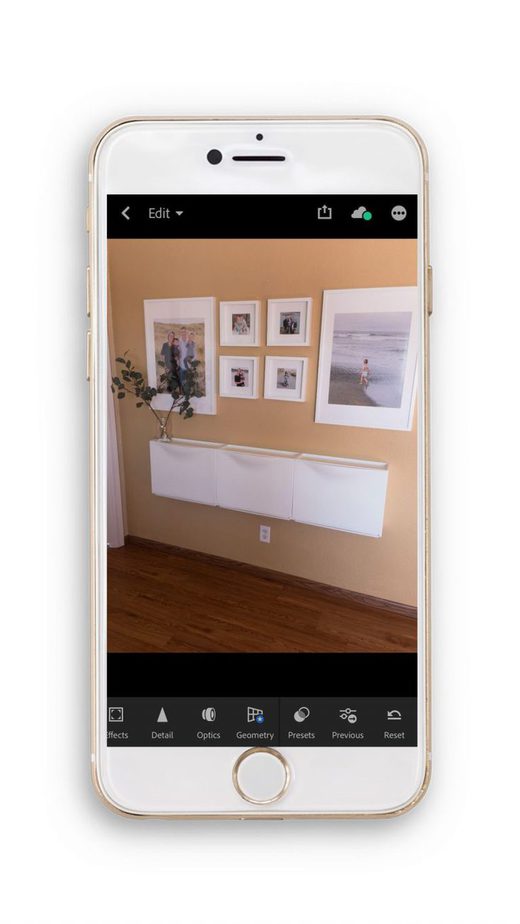
Select your preset!
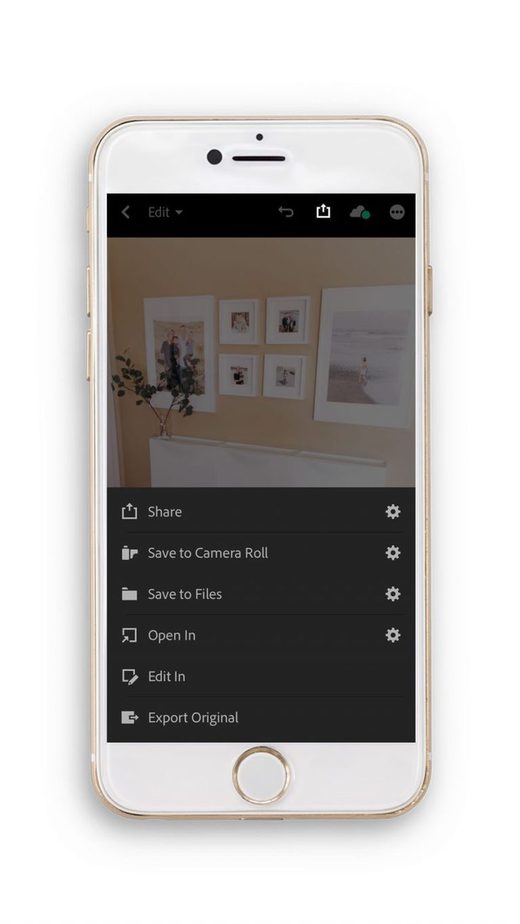
To save your freshly edited photo to your phone or share directly to Instagram click the box with upward arrow and make your selection!
I hope this tutorial easily helped you download your new Lightroom Mobile Presets! Now that you’ve watched this tutorial you can now edit using Lightroom Mobile to tweak your preset to exactly how you want it! Follow this tutorial to see how I edit my pictures! Any questions? Send them below!



Leave a Reply