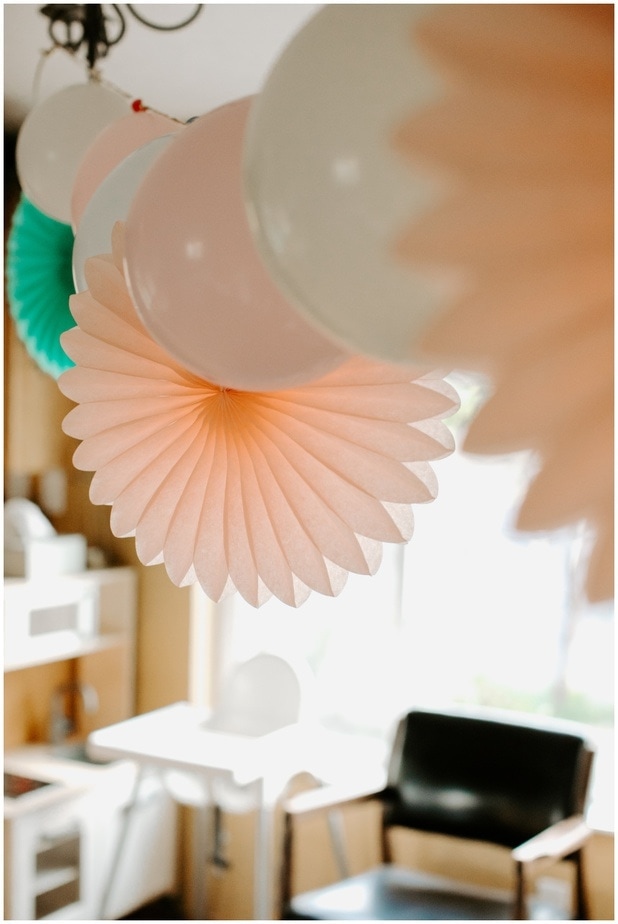
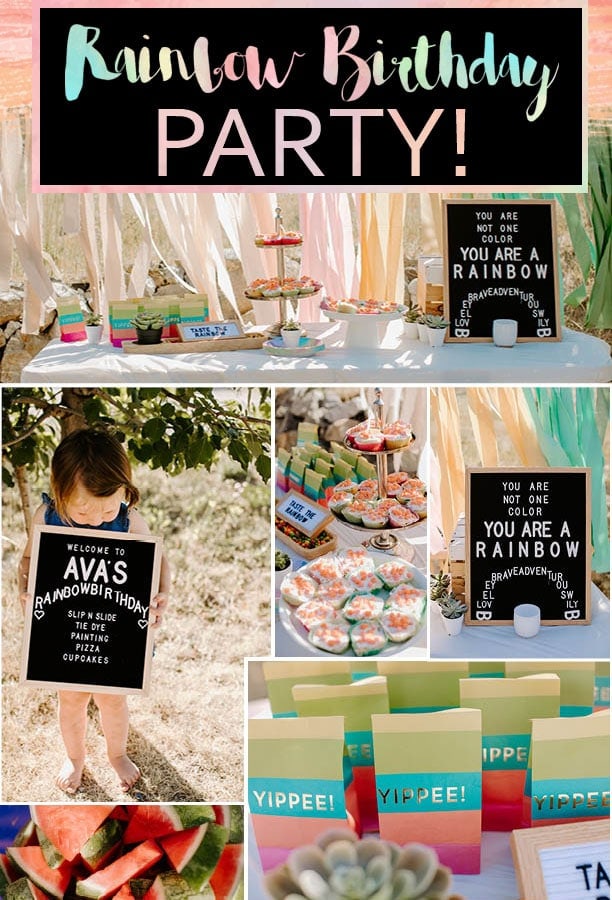
My sweet little Ava just turned two! Last year I threw her a quaint garden party for her first birthday, see it here! and this year I continued with the colorful themes and threw her a rainbow birthday party! It was sweet and simple with some fun activities!
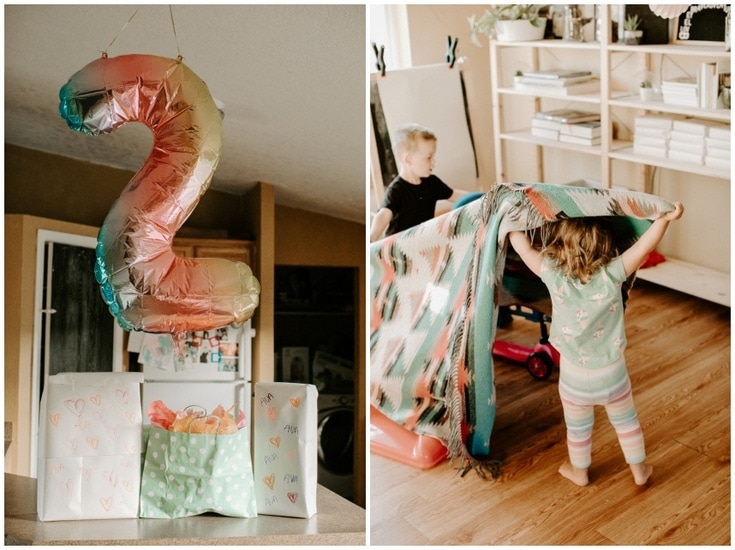
We kicked off her birthday with some surprise balloons and her family gifts. It’s just so sweet to see their tiny human excitement (oh and big brother’s “helpfulness” with the gifts ;)
***See the bottom of the post for all birthday resources!
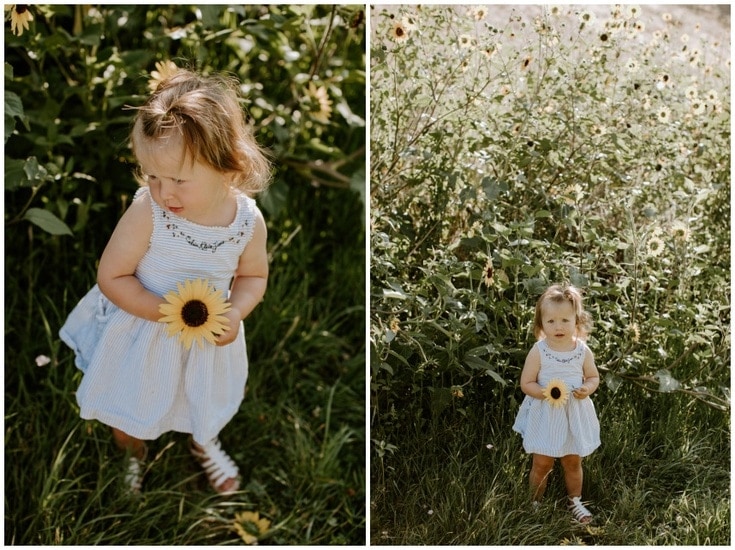
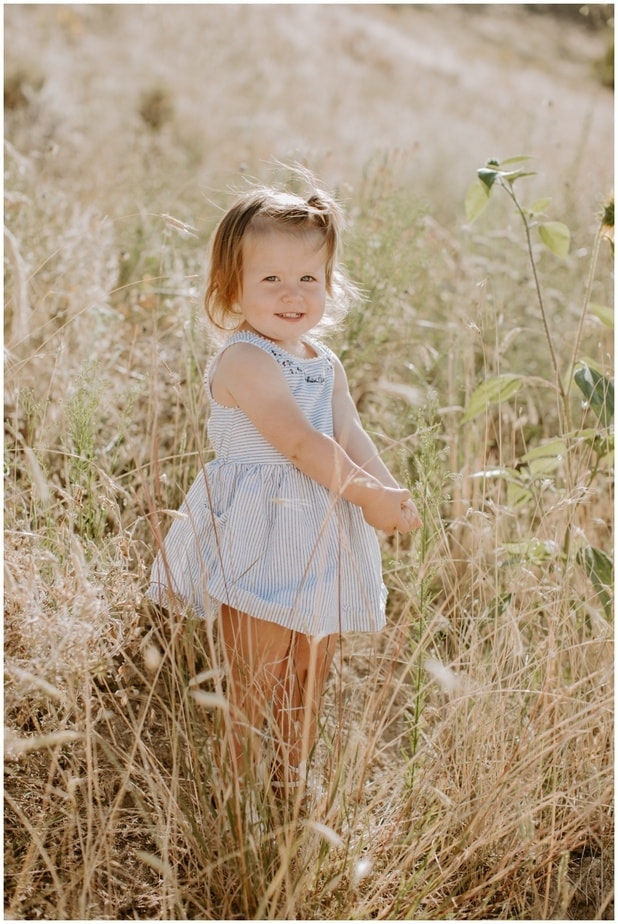
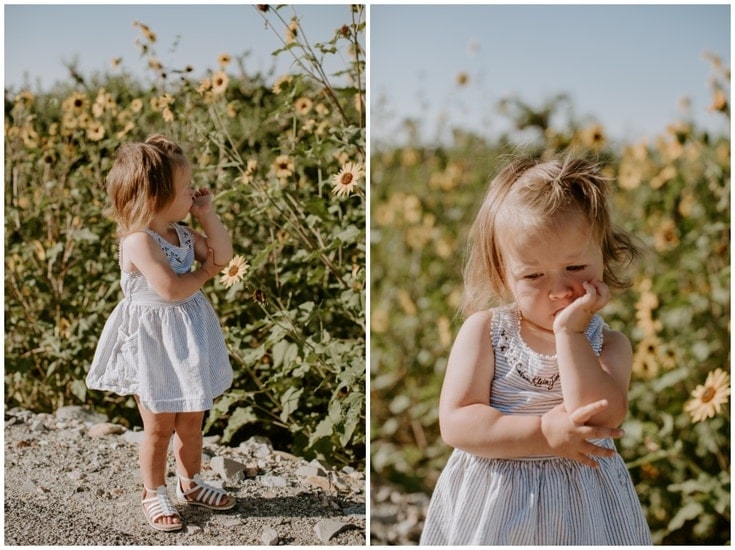
I had to get her out for some special 2 year old pictures with the sunflowers. She was willing to go, but a little less willing to participate for the photos. However, that was to be expected, so I just rolled with it as all toddler mom’s do!
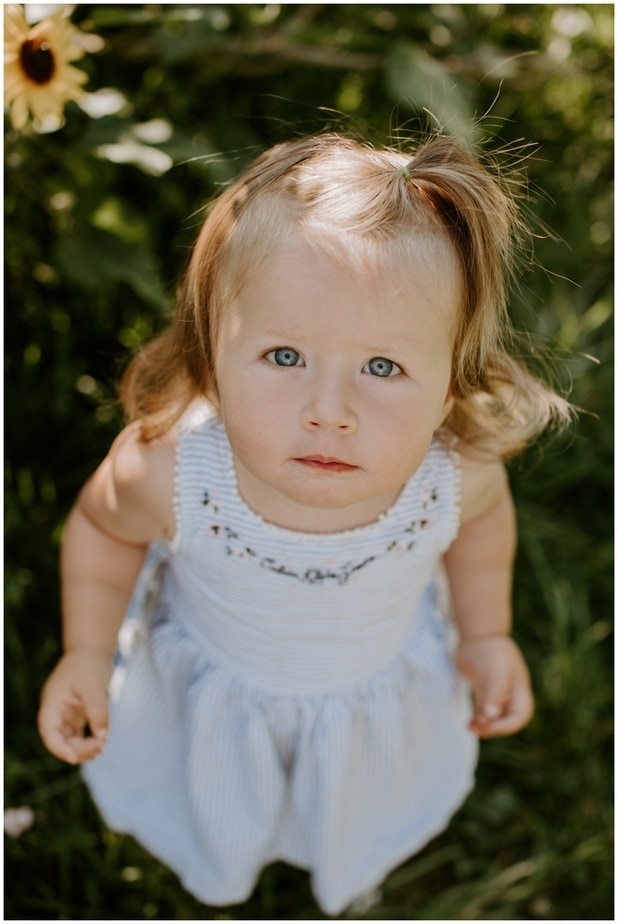
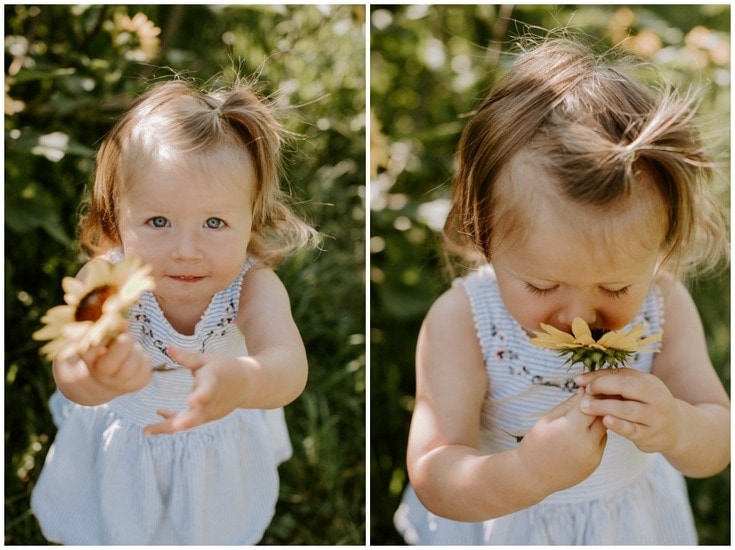
I never want to forget her thumb sucking position. Oh my heart, I love it so much. Those pudgy arm rolls supporting the thumb in the mouth. She’s done this since she was a newborn! (Here is sweet Ava’s newborn story with pictures!)
The Rainbow Birthday Party Prep-work
Any party takes a lot more time than one expects. This party took advance online shopping, week of decor prepping, day before food prepping, and 8 hours of day of work! By their late bedtime I was ready to crash with a hot shower and 2 Ibuprofens!
But because I had my action item list, I knew what I needed to do and was prepared for the time it was going to take! If you love throwing a party, you learn that it just takes a mental deep breath so you can take the plunge! The best is that my husband doesn’t try to dissuade me, but knows to help out when it’s his turn! Love ya boo <3
2 Weeks Out: Order your balloons, table cloths, and fabric (if you can’t get to a fabric store.)
1 Week Out: Find all your decorations you can use in your house for the party. Schedule any helpers that you need!
4 Days Out: Or more, borrow any items you need for the party like tables, chairs, serving items.
2 Days Out: Purchase your fresh groceries and any last minute needs like extra paper plates or table cloths.
Day Before: If the weather is good, set up all your outdoor tables, chairs, slip and slide, fabric banner, and string for balloons! (Don’t inflate your balloons yet as they’ll not survive the cold and heat differences well.)

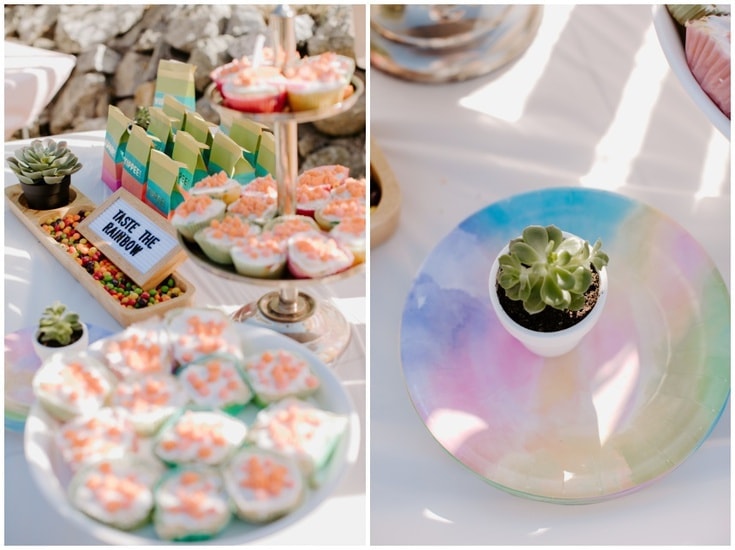
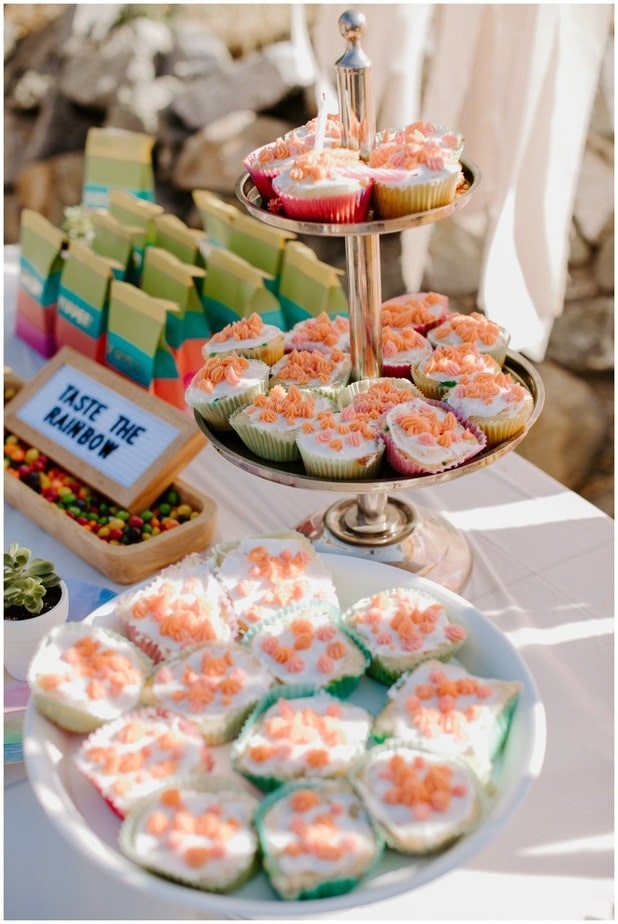
Rainbow Birthday Menu:
- Cupcakes
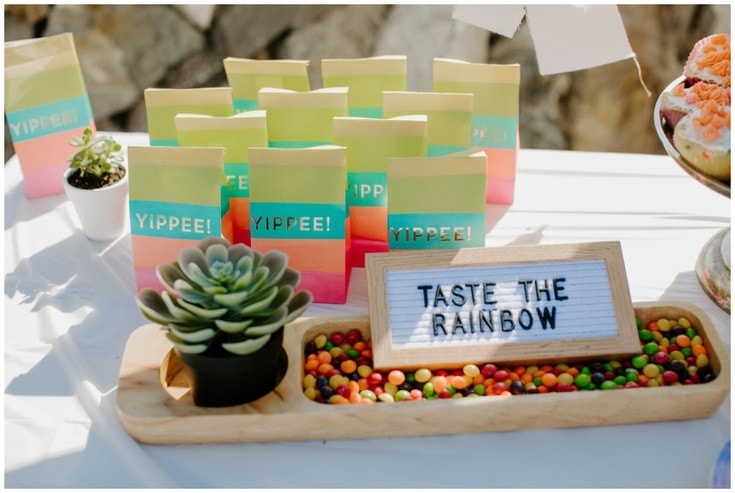
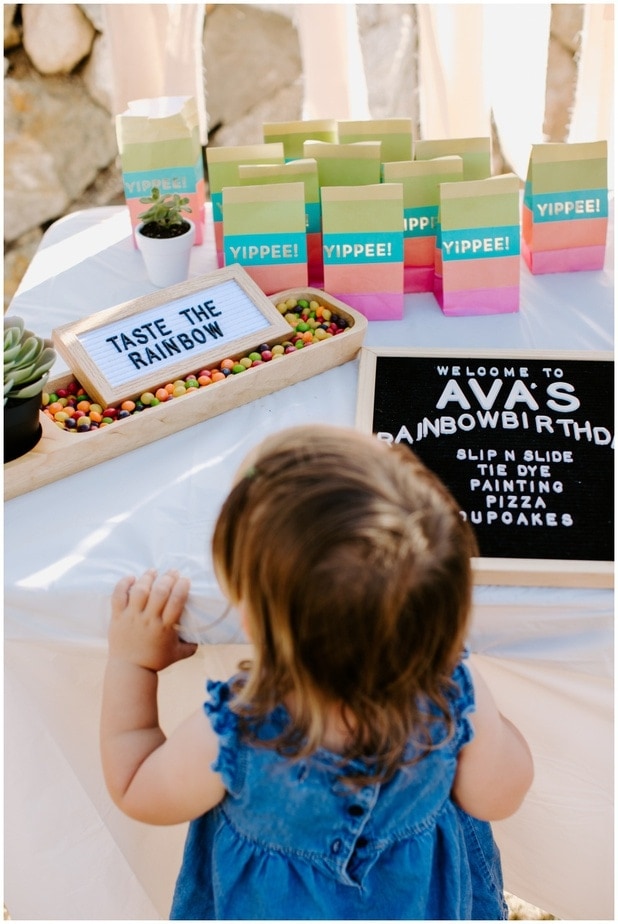
- Skittles
- Watermelon
- Rainbow Goldfish
- Fresh cherries
- Veggie platter
- Caesar salad
- Homemade Pizzas (pepperoni, Hawaiian, cheese, eggplant, and supreme.)
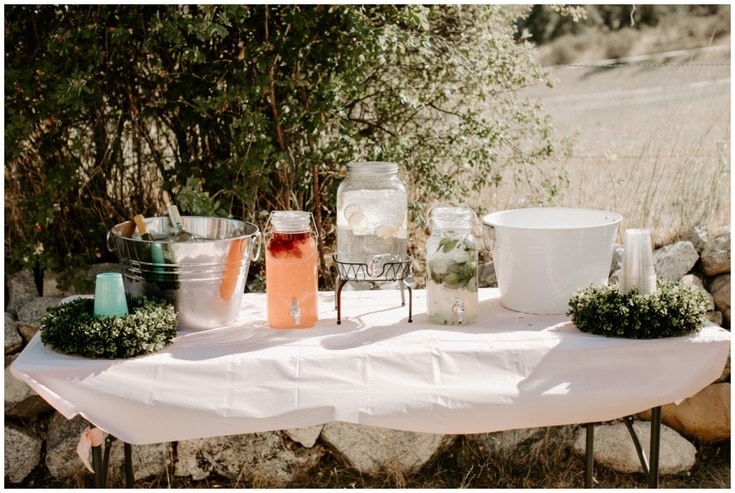
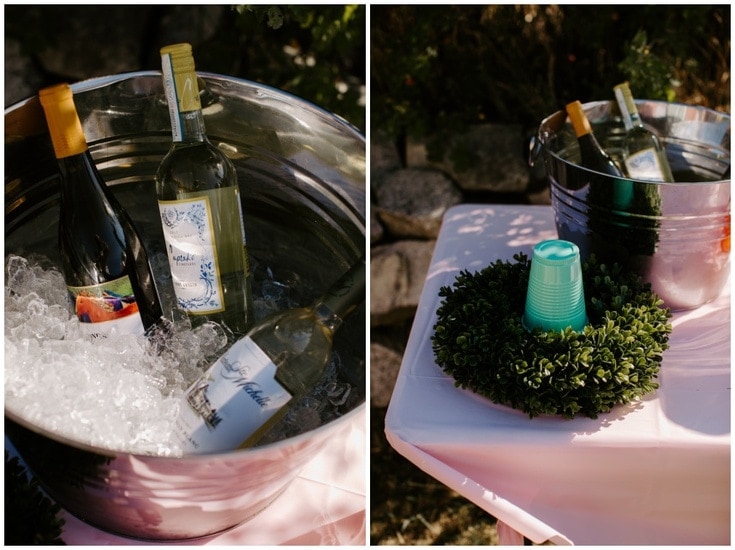
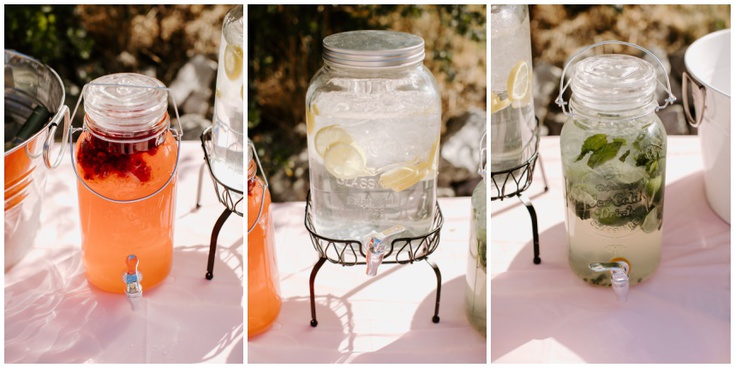
Rainbow Birthday Drinks:
- Raspberry lemonade, with ginger ale, and frozen raspberries
- Lemon water with fresh lemons
- Mojito pitcher*
- White wines*
*To be honest, it was almost a 100 degrees out that day and all the parents were just trying to keep hydrated, so the alcohol kinda sat on the back burner. That’s fine if you keep your wine corked and can store the mojitos for the next day!
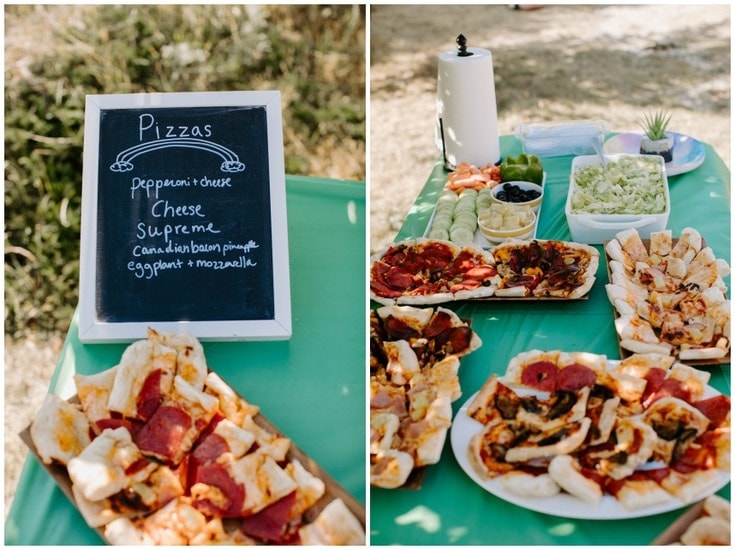
You all know I love pizza. Like can’t go a Friday without it obsessed, maybe OCD, LOVE. So Ava’s birthday falling on a Friday, I decided I had to make my homemade pizza for everyone! I knew it was going to take a lot of time and work, but making it was way cheaper than ordering, and I was happy to share my love with our friends.
Tips for homemade pizza party?
- Make (or buy from a store) your dough the day before. This is my favorite Italian style pizza dough recipe!
- Prep all the pizza the morning of and store in the fridge.
- Have a friend (without littles) come be in charge of putting the pizzas in and taking them out of the oven.
My sweet neighbor (aka our local, loveable, beautiful, “grandma” came and played the last role for me and it was EVERYTHING. Thank you my sweet Teresa, we love you!


Alright it’s time to introduce the main event…
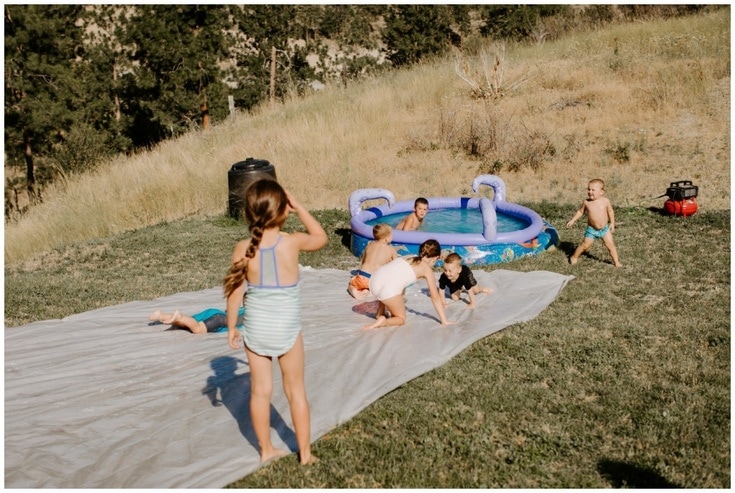
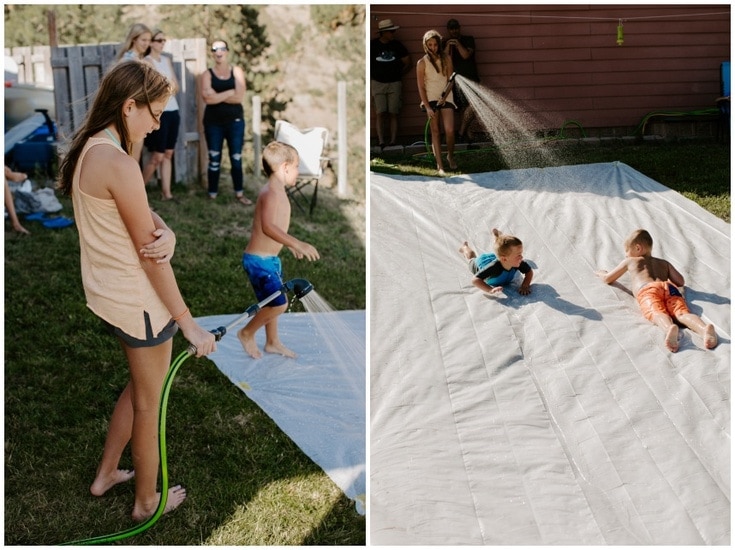
The DIY Party Slip and Slide!
Materials:
- Heavy duty plastic sheeting $15
- Garden fabric staples $1.80
- Soapy mixture
- Hose/sprinkler.
Seriously it’s that simple!! This was a CRAZY highlight for the kids. We still have it up, though folded to half the size to not kill as much grass, for our kids to play on daily. For $17 you really can’t go wrong!
Looooved having my favorite babysitters (and their awesome parents) at the party to help! My heart swells talking about them, I just love and appreciate them so much! <3
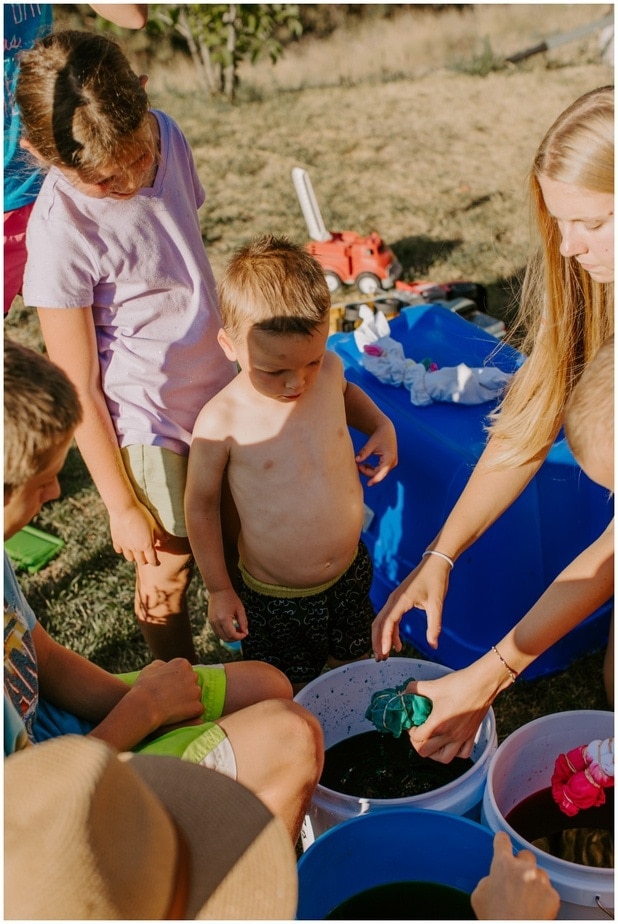
Our second activity was tie-dye! The older kids, and totally us parents too, came SUPER excited to make a rainbow tie-dye shirt! I wish I took more pictures of this, but you know how it goes! Shout out to my high schooler tie-dye rockstar Leanna who manned the station for me!
Rainbow Birthday Tie-Dye station Materials
- 3+ tie dye colors
- 3+ bowls or buckets
- Rubberbands
- Drying line
- Clothes pins
- Plastic bags to take home
- An awesome helper!
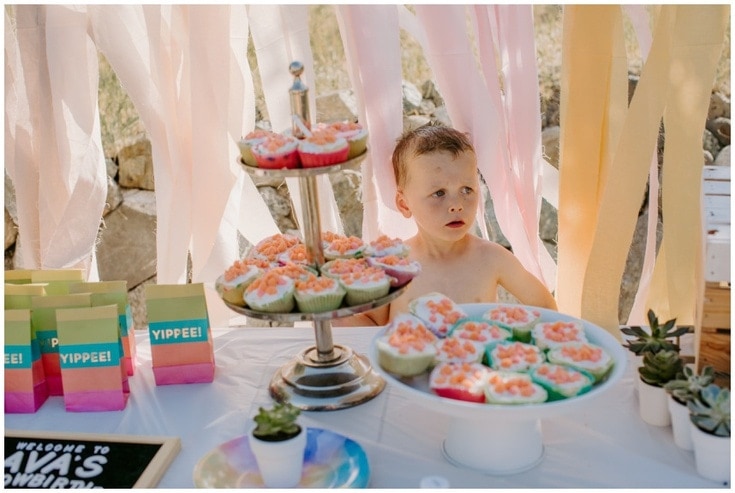
Guys I want you to know that this was another hilarious attempt at me being a creative baker. Each year my birthday cakes take an, err, “interesting” turn! Still, I’m either too proud or too poor to hire someone to make that gorgeous Pinterest cake of my dreams for me! (hahaha!)
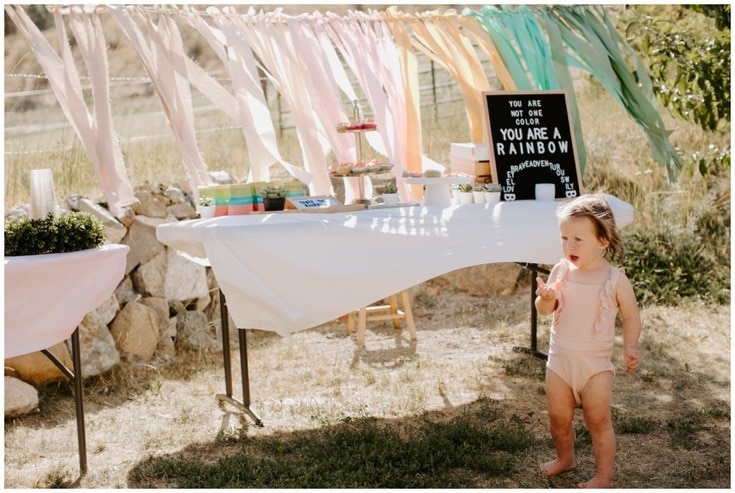
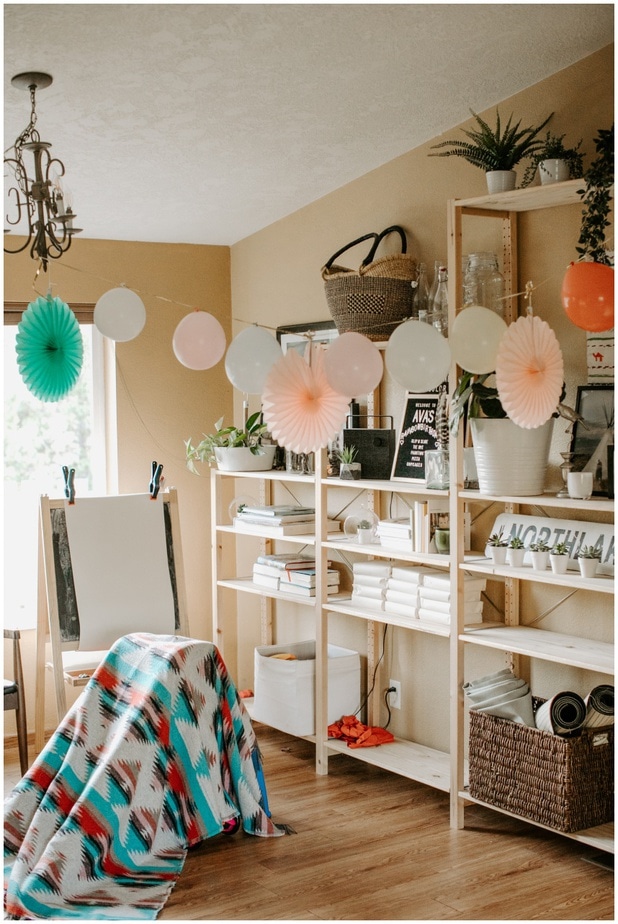
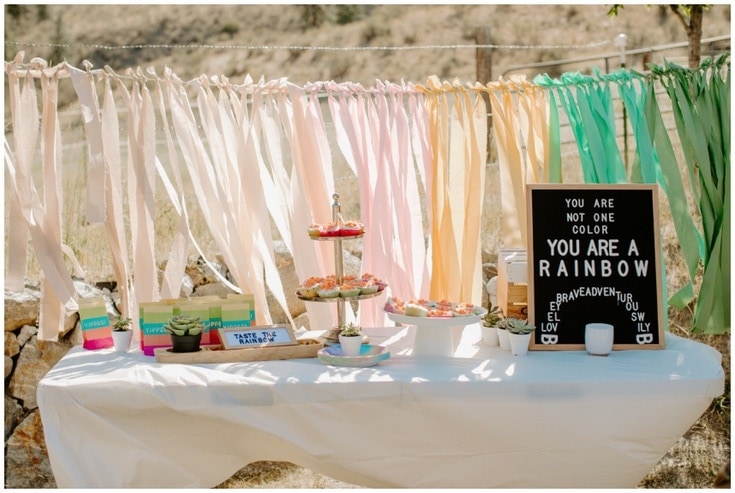
DIY Ombre Rainbow Fabric Banner
I found my fabric at Hobby Lobby. With all their “sale” prices it came out to around $3.5/yard. I purchased a yard of each 6 colors. I was able to cut about 12 strips per color which spanned about 9 feet of rope. I tied my twine first, then tied each piece of fabric to the twine with a simple knot.
After the party, I took the strand and hung it up in Ava’s room for decoration!
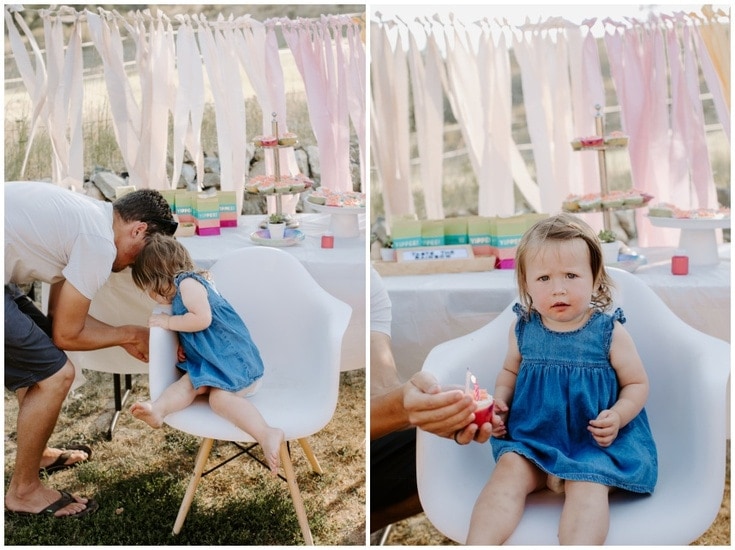
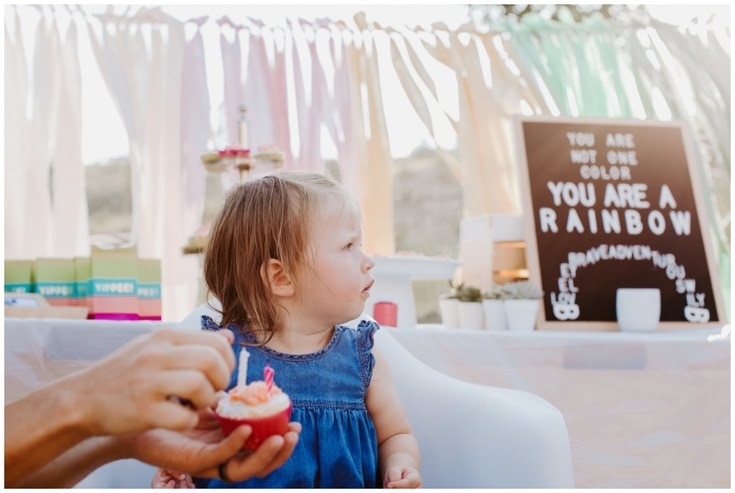
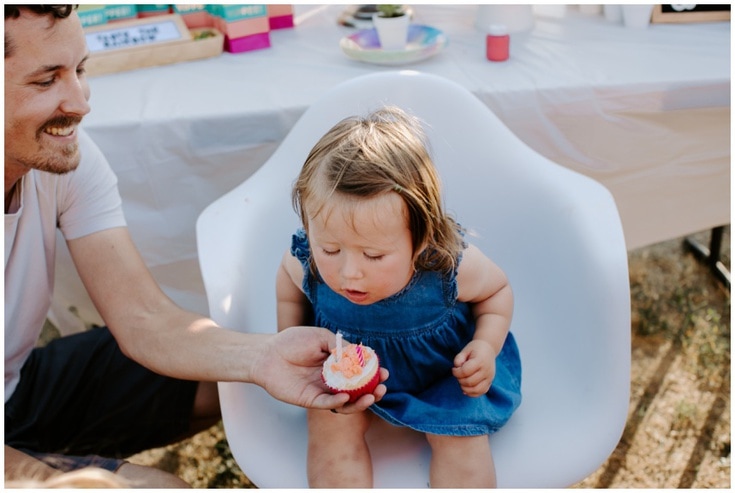
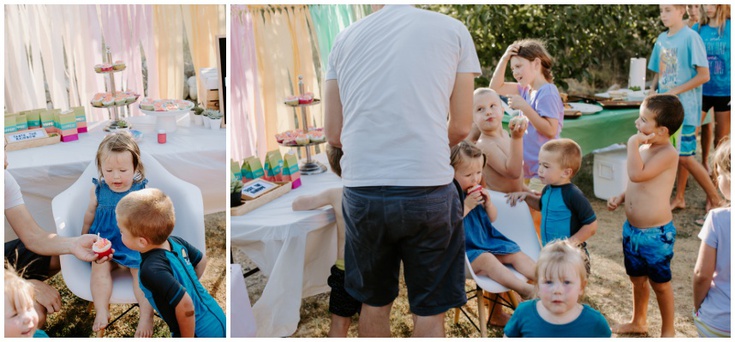
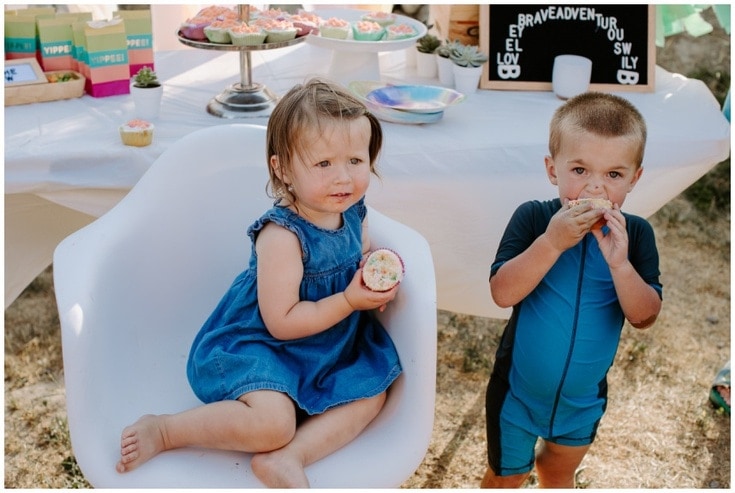
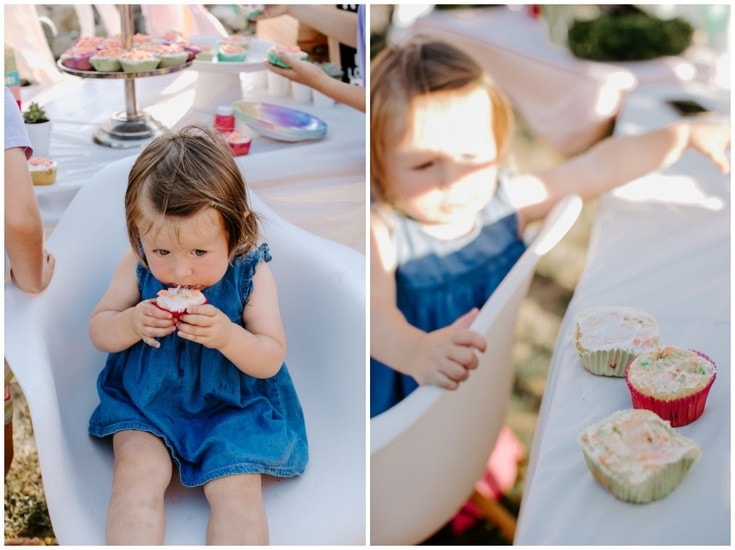
Loved this sweet moment.
And after Ava had opened her sweetest gifts from all those kind friends, I looked down and realized she had been licking off the frosting from one cupcake to the next. — It was her party after all!
Rainbow Birthday Party Supplies
- Party Plates – Hobby Lobby (On Amazon)
- Number 2 balloon – Amazon
- Pastel ombre balloons – Amazon
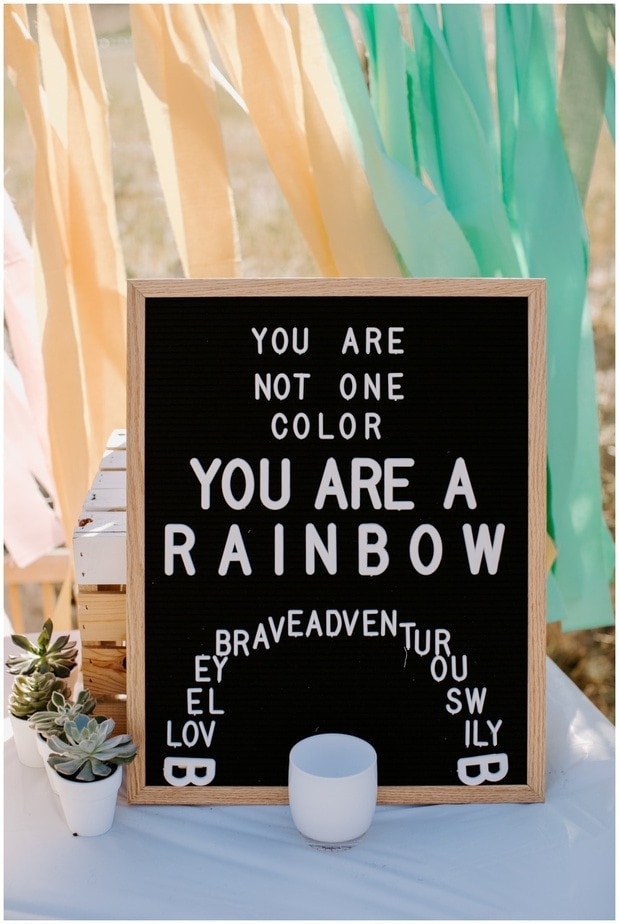
- Large Letterboard – Letterfolk
- Mini Letterboard – Letterfolk
- Fabric – Hobby Lobby (~$3/yard. Purchased one yard of each color)
- Yippee gift bags – Hobby Lobby
- Tie dye – Walmart (emerald, yellow, and red)
- Rubberbands (Walmart)
- Buckets (Walmart ~$4)
- Wood serving plates (similar)Amazon


Leave a Reply