My biggest project as of late has been renovating (but not) the bathroom. I say “but not.” because we really haven’t been tearing down walls or replacing any big items. However, the work we have put in is significant enough for me to view it more than a makeover. I’ll let you decide?
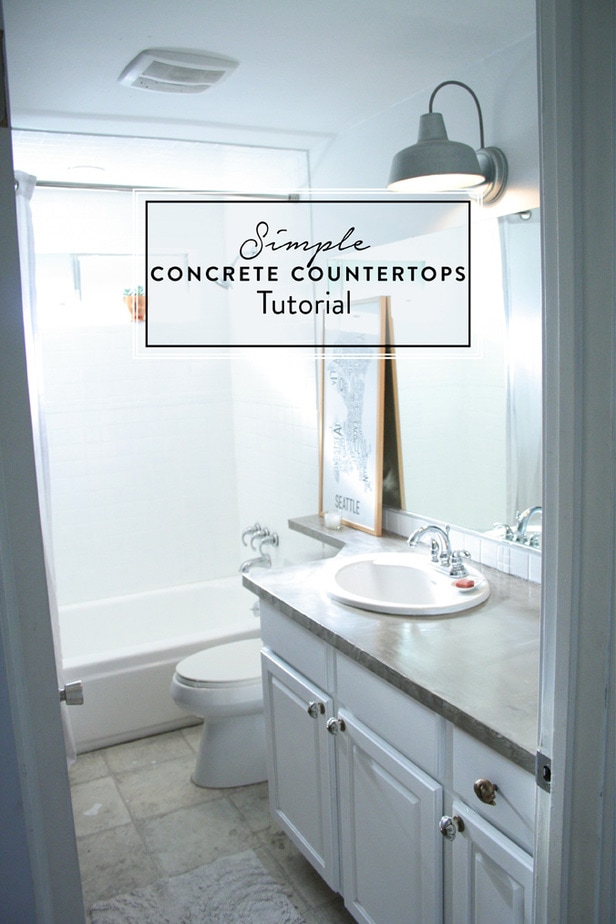
Regardless if it’s a reno or a makeover, we’ve been busy. If you missed last weeks post on our painted shower tiles, you can read that here! Up next for your viewing and learning pleasure are our new concrete countertops!!
I mentioned the product Ardex- Feather Finish in this post a couple weeks ago. Basically, it’s designed to go on top of roughed up surfaces to create a concrete look. Don’t be fooled, it IS concrete, minus the heavy weight of a fully cast form of concrete. It’s fairly simple to apply, inexpensive, durable, and seems like it will be easy to remove someday if we want to put in a different counter. So without further ado.
Components and tools:
2. Drywall Trowel (large), 3-Inch Stiff Putty Knife (medium), and 1-1/4-Inch Stiff Putty Knife
(small)
4. Concrete Cure And Seal Satin Finish
5. Paint brush for sealer
6. Exacto knife
7. 60 & 400 grit sand paper
To begin, rough up your surface with your exacto knife and 60 grit sandpaper. I just scored it a lot with the exacto knife all over. I didn’t have to get deep int the laminate, just enough to rough it up. Then wipe off your surface.
Next you’ll be mixing your concrete. I picked up a lot of tips from Young House Love, and suggest you read their site too and watch their video clip, because I’m going to use it to clarify some things.
First tip: You’ll need to add a lot more water than the bag prescribes, so go with the look of the consistency rather than precision based on the recipe. You’re gunning for a gravy like consistency where it slides around a little, but isn’t drippy when you scoop it out on your trowel.
Second tip: DON’T forget about the fast set. (Like I might’ve out of blind enthusiasm). Mix it up. Let it sit untouched for 5 minutes, then mix again. This is supposed to help it from drying up too fast in your bucket as your laying it, which leads me to the
Third tip: only mix a small amount at a time. You don’t need to fill your whole bucket. Maybe a quarter to a third for a counter size like ours.
Fourth tip: Plop down a LARGE “splat” of concrete onto your counter and begin smoothing out with your large trowel JUST like John does in the youtube video. What we learned after trial and error was that if you don’t use a large trowel and don’t plop a large splat, you’ll get lots of unattractive trowel lines across the counter. Also, cover your floors and cabinets and allow some of the concrete to plop down off the edge. Otherwise you can end up with ugly edges. Be sure to do thin layers so your “oopsies” are easily sanded. Below is our “oops, shoulda done that different” picture because I want you to learn from our mistakes!
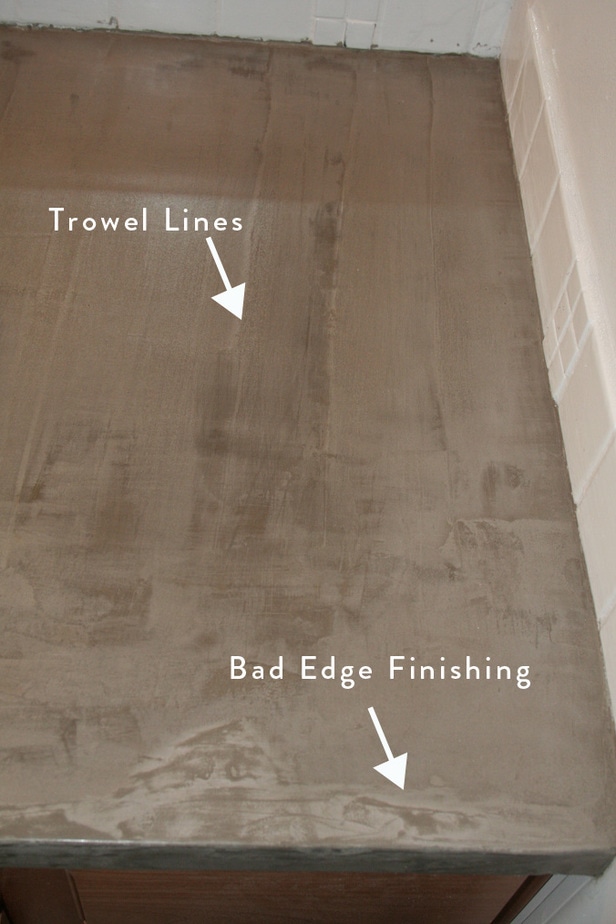
Fifth tip: Round out your edges well with your finger after 15 minutes of the application. This is also a good time to wash off your bucket and trowels. We waited at least 3 hours for the concrete to dry. After that, we went in and sanded it down smooth and putty knifed off the bumpy parts. Then use your shop vac and suck up all the dust and repeat the previous step/tip to add another layer. If you do it well, without as many mishaps as we had, you would probably only need 2 layers. We did four with a lot-a lot-a sanding to get it “just right.”
The nice thing about this finish is that concrete naturally isn’t perfect, so you get to choose how imperfect you want it! When you find your perfectly imperfect place, follow the instructions on the sealer and brush it on. Don’t be afraid of this first look..
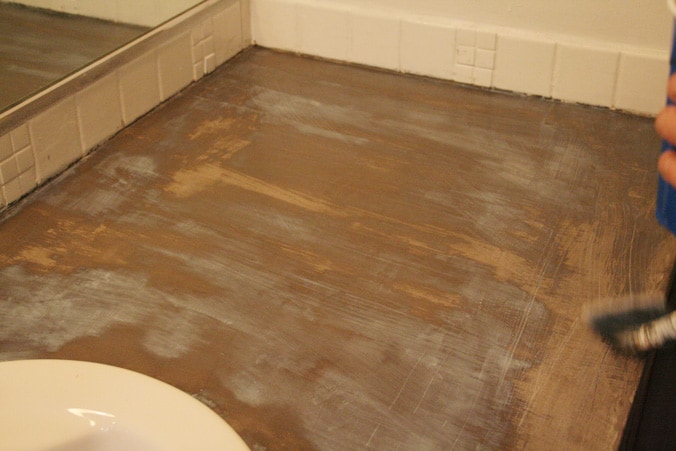
Wipe off the excess and wait at least 24 hours before applying another coat. Mr. G wants to be sure this is legit so he’s doing 3 coats of sealer. After 24 hours the tacky feeling disappears and you have a semi glossy surface with the same color concrete.
Then.Love.It.
Just a reminder, because I’m so thrilled about it.
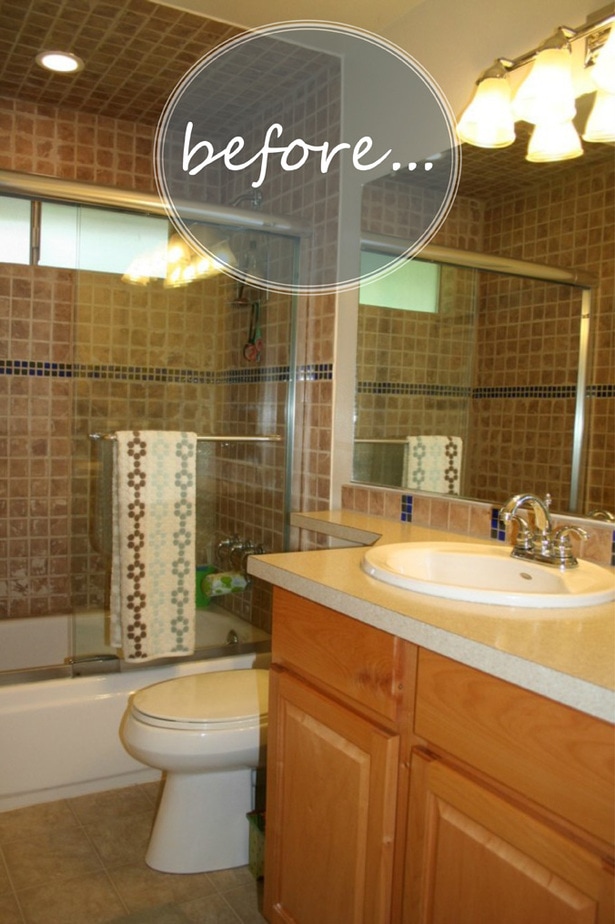
And presently….
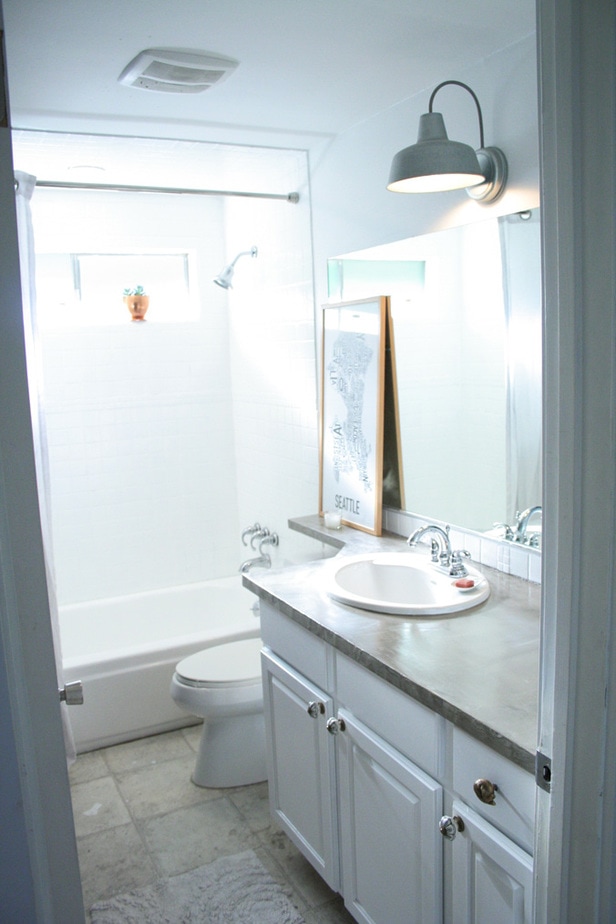
Oh yah, I sanded and painted the cabinets!
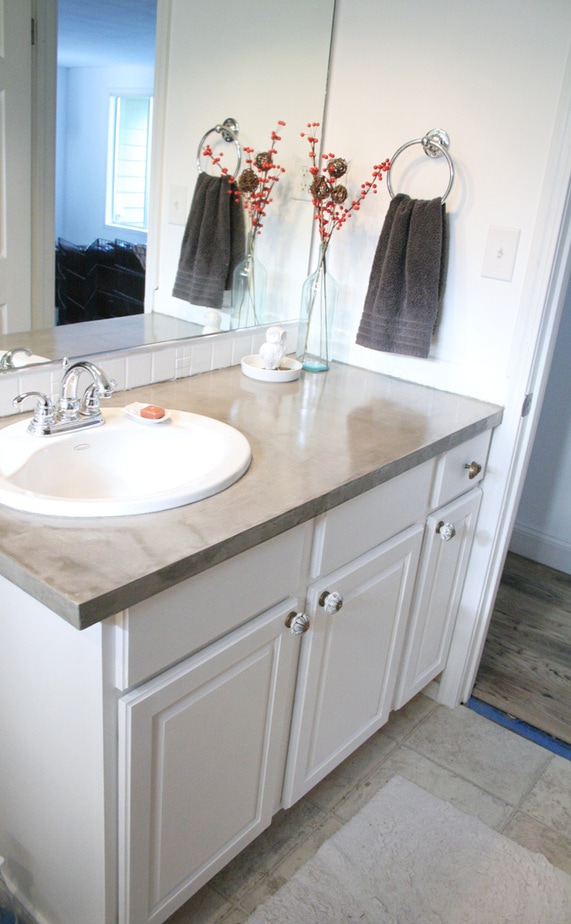
With new floors soon to come…
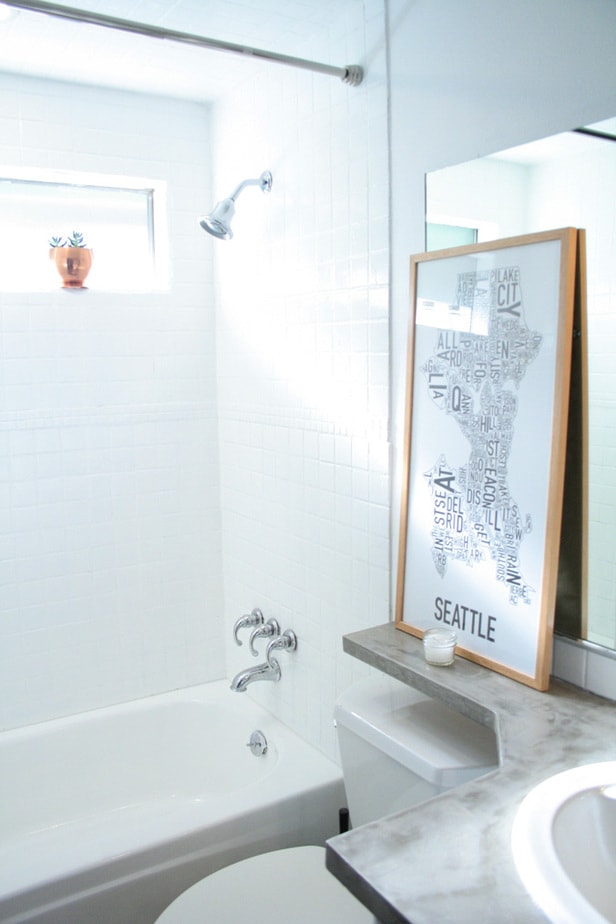
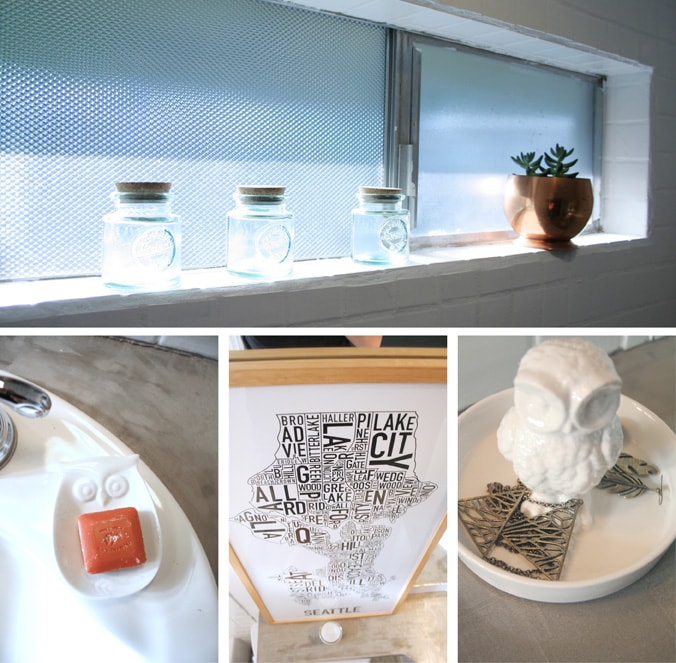
I’m in love with these Anthropologie knobs. I want all the ones they have in their store all over my house..
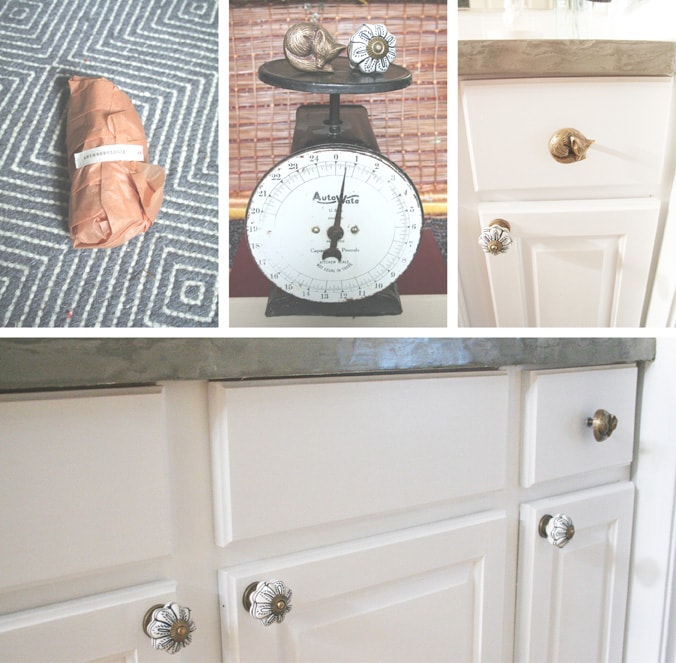
There you have it. You’re up to date with our bathroom “renover” (..does that work?) Still to be done: some more caulking, cleaning off tile paint from things I really should have been more careful with, putting in new floors, and finding more wall decor! So stay tuned for the up and coming posts!
Ps. If you love these projects, please help me share the love on Facebook or Pintrest! Thanks ya’ll! As always, ask any questions below and I’ll get back to you!


Kim says
Incredible transformation!
Erica says
I just love how it turned out! I might have to try the concrete in our bathroom if I don’t chicken out! What kind of shower curtain are you thinking for in there?
Petite Modern Life says
Fun! I think just white. :) not sure what type of fabric or style. Probably the most simple…
Julie says
This turned out fantastic! I have been wanting to try this in our guest bathroom…pinned!
Petite Modern Life says
Thanks Julie! I still love it and am tempted to go for it in the Kitchen, or make full concrete casts (eek!)
Laurie Jacobs says
I love the makeover! I have already painted my cabinets white and replaced the hardware. I currently have a cultured marble countertop and sink, and would like to re-do that. Do you know if the concrete will work in the sink as well?
Petite Modern Life says
Thank you Laurie! Here is a great tutorial to do just that! http://www.designertrapped.com/2014/10/diy-vanity-concrete-overlay.html
Joe. T says
I’d be very interested to learn how your Ardex countertops hold up over the long run.
I used it (un-tinted) and the finished product looked great, but I was concerned with sealing it and how it would hold up over time as a countertop. I experimented with several concrete sealers and stone sealers, and at first, they all seemed to work pretty good, but after a couple of weeks, the sealants broke down and the Ardex began to stain from water rings, spills, etc. With medium typical countertop usage, I also found the Ardex to scratch and dent fairly easily.
After reading the ingredients listed on the Ardex SDS (Safety & Data Sheet), I learned that only a very small amount of this product (1 to 5%) is actually Portland cement. The majority of the mix is made up of calcium, limestone and a vinyl co-polymer, which I believe explains why sealers made specifically for concrete don’t seen to hold up over time when used on Ardex. It was a fun project, but I ultimately tore out the Ardex and replaced it with real concrete countertops. While demolishing the Ardex countertops, I noticed that this material is much more like a thick vinyl or linoleum, and nothing like cement.
I’m very happy with the concrete, but sometimes wonder if I had done things differently with the Ardex if I’d still have them today. So, please let me know how your cool project stands the test of time.
Petite Modern Life says
Hi Joe,
Yes, those are all issues with the concrete counters I believe. We didn’t have water ring issues so much though between our bathroom concrete counters and concrete island. The scratching and the denting was definitely a factor that happened very quickly because the concrete, like you’ve pointed out with the ingredients, is very soft. We actually sold our house about 7 months after we built the counters so I can’t provide an honest opinion about the longevity of such a project. However, from our short experience, though really cool looking and (mostly*) inexpensive, we would not do it again and are glad we don’t have to deal with them now! Not sure what the present homeowners of that house think. They might, like you, tear them out and put in real counters.
*We spent a decent amount of money on the wood we used under the concrete for the island.