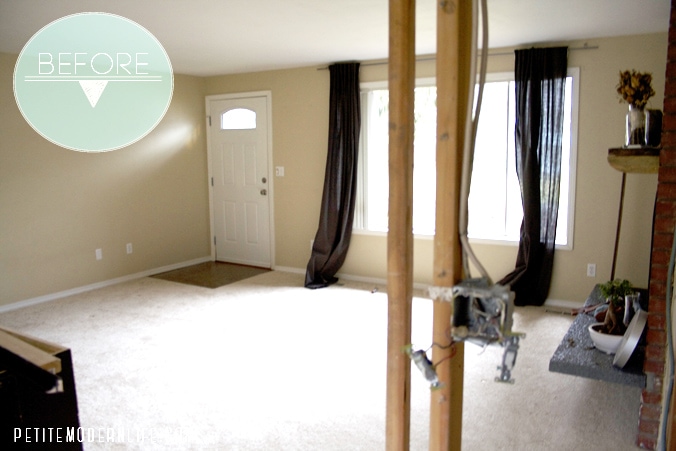
The first time we toured the house {see here} back in the day (ok, it was in January), I saw the entry wall and mentally noted “insert wainscoting here.” I was so excited about it that I got ahead of myself by researching and creating a post about wainscoting that I thought was practical..a few months ago.It wasn’t until this past weekend that we actually started and finished the wall (hooray!) This is the best before pic I have from when we moved in, taken through a “wall” that once was before I got my hands on a crowbar and hammer.
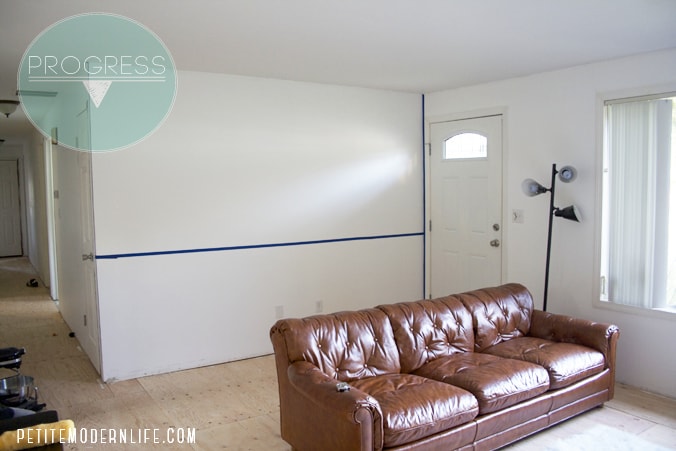
 Then we painted the entire house ultra white (and tore out all the carpet and floors)
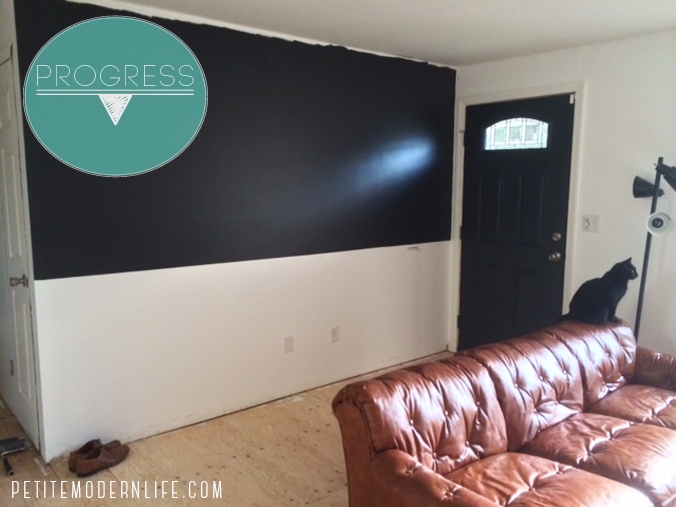
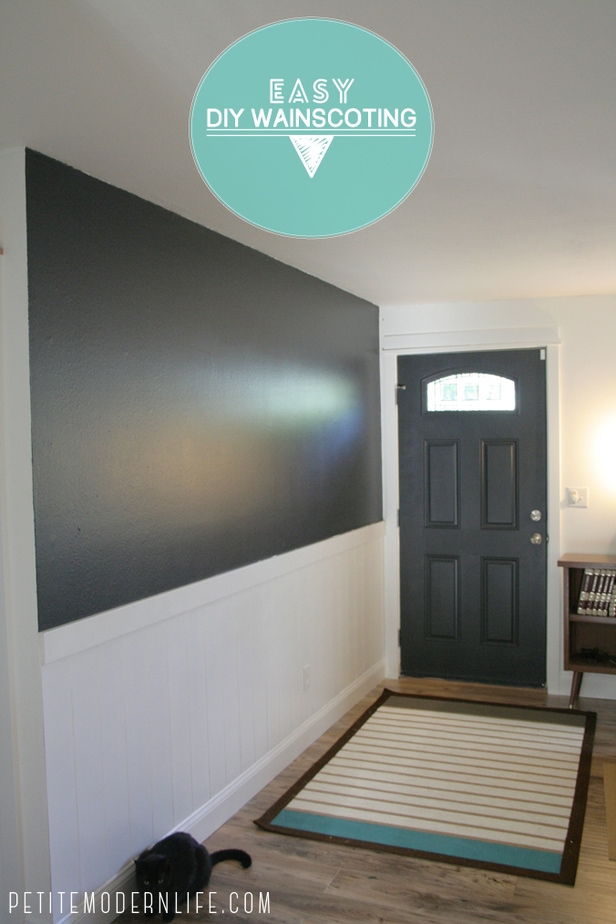
Next I painted half the wall and the door with Benjamin Moore Witching Hour. And this is how it stayed for a few months (until I touched up the top.. I was/am waiting for crown moulding..)
So then, how we decided to do the wainscoting. I had actually been harboring the idea, like a criminal just waiting to escape my mind palace, for quite some time. (Yes, I love Sherlock) It was inspired by Mandi, over at Vintage Revivals, who had a tutorial up for a diagonal planked wall where she used the material you’d find on the back of a dresser called “hardboard wall panels.” It’s cheap, easy to move around & quick to paint. I thought it was genius and convinced my husband that it would be a great option for our entry way. What’s even greater about using the hardboard is that you don’t have to take off your baseboards to put up the wainscoting. The pieces are thin enough to rest on top of baseboards. So, with gusto, we headed over to Lowes and picked up two 4×8 foot hardboard wall panels and one 12×3.5 foot mdf.
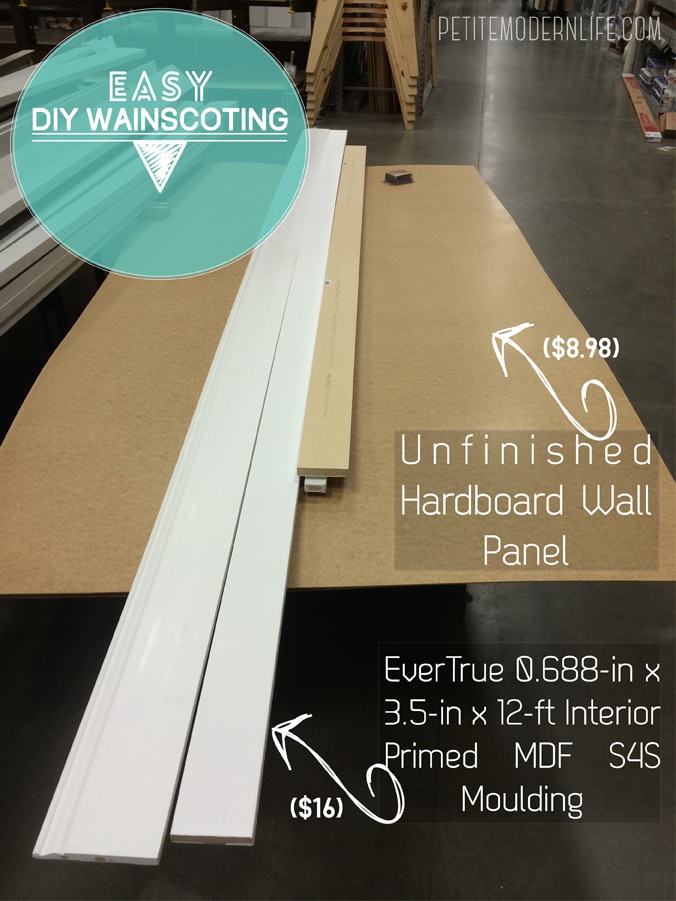
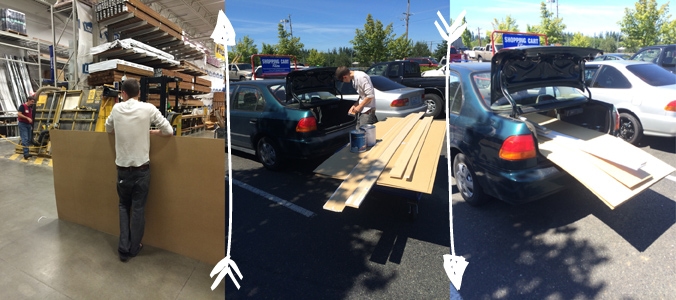
We would’ve loved if Lowes would have cut all the individual strips, but they said their large cutting machine would have issues cutting it down that small. So we just had them cut a foot off the top of each board. Then we did a magic trick and “fit” all the pieces into our utility vehicle. Almost? Don’t worry, we literally, almost embarrassingly, yet oh so conveniently, live right across the street from Lowes. One intersection of terrifying the people behind us and we were safely back in our driveway.
Mr.G set up a system (which I didn’t get a picture of) with his chop saw to cut all the panel pieces out of the boards. Unfortunately, when we put them against the wall none of them lined up, though all the same size.. We realized that our house is old and saggy. It happens. So poor Mr.G had to individually cut each piece in the end to fit right. We decided to put the MDF rail up first to measure the panels against. Then we used a nail gun to attach the panels. Here are the dimensions we went with.
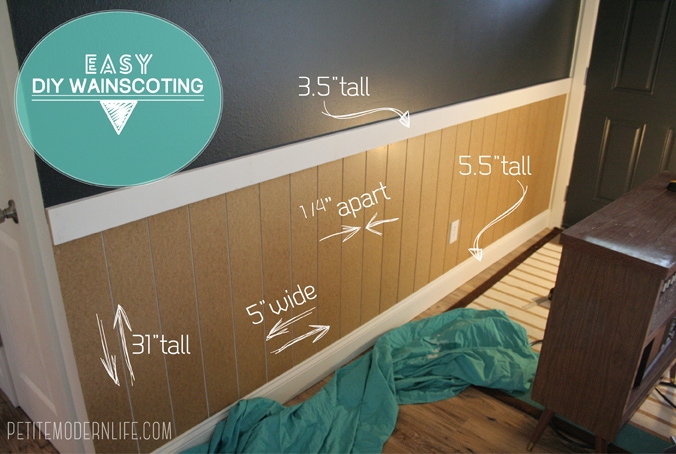
We used a little less than one and half of the wall panels to cover this 10 foot section. Prior to painting I filled all the nail holes in with spackel. We started out with one of the “higher quality” Lowe’s Valspar paint and primer mixes and were just not thrilled with how many coats it looked like we would have to do. So we stopped and ordered Benjamin Moore Ultra White in semi gloss, which went on much better, leaving us much happier. We used a brush in between the panels and a high density foam roller for the panels themselves. We’ll be caulking below the rail and above the baseboards to finish the look well.
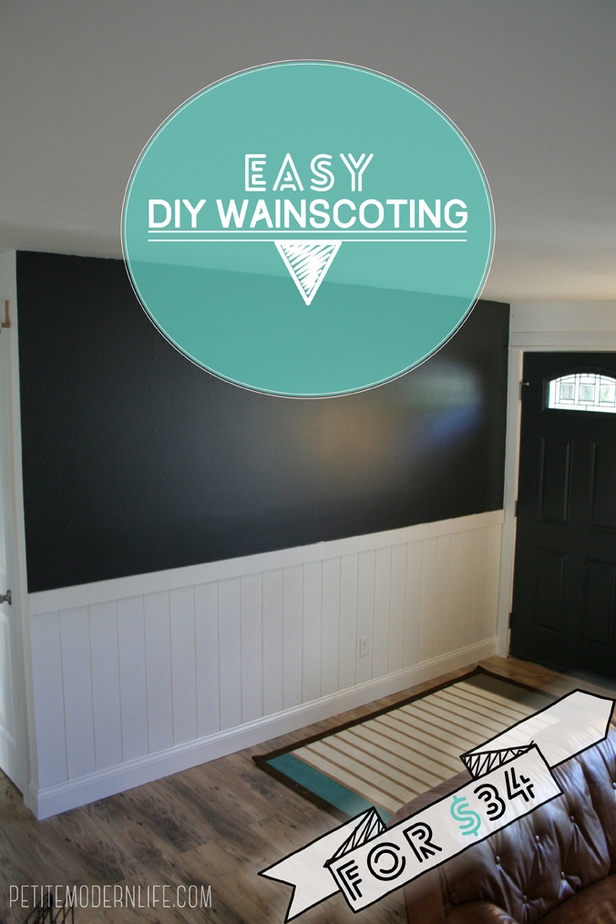
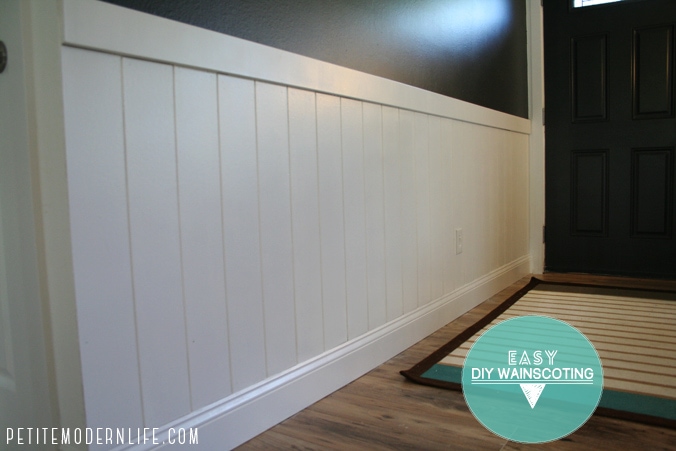
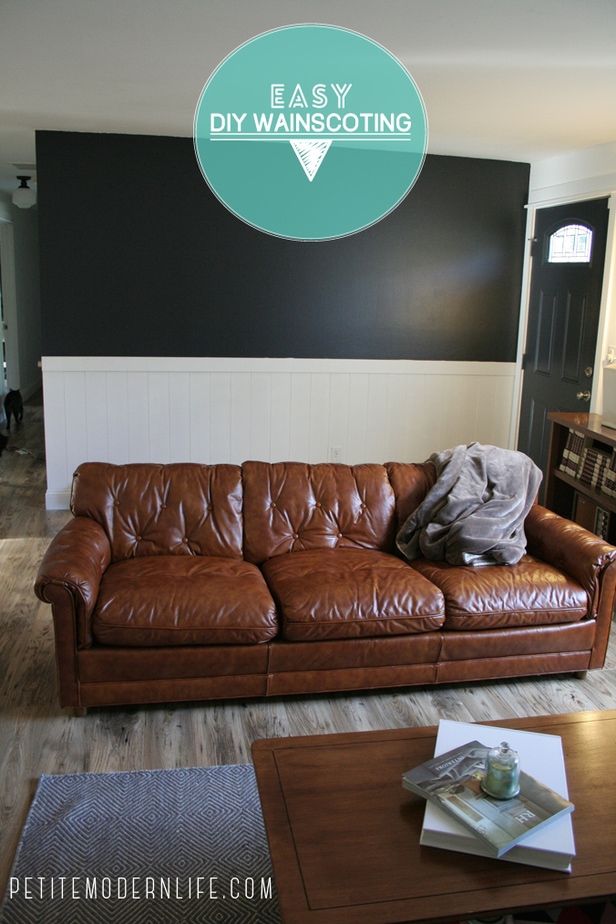
Hope you enjoyed this DIY wainscoting tutorial! I’m excited to use these pictures to plan out how we’ll be decorating this spot in the house. Hope to share that with you for our Friday Look Book posts!


Guerrina says
That is the perfect solution for my half bath on the first floor! ThankyouThankyouThankyou!!!!
Petite Modern Life says
yahoo! I’m so glad!
Alex says
Love this DIY. Wanted to know how you guys decided on 5 inch cuts and 1/4 inch gaps in between? Im thinking of tackling this same project however im doing a long entry hallway which has several door ways every few feet. Also the way your door has no gap between the hinges and the wall mine has 23 and 5/8 inches of drywall. If i used the same size panels all the way around it work work but if i use different size panels in different wall sections im worried it will look weird.
Thanks
Petite Modern Life says
Hi Alex! Great questions. So if I remember correctly, we partly decided the cuts based on how many we could get out of the sheet, but also based on how many were needed to make it across the wall. Check out some pictures of wainscoting to see how they cut the wood for longer, interrupted hallways. It would be better to have partial cut pieces against your door frames than to have different sized pieces/spacing on different walls, but you can see more of that in pictures online I hope! Good luck!