Welcome back to my How to Start Your Own Blog Series! Now that we’ve discussed Why You Should Start a Blog, How to Choose a Web Host, and How to Design Your Blog, we can get down to how to setup a beautiful blog post!I focus a lot of time and energy to the aesthetics of this blog. It has come a long way since its beginnings and I’m still learning, but I want to share some key elements on how you can setup a beautiful blog post.
Content
Honestly, we have to start here. I’m not an English major, but this part is the key to having a good blog post and growing blog! It might take you a while to find your “blog voice,” and that’s ok! It will grow with your blog and your confidence in what you are writing about. Here are a few things to think about as you write your blog post (note: these might lean more towards a DIY/Lifestyle Blog)
- The hook in the first paragraph: What are you going to tell your readers about in the post? How will it make their life easier? Is it going to save them time? Money? Stress? Hook your reader with this promise first, before telling them something about you.
- Bullet points: The majority of people first look for images then look at the easiest to read parts of a post. Using bullet points and headings will make your post memorable and reader friendly!
- Text layout: Is your text going to be centered? Left aligned? Justified? There’s no exact right answer, but it is easier to read a post that is left aligned and/or justified rather than centered. In whatever you choose, be consistent throughout your posts. (I always justify my text.)
Images
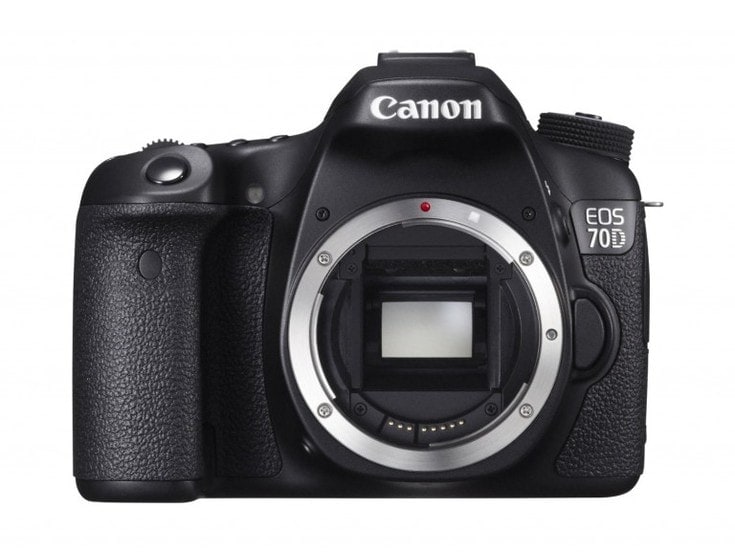
In my blogging reading and writing experience I’d say that quality images are the most important part of your blog. We are visual people so images are a big deal! If you’re curious, I use this camera
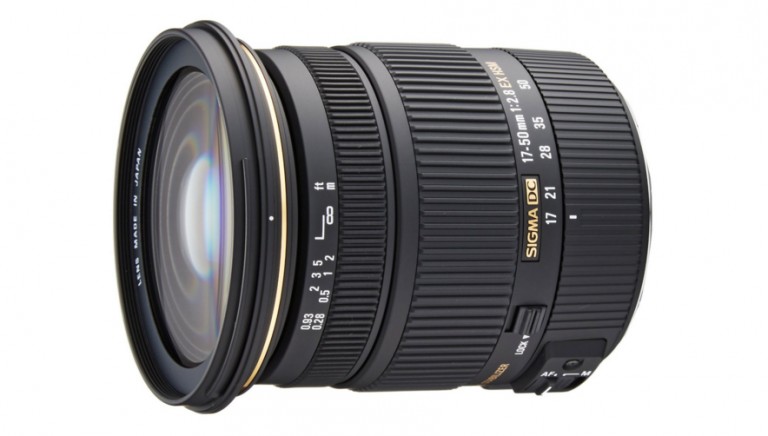
With this lens.
You don’t have to have an SLR camera to take good pictures, but you do need one that takes large enough pictures to avoid blur or pixilated images. How do you do this?
- Take high resolution pictures then resize them to your theme’s post width BEFORE uploading them to your website. (Large images will sloooow down your website!) How do you tell what your theme’s post width is? You can ask the designer or:
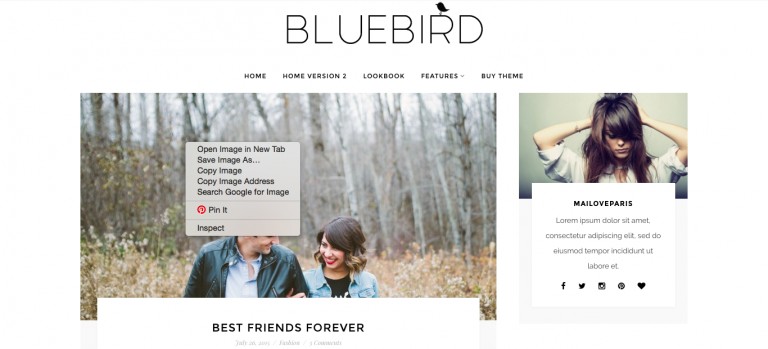
- Go to the theme’s demo page.
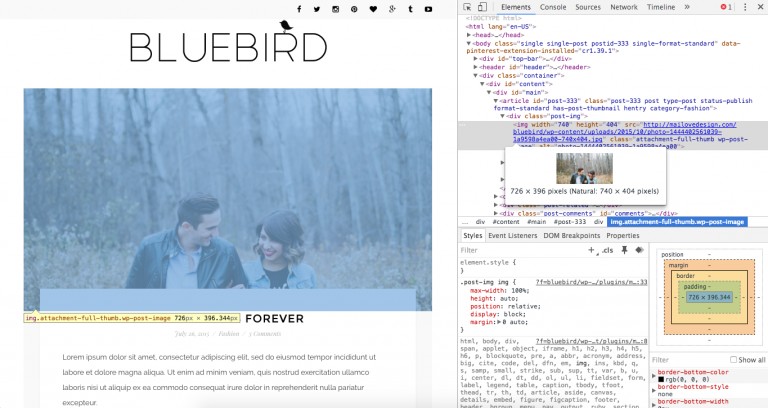
- Right click on a post image and click “Inspect”
- Pass your cursor over the html until you find the image (look for JPG usually) and it will tell you the image size.
*This is also a useful way to find out other size and information about a blog! You can sometimes discover what widgets and what fonts are used, etc.
- Take pictures in natural lighting, during the day, without interior lights on. Turn off ALL your lights. You’ll be able to edit the image brightness so much easier and they’ll look WAY better! If it is a little dark, use a tripod or something to brace your camera on for a better exposed picture.
- Edit pictures if necessary. I like to boost the brightness/exposure of most my naturally lit pictures to make them prettier.
- Adobe Photoshop, Indesign, and Illustrator are what I use to edit and enhance my pictures with text and graphics. Sadly, Adobe does not sell a one time software purchase now, but instead requires an expensive subscription plan to use their software. All you have to do is google “adobe subscriptions” to see how upset many clients are. If you can get your hands on Adobe CS5 software like I have, you’ll be golden!
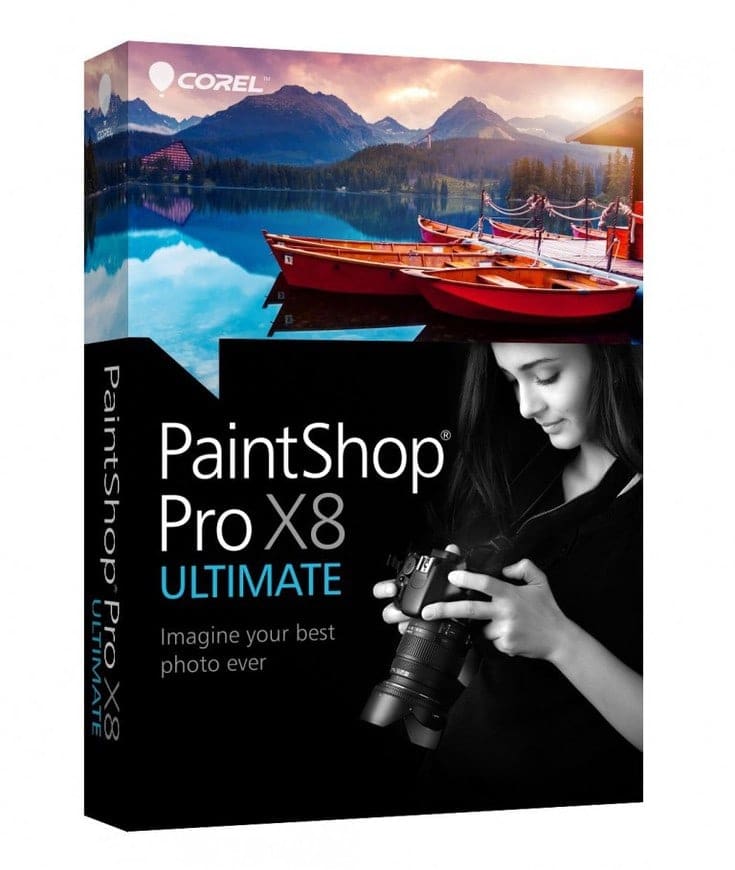
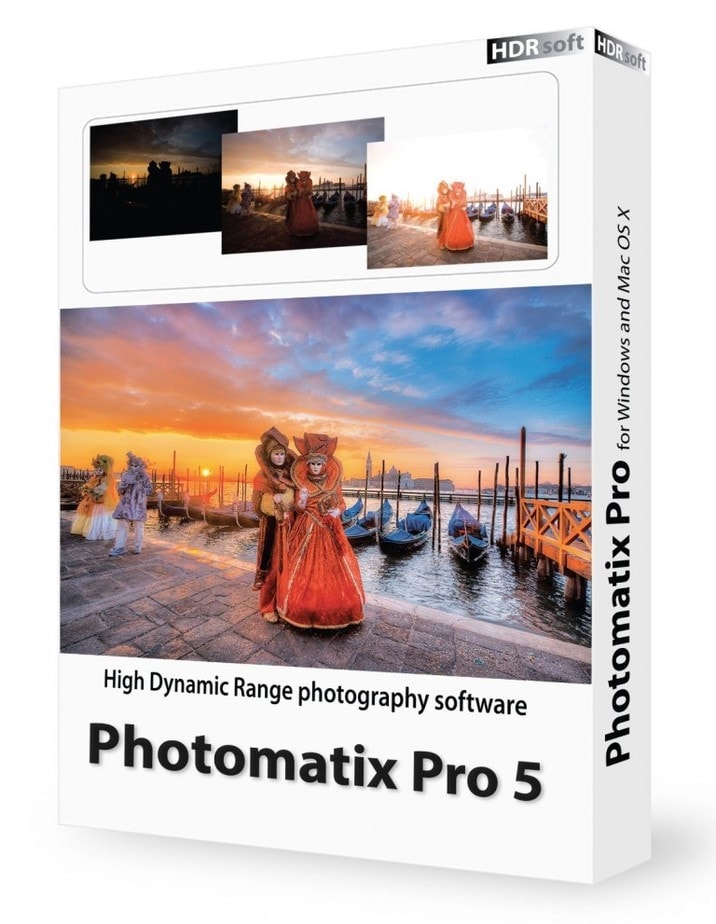
- The top two selling photo editing softwares on Amazon are Corel PaintShop Pro X8 Ultimate (for PC) and Photomatix Photomatix Pro 5 (for PC and Mac)
- Two FREE methods of editing pictures are Picmonkey + Gimp.
Edit Image Information
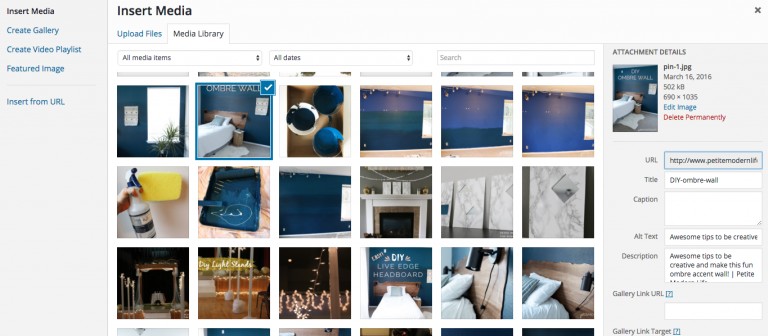
To make your images SEO and Pinterest friendly, as well as easy to locate within your website you need to edit the image information. When you upload your photo you’ll see this screen.
I like to title my images the name of the blog post to easily find later within the blog. In the “Alt Text” and “Description” write a catchy image /post description – this is what will show up in a Pinterest description! This is also where you can link your image to a specific website (be sure to be running the WP Gallery Custom Links Plugin to make this option available).
Create a Featured Image
On the right hand side bar of the post editing page, you can add a featured image that will show up on your home page if you have a “Read More” or static home page (static home page means you don’t have just a scrolling page of blog posts, but other selection options.) You can upload featured images in the same sizes for consistency or have varying sizes.
*Note: You can also crop and change the sizes of your photos with the media library editor. Do not use this as your main photo resizing tool because the original large image file is still being stored on your website. But for little changes for slightly larger than needed photos, this is a quick and easy tool.
Categorize and Tag Your Post
Before you click “Publish,” be sure to select the category you want the blog post to fall under (remember, this is how a post will get organized into your menu categories/subcategories) and tag it with your choice of tags! You can also go back and change these whenever you want, but it’s good to stay on top of it from the get-go!
That’s it for today! Next time we’ll discuss how to get your content out there and seen!
 Please send me an email using my contact page for my rates and options!
The Full Series
- Why start a blog.
- Free Hosted vs. Self Hosted.
- Step by step how to set up and organize your blog’s theme.
- How to write and design a good looking blog post.
- Eight down to earth ways to grow your blog and a crash course in Google Analytics.
- Two easy ways to make money blogging.





Leave a Reply