Happy New Year from us at Petite Modern Life!

Yes that is my little 35 week Christmas bauble bump sticking out there for all the world to see! Now we’re just 4 weeks away from the due date and I literally just had the crazy thought that I could be one of those women that have their babies 2 weeks ahead of the due date. Which made me freak out and start making lists and last minute purchases to feel ready for this little dude! The UPS man has quite the delivery coming his way in the next 2 days. (Sorry friend!)
I’ve been done working now since just before Christmas week and it has been fantastic to finish up some of my “must have done projects.” I’ll really truly get around to sharing those in the coming weeks. But more importantly, I’m ready to share Kitchen Makeover Part 2 with you!

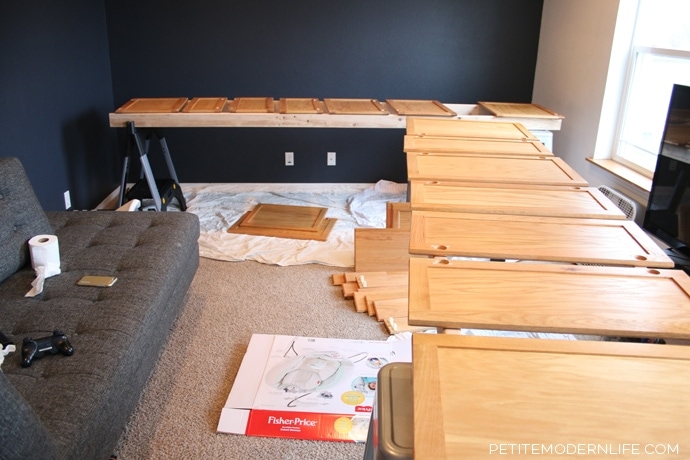
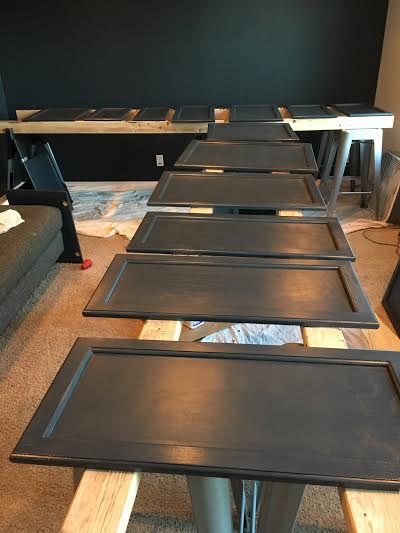
You can catch up in this post how I cleaned the cabinets in preparation for priming. We had originally planned on painting the cabinets in the garage. Buuuut the garage was a chilly below 40 degrees, and though we bought the round space heater they sell at Costco, it didn’t feel like it was going to make a big difference unless it was directly on my frozen toes which meant the cabinets wouldn’t be drying very quickly. Amazingly, the 2 sets of 10 foot 2×4’s and saw horses we bought fit in our rec room upstairs! Then we had the opposite problem of the room getting too hot! So I got to watch a movie or two while painting, which was awesome.
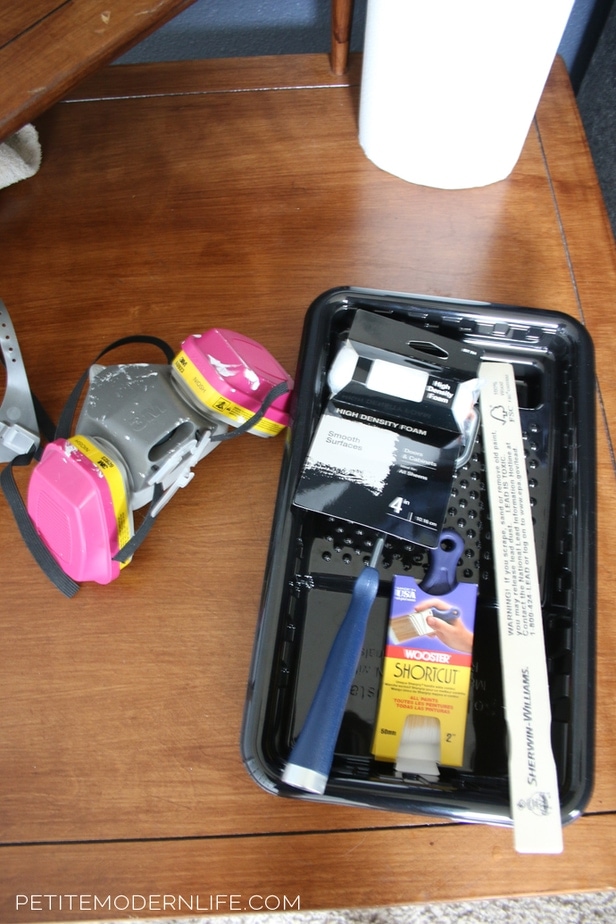
For painting the cabinets we used a 4 inch high density foam roller and a small 2 inch angled brush. These brushes have quickly become a must have in my painting adventures! Especially for painting door trims and areas with cracks and angles such as the cabinet doors. I thought the primer and paint might smell and I’d have to use the mask, but they were GREAT. No smells or fumes. Thanks Sherwin Williams!
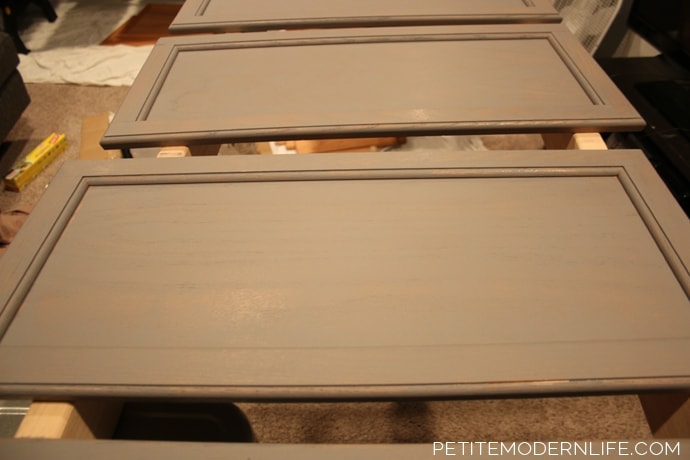
For primer we used Sherwin Williams Extreme Bond Primer. We had it tinted towards the color we chose, Cyberspace, and it went on incredibly well.
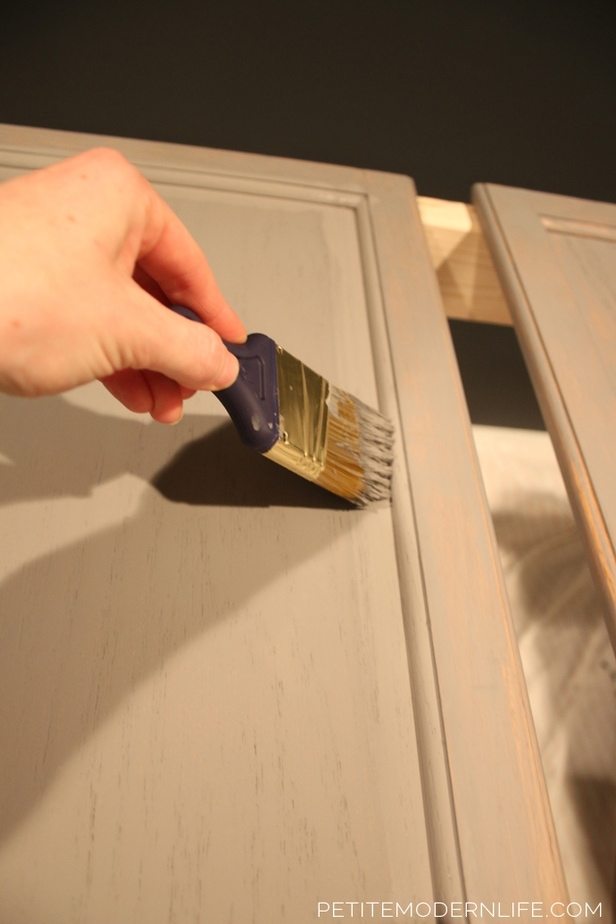
I first painted the creases and hard to roll areas with the brush, making sure to spread out any drips and coagulation. Then I would do the center and sides with the roller. We did two coats of primer on everything.
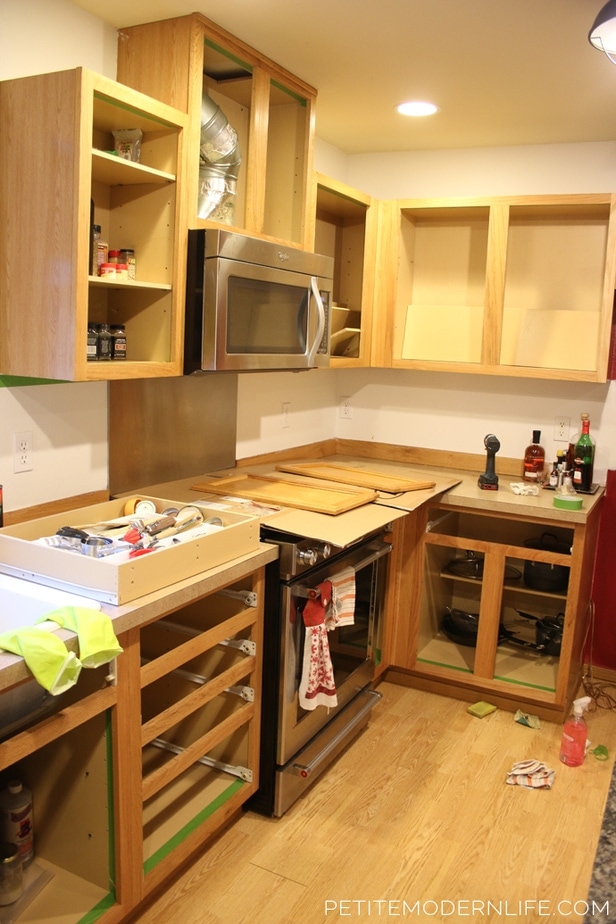
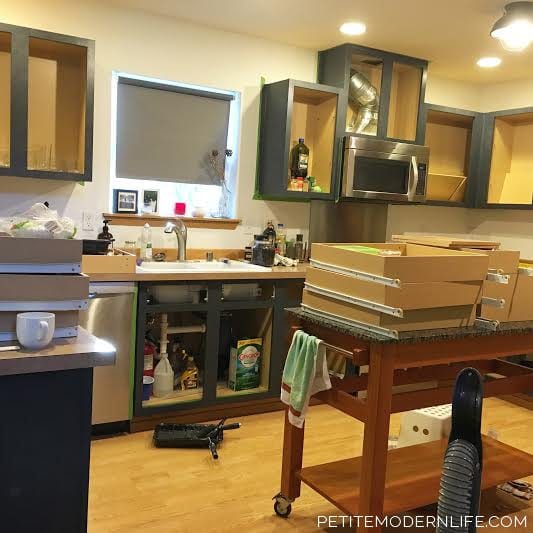
Back in the kitchen, we still had to wipe down the bases of dust and grease. The main problem area being above the microwave. I had tried all manners of kitchen cleaners and abrasives up there when we first moved in (except, I admit, krudcutter), but couldn’t get the thick layer of grease and grime off. Now that my belly is so big, my husband was in charge of cleaning it up for painting. This was his weapon.
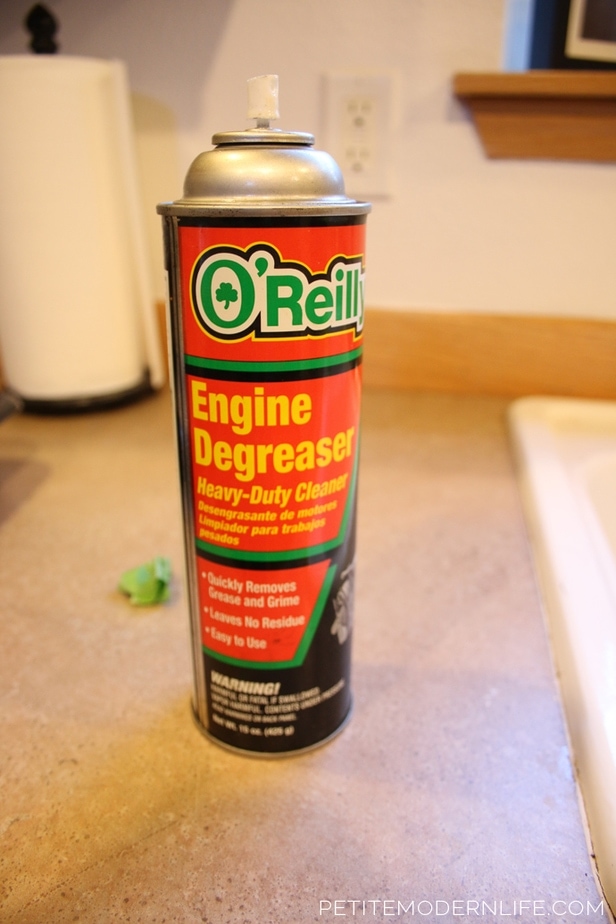
Formidable? Yes. It took off the grime like dust. How did it smell? Terrible. My husband is very handy with fixing our vehicles, so I’ve smelled this before on his clothes after a day of car work and it is very potent. (Take a subtle whiff of your car mechanic next time you see him.) The smell DID go away. Especially after throwing out anything used in the cleaning process: gloves, paper towels, scrubbers, etc. I would say airing out the kitchen some and the coat of primer took the lingering smell out by 2 days. And who knows? You might not mind it as much as I did. It’s not toxic smelling like bad paint, but it can be annoying…
Next we taped the insides and outside of the cabinets where we didn’t want to make a mess with the paint. We used the roller on the cabinets as much as possible to avoid streaks. We used the brush for the creases between cabinets and the drawers.
After two coats of primer we braved the top coat. It was pretty intimidating to be honest. We used Sherwin Williams Emerald Interior Acrylic Latext paint. I started with the backs in practice. We found that if within the hour drying time there was a poor brush stroke it could be corrected with another coat. The key was to paint thin coats and be careful in the corners.
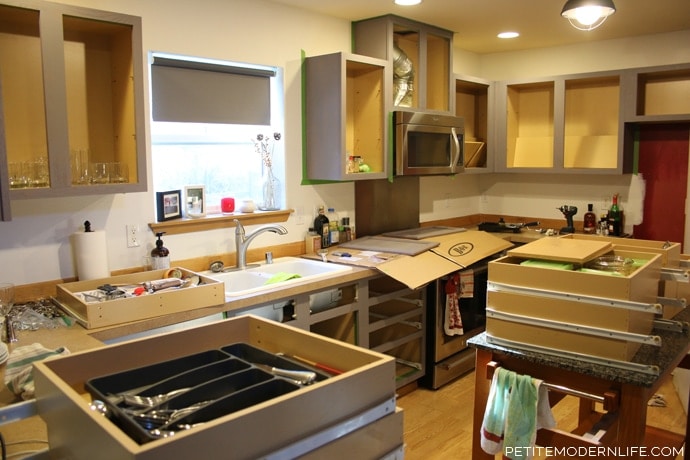
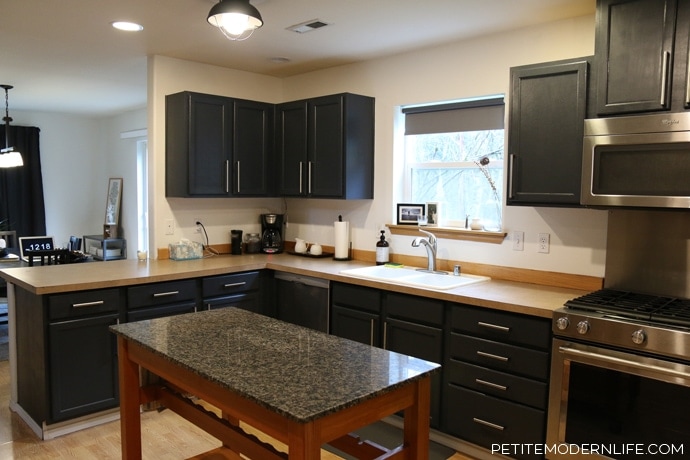
The same was done with the top coat of the cabinets downstairs. After we let everything sit for a day, my husband attached the cabinet doors and then the hardware we chose… And here is how it looks now.
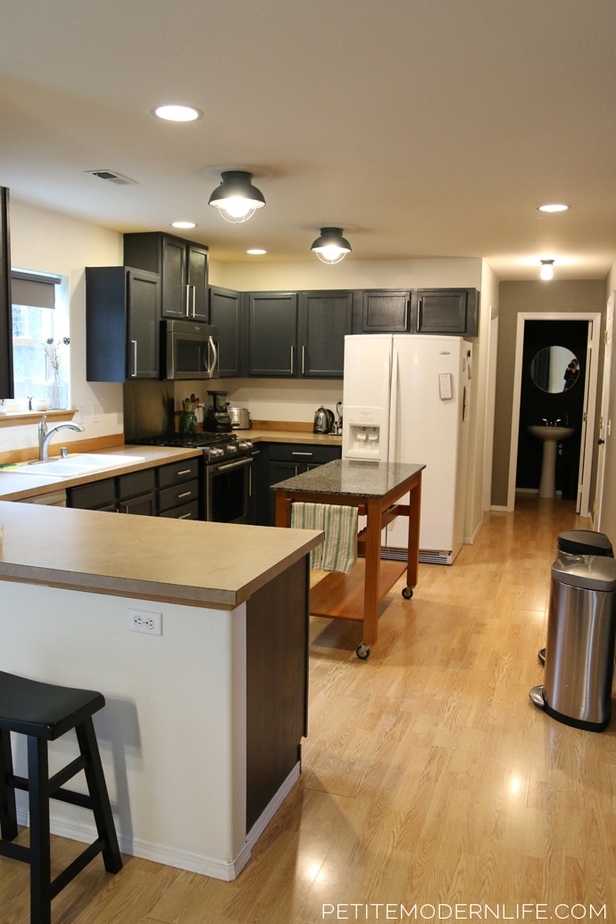

It’s a VAST improvement and we really love it. In person the blue comes out more than the dark gray you see here, but we think that might change when we take out the counters and last of the orangey oak.
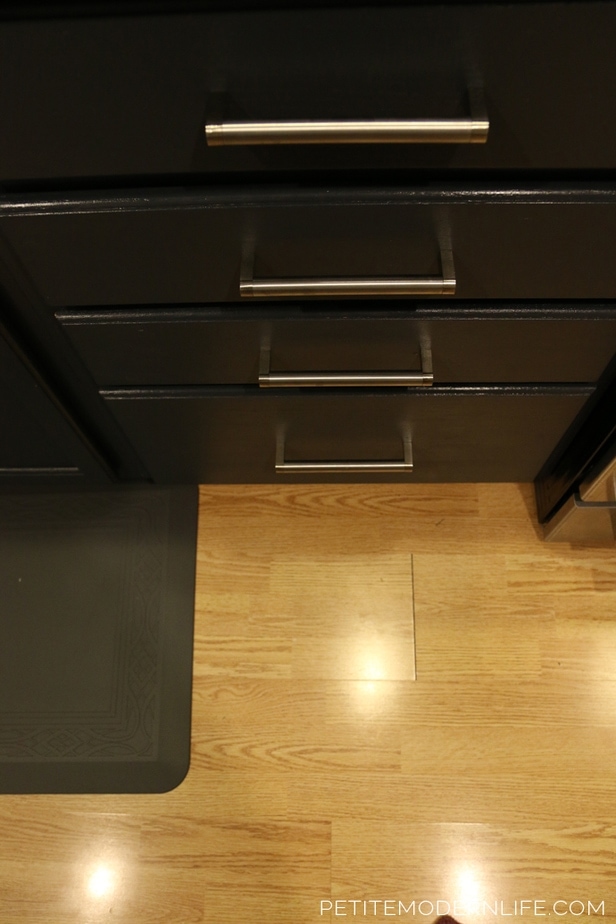
The hardware we used is the Ikea ORNAS Hardware. I like the sturdiness of it’s rounded and squared look. Very different from the hardware we used in our last kitchen, but more the look and feel (and price!) I am aiming for in this one.
The kitchen counters are measured and scheduled to be installed on February 1st! If we had waited any longer than right after Christmas to get that scheduled it would’ve been after baby’s due date! Yikes. So I actually hope that we’re not too far ahead of schedule with that, but we’ll figure it (the counter removal and plumbing we’re going to be doing ourselves just prior and after install) out! Nothing like last minute right? But they’re going to look so good we can’t wait!
I’ll give you some info about the counters we ordered…
We decided to go with a solid surface, or Corian, counter by Hi Mac, through Home Depot, in Arctic White. This particular color was on sale for $30/sq.ft. making it much less expensive than a marble looking Corian version that was $58/sq.ft. After we had read through this article and it’s subsequent comments, we decided this counter was a good choice for us! We’ll talk more about the facts after they’re installed…
***One more note about our paint choice that I want to be honest about! We noticed that it still took a few days for the paint to set and harden after the final coat. Even then, we were pretty disappointed to find that an ill jabbed fingernail when opening the cupboards could scratch the paint back down to the glossy wood. It was quite vexing after all that hard work. After talking to a friend who recently did her cabinets (and we thought we had done the same as) we realized that it would have been better to have used the Sherwin Williams ProClassic Interior Acrylic Latex Enamel. It dries a lot harder than the Emerald brand. I wish we would’ve taken the time to be certain of that, but this is where we are! The hardware keeps the finger nails away for the most part and we can cover up the scratches with our extra paint.
Alright! That’s the end of today’s novel! I’ll be back again soon to share some other house updates I’ve completed since moving in!


Erica @ Dwell Beautiful says
It looks SO GOOD, Karisa! Love the new color and hardware :) Can’t wait to see it all complete with the new counters! Man, you’re making me look bad – you’ve done all this while almost ready to pop – I need to get my booty off the couch and get going on my kitchen!!
Petite Modern Life says
Thank you lady! When you get pregnant (at least after the first trimester) you’ll be amazed at what you’ll get done! haha. Just reading your kitchen post now too!
Emily @ Table & Hearth says
This color came out amazing Karisa!! It looks badass up against that stainless range :) Did you have any issues with brush/roller marks or add anything like Floetrol to the paint?
Petite Modern Life says
So I’m my worst critic. And yes I can see some roller streaks on some of the upper cabinets that have more angled light on them. The lower cabinets and drawers you can’t tell at all. In the creases of the upper cabinet doors they are a bit more glossy from the brush. I didn’t take the time to get Floetrol, and that could have been helpful! I’m wondering how much the semi-gloss effects the outcome too. Could we have gotten away with no gloss? Or is gloss the kitchen norm? I do love them! I’m just a critic ;)
Jesica says
Looks great! I’m always impressed at what a difference paint can make!
Sarah @ Little Red Brick House says
It looks amazing, Karisa! Love that you went with dark cabinets. I’m so excited to see the new counters! I know it’s going to look stunning.
Nataliya Antolich says
Hi, Karisa! I am new to your blog. Let me first thank you for so many brilliant ideas DIY ideas and tell you that your kitchen looks beautiful! I am painting my wooden windows in white color using Proclassic enamel by SW. It is indeed fantastic paint, but what I also decided to do is to put 2-3 coats of high performance top coat by General finishes. It’s awsome stuff. Easy to apply, no smell as its water based….and comes in satin or flat……Just a thought how you can harden a surface of your cabinets. Before starting this madness of painting all wood in our house, I had to be sure that the finish will be durable. I tested different paints and primers, but then I got an idea about the top coat. And it passed my “scratch test” May be it will help you :)
Petite Modern Life says
Nataliya thank you!! That could really help out the cabinets when we feel ready to attack them again to make them durable. Thank you for checking out the blog too! You’re so sweet!