Hooray for some sun and late arrival to work! I can now share with you one of my personally most anticipated projects yet, our kitchen shelves! Let me first take you back to the olden days (like 10 months ago) in our kitchen…
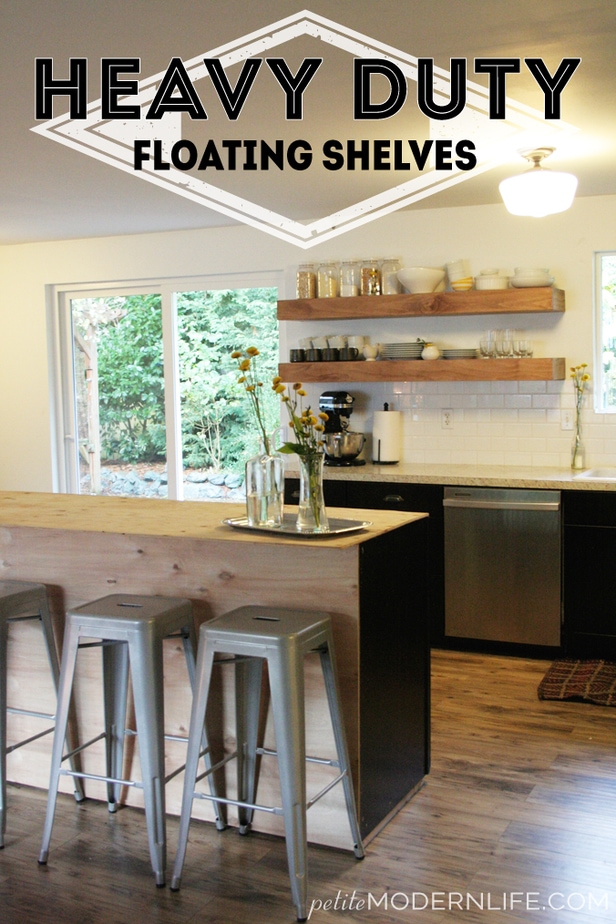
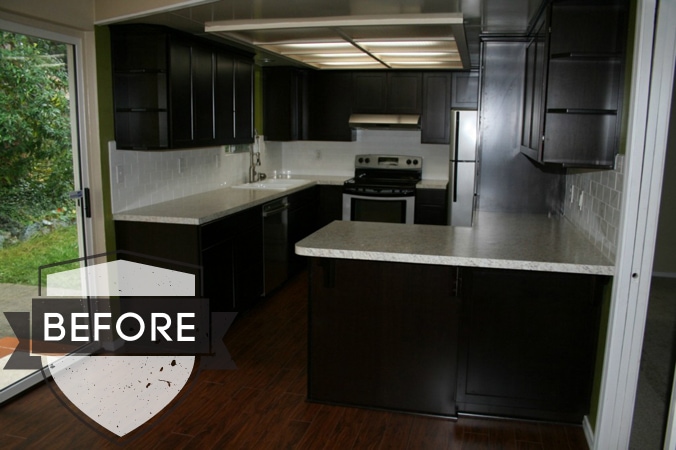
This lasted all of one week before we tore down the walls and tore out the cabinets. See that post Here. Once we had taken off the cabinets and fixed up the tile, we jut left the big space of wall open until we mustered up the umph to get our shelves up. I really wanted to stack all of my dishes, some serving bowls, and glasses up there so we knew it would have to be strong, no Ikea handiwork here. Mr. G and I started looking around online for ideas and were surprised how scarce “heavy duty floating shelves” came up. All the more exciting to come up with a way of our own!
**Disclaimer: We are daring DIY enthusiasts, not builder professionals. We cannot be held responsible for any trouble or malfunction that may occur if you replicate our DIY projects. **
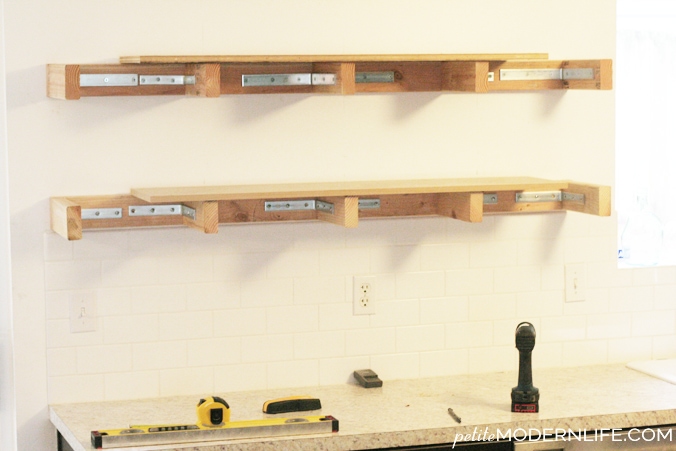
Here is the basic plan for our shelves.

We measured out our wall space and cut our 2×4’s to 61″ and middle joints to 10″ to create the frame. The middle joints are connected to the back by 2 medium screws each and to the bracket by 3 small screws.
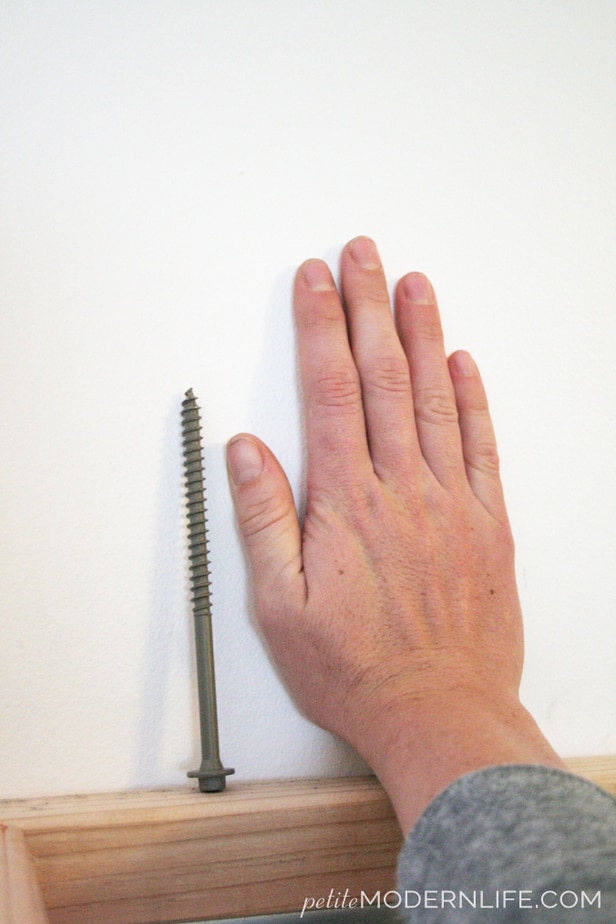
The back 2×4 is connected to the studs in the wall with heavy duty screws (~6″long).
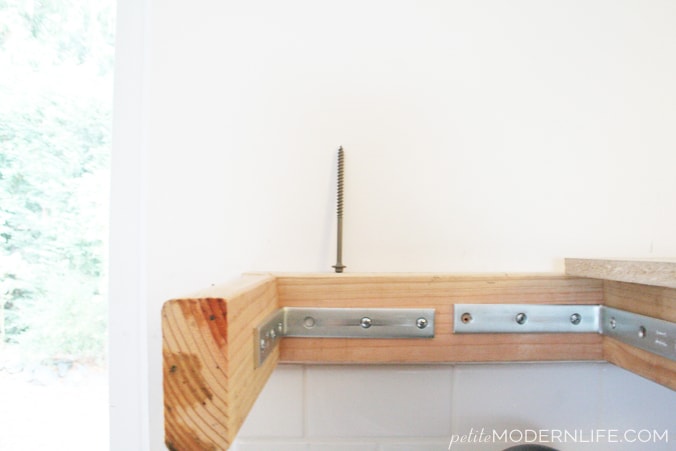
These screws are beastly. We think they just about went all the way through the studs in the wall. Which is why we boast heavy ‘dutiness’.
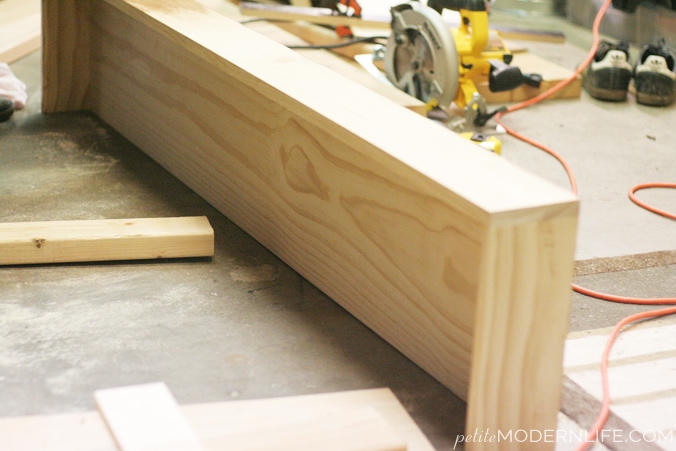
Next we made the shelf that would slide onto our mounted frame.
Widths:The top & bottom are both 1/4″pine, the sides are 1/2″ pine, and the front is 3/4″pine. All joined together using a nail gun. The shelf slid easily, but snugly, onto the frame. We secured it to the frame using a nail gun.
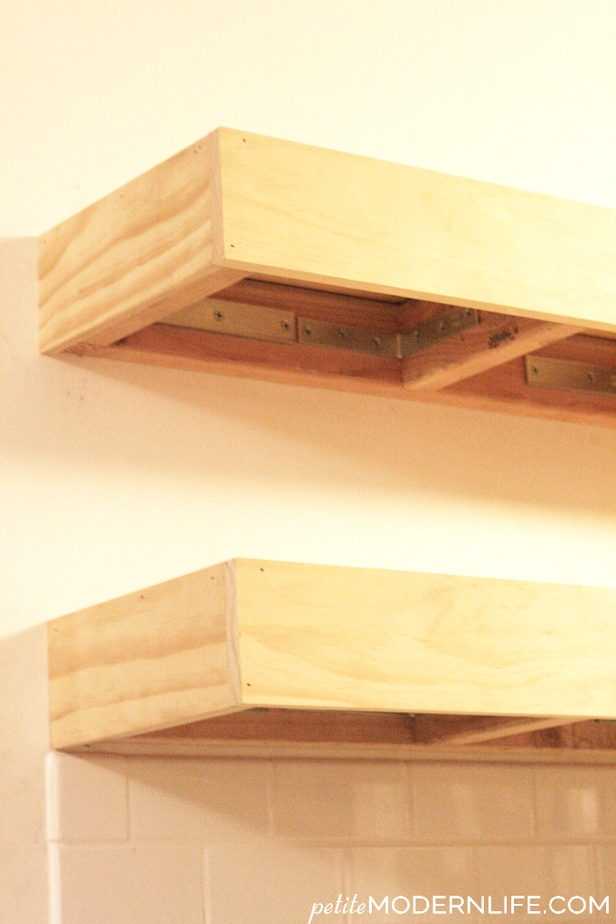
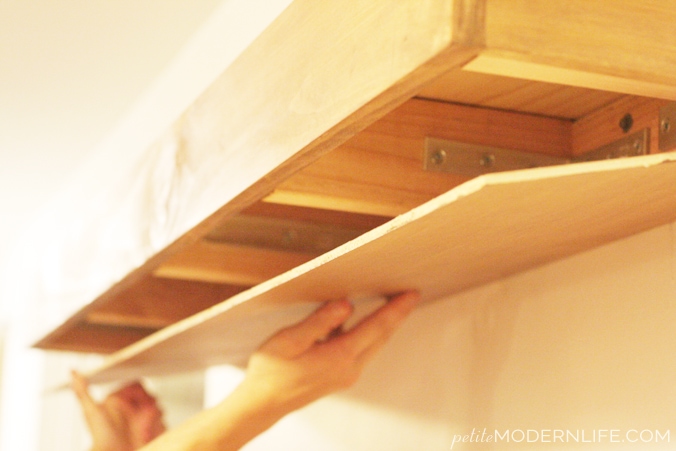
The bottom piece of pine was a bit of a trick to make work like we wanted. We decided to have it fit perfectly inside of the shelf, attaching only to the frame. The problem we ran into was that it was slightly too thick, even at only 1/4″, to not show. So my husband was daring and extremely careful and actually shaved off divets into the wood with his table saw to fit over the frame joints. It was very impressive and actually worked for us.
Once everything was nailed secure, came the trickiest part… THE STAIN DECISION.. I’m not kidding. It was like floors all over again. “I like light.” –“Well I like dark.” Remodeling a house truly helps you learn to compromise in marriage. Truly.
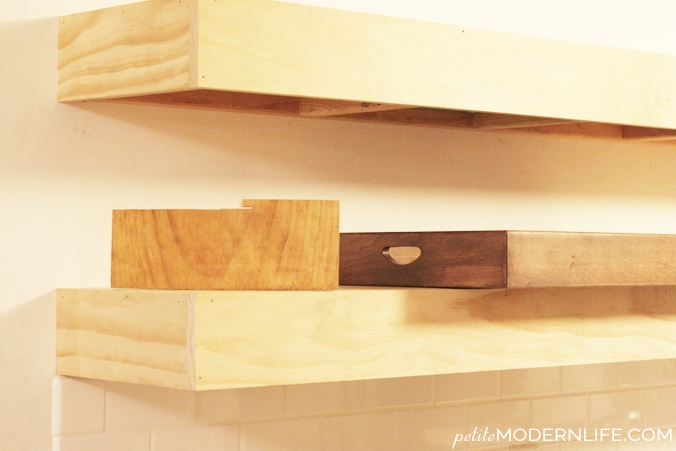
We bought an oak stain and grabbed a dark walnut tray from the other room to stare at for a while… … … We looked at my favorite pins and Houzz.com kitchens and decided that a darker color would be good. We went with Rust-Oleum Dark Walnut, doing one thin coat, wiping off quickly as we painted.
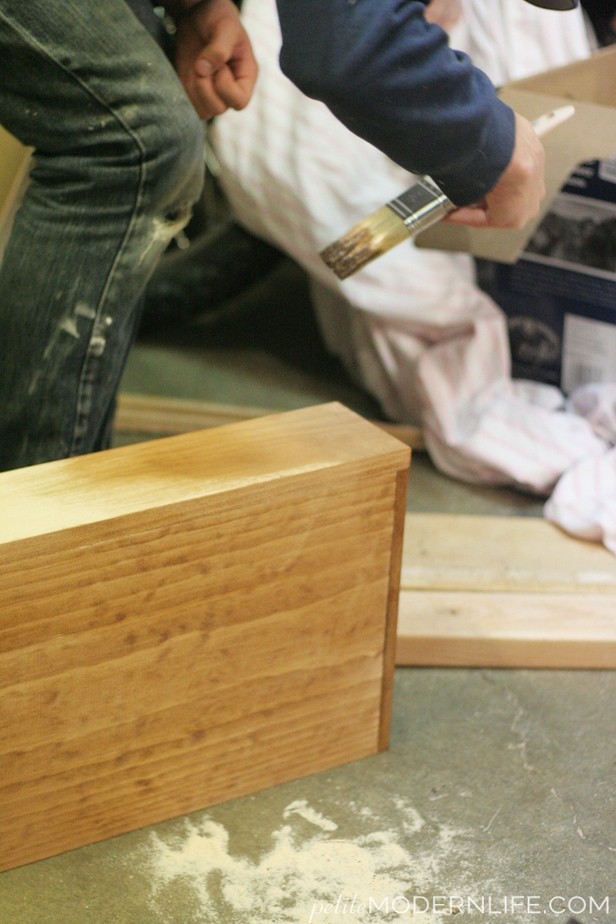
We both LOVE the color. The grain stands out beautifully and the stain blends nicely with our floors. All in all we spent about $150 to build these shelves.
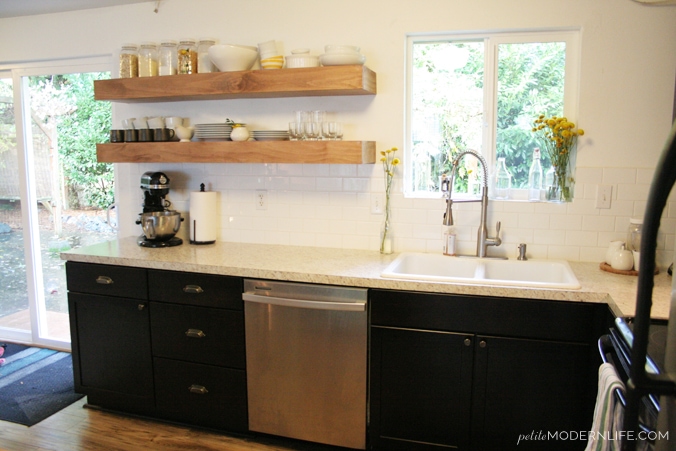
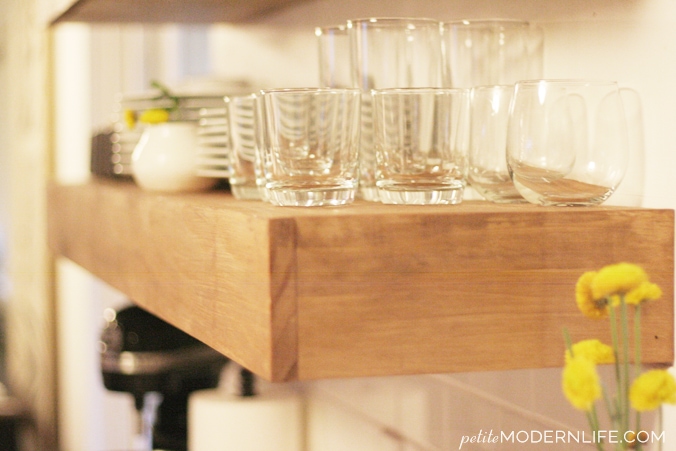
The shelves didn’t squeak or complain when I exuberantly placed all my dishes, Corningware, serving bowls, mugs, and full mason jars on it! We were meant to be…
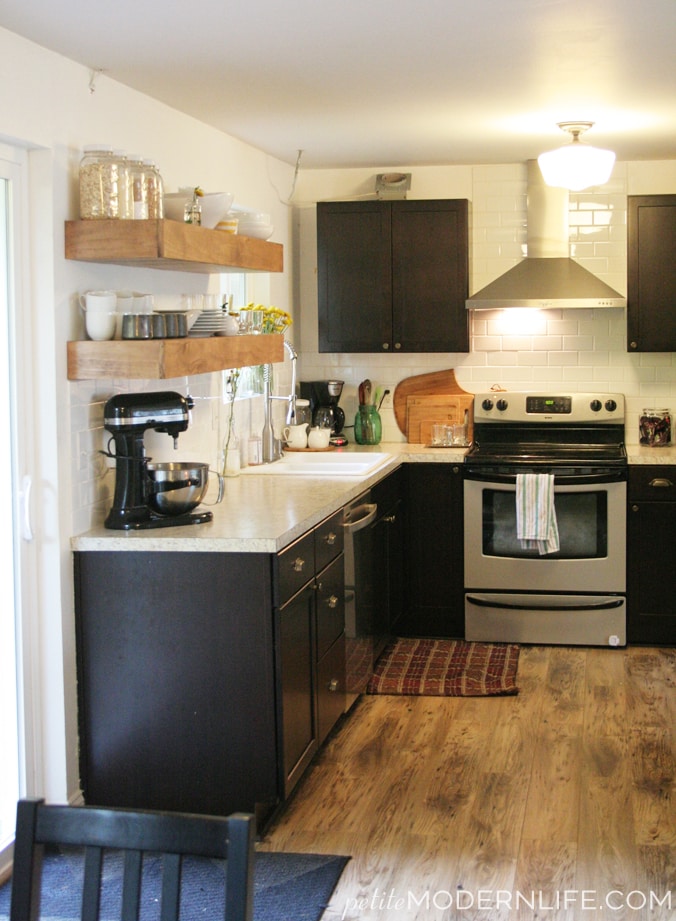
In case your curious.. Our sink light is still a remnant of that lovely drop down halogen light ceiling of the past and will be replaced; crown moulding will join forces with wall and ceiling; the counters are on the replace with something-I-don’t-know-what-yet list; and the island is in a typical Grimstad plywood middle ground fashion- to be the next big project.
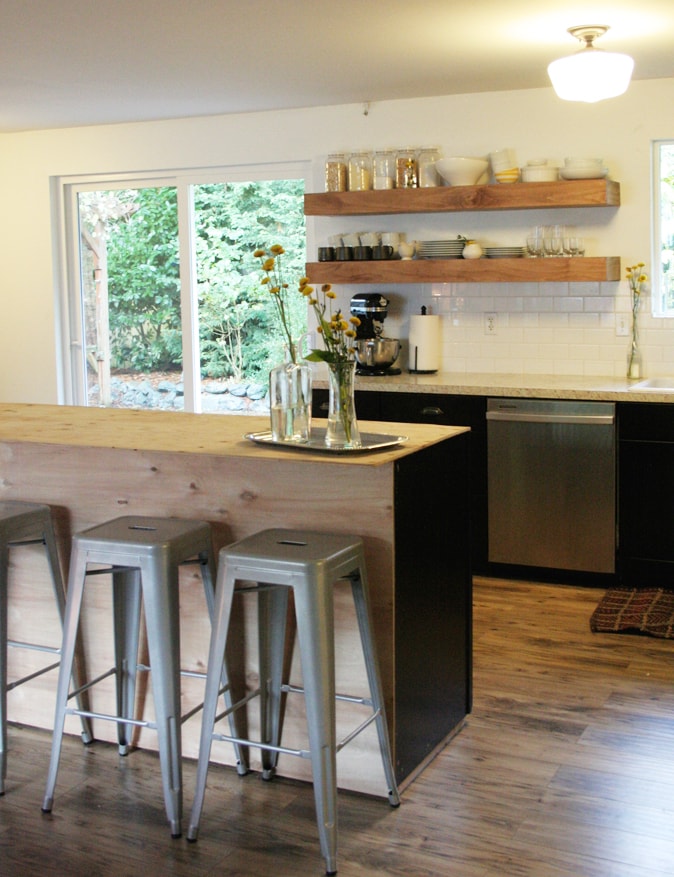
Cheers!


Emily @ Table & Hearth says
Gosh I love these! Awesome job guys!!!
Petite Modern Life says
Thank you Emily!
Shannon Churchill says
Karisa! Those shelves are so awesome! Love your island too. Great work!
Anna @Annabode says
Love your kitchen! And your floors, did you put those in? Do you know what they are?
Petite Modern Life says
Anna, thank you! We did put them in ourselves. They’re Armstrong “Reclaimed American Chestnut” laminate floors. We have some more info here about them!
the cape on the corner says
wow, your space is so much lighter and brighter now. love the subway tile backsplash, too.
b
Petite Modern Life says
Thank you so much! I thrive in the brightness. Our house is so dark most of the day it’s such a bummer, so white white white it is for me! Thanks for stopping by!
Petite Modern Life says
You’re very sweet. Thank you!
Theresa Rayner says
I love these and have been looking for shelves just like this. Now I can DIY them. Thank you for the great tutorial. I love your floors btw!
Petite Modern Life says
You are so sweet! Thank you for the compliment. I love hearing that I’ve helped other people in some way with their home aspirations!
Luc says
How much weight could these shelves hold approximately? I’m thinking of putting a 52″ TV on a floating shelf….
Petite Modern Life says
Hi Luc! For extra durability, I think you should consider these floating shelves we made with stud mounted wall brackets. You can hang from them! We’ve also done a cool TV set up in the past that you might enjoy and it will make certain your TV isn’t going anywhere. See that here!