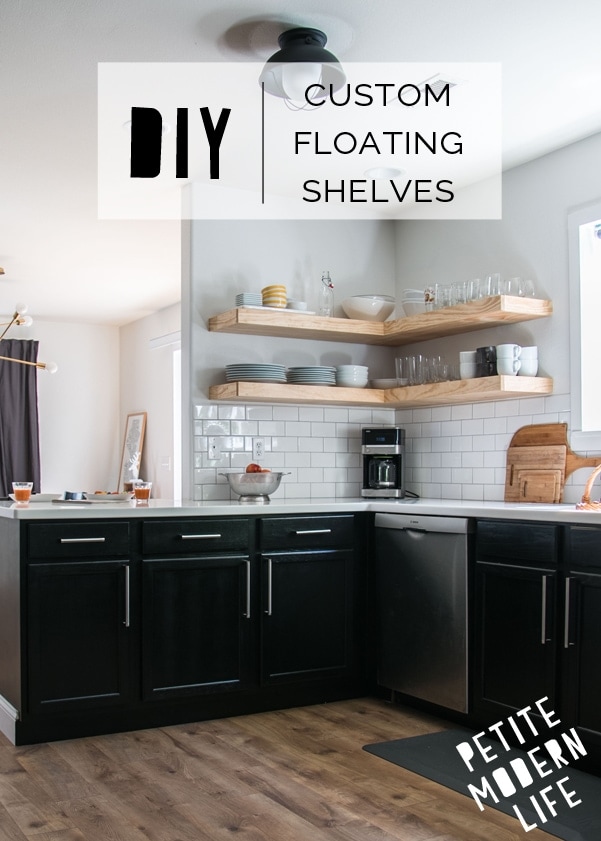
Since our kitchen reveal, we’ve had a few requests for a tutorial for our DIY wood floating shelves. We LOVE them! They are heavy duty floating shelves built into the wall with corner braces and I trust them to handle the weight of all my dishes!
**This post contains affiliate links to Amazon and other affiliates. You can read more about affiliate marketing on my FAQ page!
Materials for Two Corner Custom Floating Shelves
4 – 1″ x 12″ x 8′ Select Pine Boards
4 – 1″ x 2″ x 8′ Select Pine Boards
8 – 1.25″ Stanley-Hardware Corner Brace
Stain or sealer and stain brushes *We used sealer to keep the raw look!
Tools
Drill: We love our Bosch Drill and Driver set
Heavy duty floating shelves tutorial
**Scroll to bottom of the page for printable DIY project card!**
PREP WORK: 2-3 hours: Remove upper cabinets and sand off the torn pieces of wall and paint. Patch walls with texture spray and paint over to start fresh. Measure the dimensions for your shelves. This tutorial creates L shaped shelves with a long shelf and attached shorter shelf. The back will be left open to tightly slide onto your L brackets.
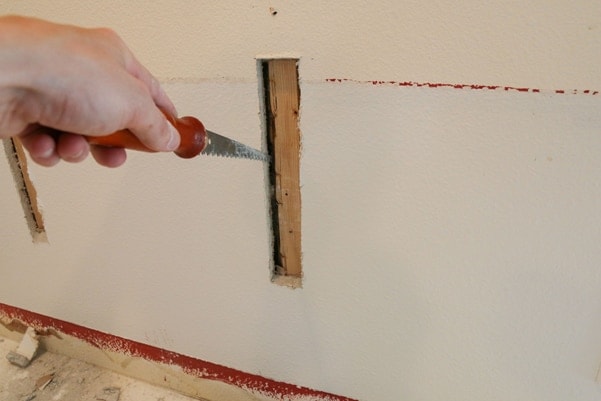
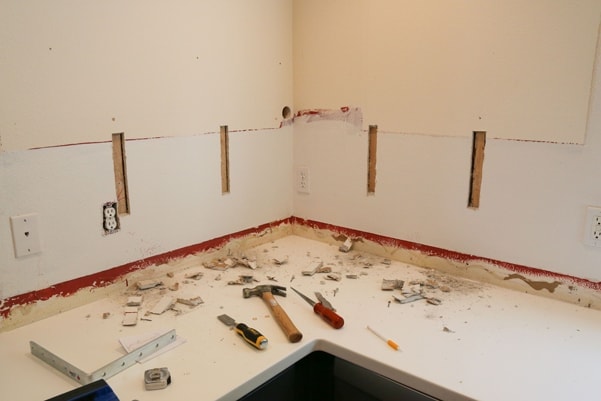
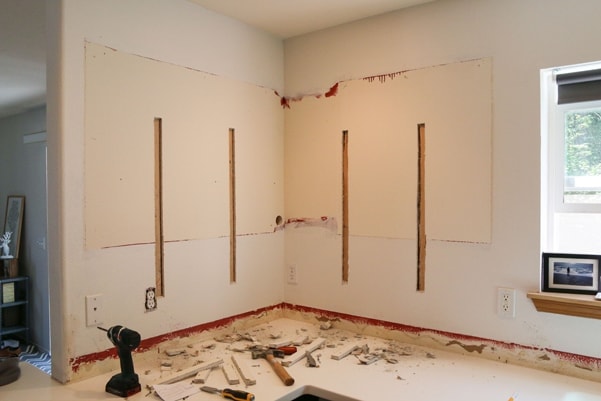
1. Using a stud finder, locate your studs and mark their centers. Cut vertically along the edge of the studs until you can pull the strip of drywall away from the stud. Save your cuts of drywall.
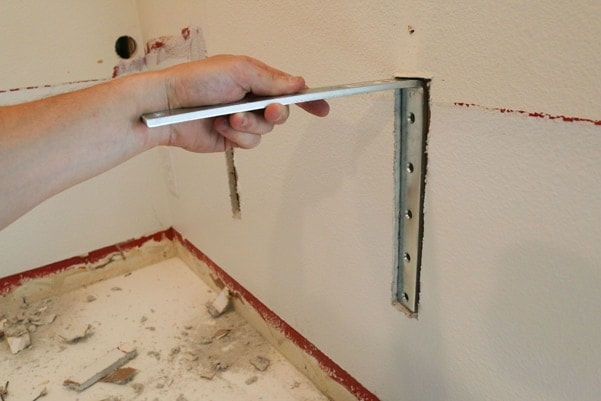
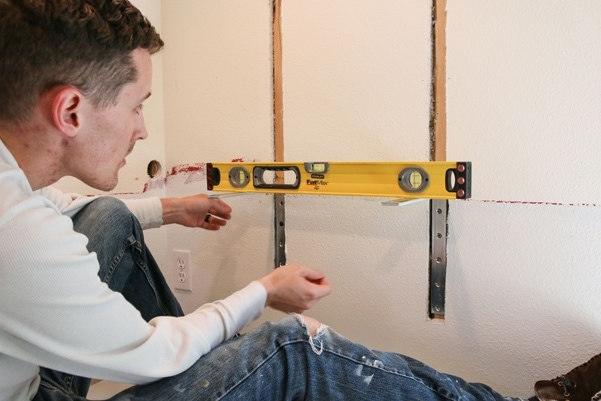
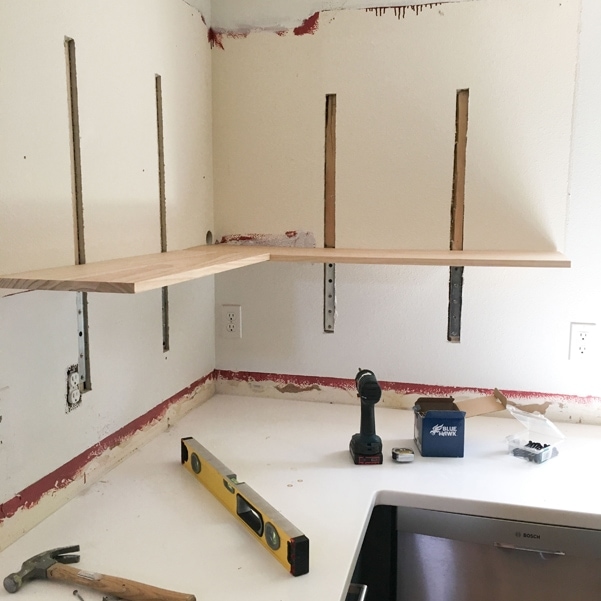
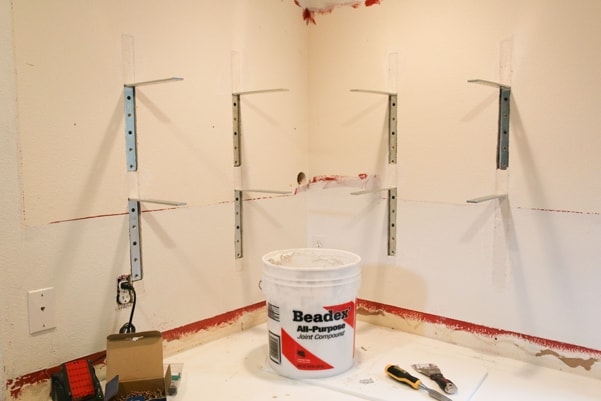
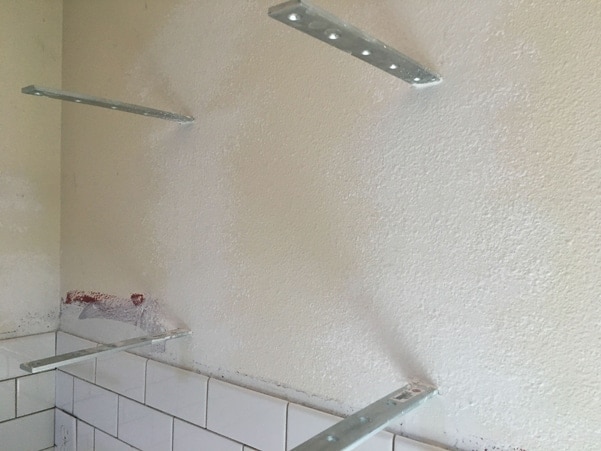
2. Decide on the height of your shelves and mount the brackets to the studs. We chose to make the lower shelf the same height as our cupboards then we decided our preferred height for the upper shelf. Your stud locations will determine where the brackets are. Our outside brackets were about 6 inches in from where the shelves would end. After securing the first bracket, use your shelf pieces and a level to determine the height of your remaining brackets.
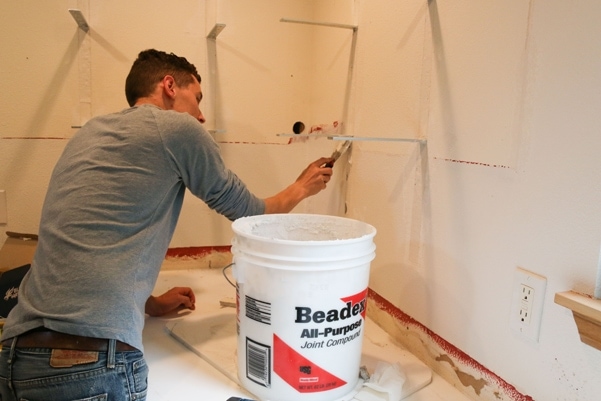
3. Patch the drywall. Replace your saved pieces of drywall in any open spaces where you can see the studs. Unfortunately, the drywall won’t fit on top of the brackets, so you’ll need to use joint compound. A lot of joint compound.
The compound will crack as it dries. You’ll need to do 3 or 4 layers until it is flush with the rest of the drywall. Start with a very thick layer of joint compound and let dry for 24+ hours. (That’s a lot of time, we know!) Let each subsequent layer dry for 12-24 hours until there are no cracks showing.
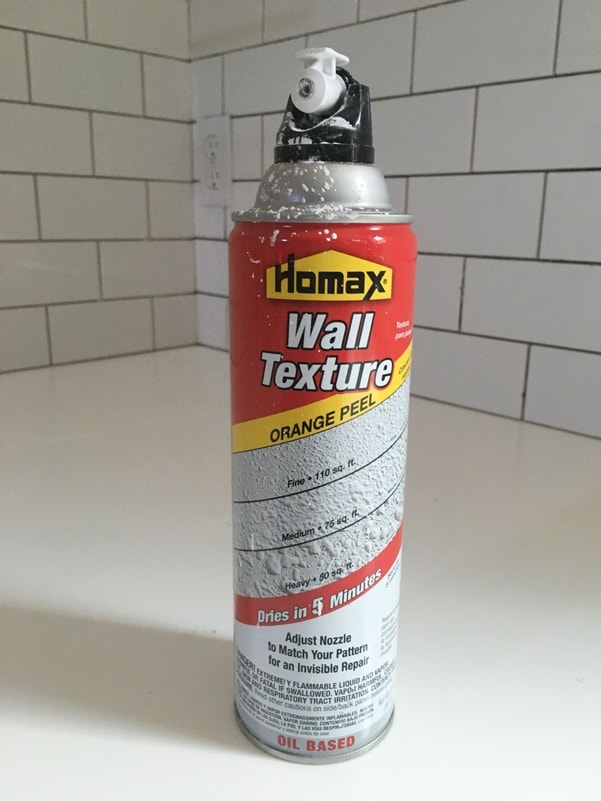
4. Spray fixed walls with texture spray. First spray a layer over the area. Let the texture dry according to can instructions then sand to the level of the surrounding wall. Repeat 2-3 times until there is consistency between the old and new wall.
5. paint over texture and let dry for one day.
6. Cut shelves. We decided not to cut the wood at an angle and instead joined our pieces in an L shape. Use your miter saw to cut the bottom, top, and front facing wood pieces. Cut four 2×2” square pieces. Cut two 2×5” rectangles.
7. Nail down 2.5” thick wood squares to all the corners of your bottom board. See diagram.
8. Nail your front facing wood piece onto the bottom board and secure to corner squares.
9. Nail the top board down on the top to the squares and front facing wood piece.
8. Leave the back open.
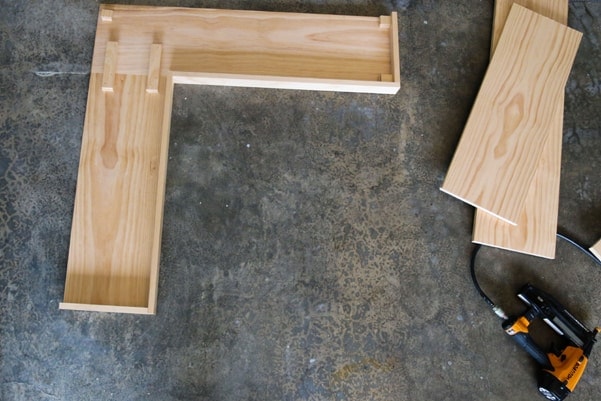

9. Use wood putty to patch all nail holes.Let dry and then sand the putty flush.
10. Stain or seal the shelves. Let dry all the way according to instructions before mounting.
11. Mount the shelves over the brackets.
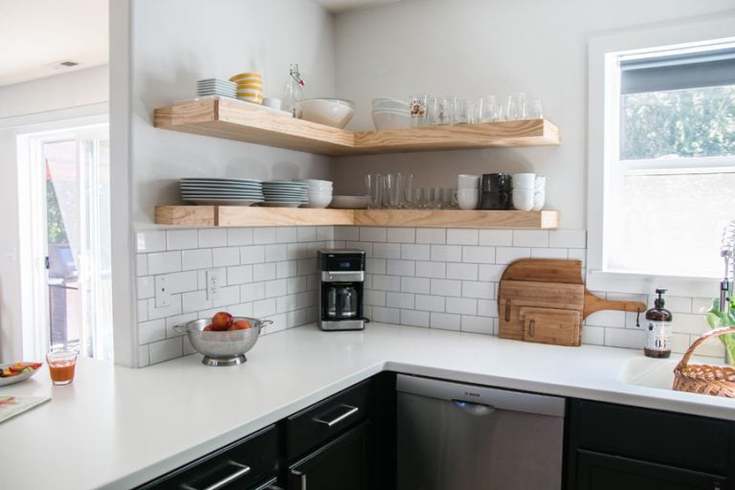
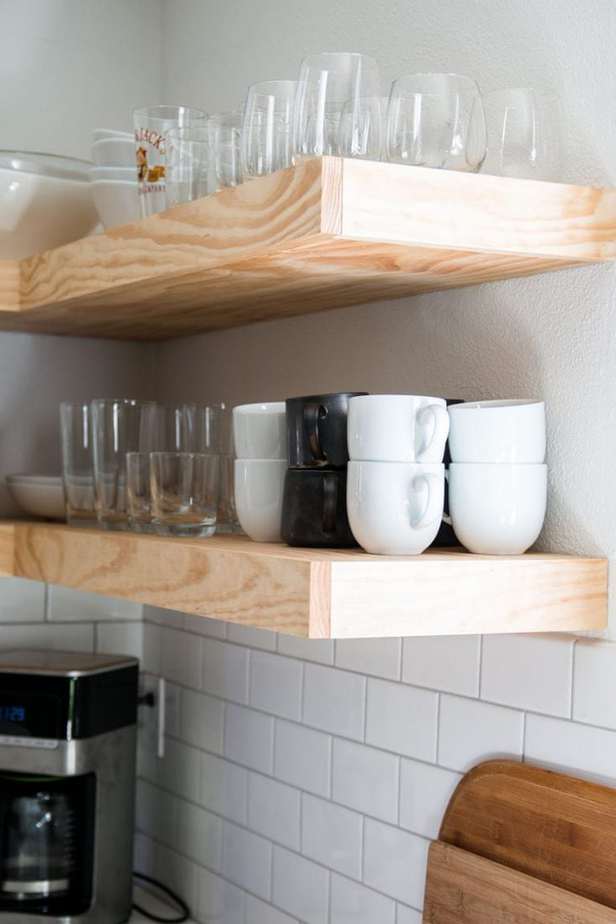
We’re so happy with these shelves and how strong they are up on the wall. Honestly, if it were solely in my decision making power, I’d remove all the upper cabinet and replace them with shelves. (Oh, and no, that’s not solely in my decision making power. If you have questions about the shelves, please ask below and we’ll do our best to fill in the gaps! Thanks for checking them out!
How to Build Heavy Duty Floating Shelves

Create beautiful and robust floating shelves for your kitchen! Built to impress and hold all dishes to boot!
Materials
- 4 - 1" x 12" x 8' Select Pine Boards
- 4 - 1" x 2" x 8' Select Pine Boards
- 8 - 1.25" Stanley-Hardware Corner Brace
- Wood filler
- Stain or sealer and stain brushes *We used sealer to keep the raw look!
- Nail gun nails
- Joint Compound
- Wall Texture
Tools
- Drywall saw
- Miter Saw
- Nail Gun and Compressor Kit
- Drill
Instructions
Prep: Remove upper cabinets and sand off the torn pieces of wall and paint. Patch walls with texture spray and paint over to start fresh. Measure the dimensions for your shelves. This tutorial creates L shaped shelves with a long shelf and attached shorter shelf. The back will be left open to tightly slide onto your L brackets.
1. Using a stud finder, locate your studs and mark their centers. Cut vertically along the edge of the studs until you can pull the strip of drywall away from the stud. Save your cuts of drywall.
2. Decide on the height of your shelves and mount the brackets to the studs. We chose to make the lower shelf the same height as our cupboards then we decided our preferred height for the upper shelf. Your stud locations will determine where the brackets are. Our outside brackets were about 6 inches in from where the shelves would end. After securing the first bracket, use your shelf pieces and a level to determine the height of your remaining brackets.
3. Patch the drywall. Replace your saved pieces of drywall in any open spaces where you can see the studs. Unfortunately, the drywall won't fit on top of the brackets, so you'll need to use joint compound. A lot of joint compound.
The compound will crack as it dries. You’ll need to do 3 or 4 layers until it is flush with the rest of the drywall. Start with a very thick layer of joint compound and let dry for 24+ hours. (That's a lot of time, we know!) Let each subsequent layer dry for 12-24 hours until there are no cracks showing.
4. Spray fixed walls with texture spray. First spray a layer over the area. Let the texture dry according to can instructions then sand to the level of the surrounding wall. Repeat 2-3 times until there is consistency between the old and new wall.
5. paint over texture and let dry for one day.
6. Cut shelves. We decided not to cut the wood at an angle and instead joined our pieces in an L shape. Use your miter saw to cut the bottom, top, and front facing wood pieces. Out of leftover front piece boards cut four 2x2” square pieces and two 2x5” rectangles.
7. Nail down 2.5” thick wood squares to all the corners of your bottom board. See diagram.
8. Nail your front facing wood piece onto the bottom board and secure to corner squares.
9. Nail the top board down on the top to the squares and front facing wood piece.
8. Leave the back open.
9. Use wood putty to patch all nail holes.Let dry and then sand the putty flush.
10. Stain or seal the shelves. Let dry all the way according to instructions before mounting.
11. Mount the shelves over the brackets.
Notes
**Petite Modern Life is a hobby DIY site and cannot be held responsible for any problems encountered while or after your personal DIY projects while following our tutorials. You take on these projects at your own risk.


Leave a Reply