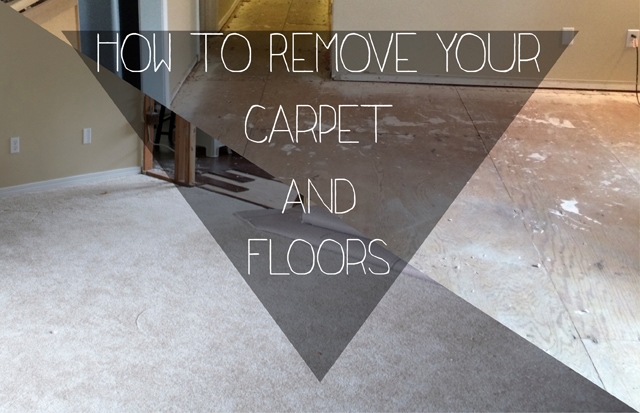
I think the most exciting thing about remodeling is learning that we CAN really do things ourselves without paying someone to do it! My hope through these posts is that you too can gain some confidence, ask us some questions, and save money remaking your home! Right now, in the remodel process, we’re on floors. So from old floors to new, here’s how we’re doing it!
Tools for removing carpet and click’n’lock laminate wood floors

Yep, just three simple tools for the removal. And it’s really pretty thoughtless work {best done while singing along to your favorite soundtrack}. The carpet is going to kick up a bunch of dust so better have your protective face mask on if that is an irritant for you.
For the carpet, simply start in one corner of the room and pull it up with your pliers. Once up, start rolling to the other side of the room. If you want to easily remove the carpet from your house, cut the carpet into multiple long sections. The carpet will pull off easily from the tack strip that runs along all the walls and roll up without the underlying pad. Next pull up the carpet pad that is stapled to the underlying plywood. This also rolls up easily and will probably already be cut into sections.
Once that is all out of the way, take your crowbar and push the flat end under the tack strip leveraging it off the floor. Beware of the thousand nasty little piranha tacks that are waiting to attack you (wear gloves for some protection). The strips are nailed down with small nails that might pop out as you lift or you might have to pry them out with the curved end of your crowbar.
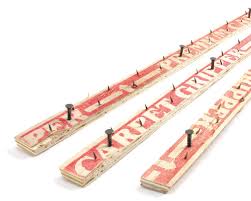
A potential sticky spot you may run into is if the tack strip is far enough under the baseboards where the nails won’t come out. In this case you might need to temporarily remove your baseboards. (We’re replacing ours entirely, so this wasn’t a big deal.)
To carefully remove your baseboards, begin with scoring the caulk between the baseboard and the wall with your box cutter. With the curved end of your crow bar starting a foot or two away from one end of the base board, start pulling, from underneath, gently towards you. Pry continuously just a bit away from the wall as you move towards the other end. It should come of it one piece without taking the above wall paint with it.
Now for the tedious, yet somewhat fulfilling act of prying out the staples of carpet padding from the plywood. I kept wondering if dentists got a similar feeling of satisfaction pulling teeth… I found that going down one side, then up the other, and then tackling the here and there center sections was a quick attack. I wasn’t 100% sure if this was all necessary, but Mr. G is a bit of an engineer perfectionist and wanted it done, so I acquiesced and went into dentist mode.
All that’s left is a good sweep and shop vac go-over! The laminate snap’n’lock floors are a MUUUUCH simpler process. Starting at an end/edge, just wiggle and pop them out. Ok, I can’t say it’s sweat free, I did have Mr. G help me get them started and move the fridge and oven out to get them out from underneath. The cabinets were all nailed directly into the plywood, so we didn’t have to lift those.
That’s it for the removal! Not that difficult, maybe a weekend’s worth of work depending on your area size. And quicker if you have help.
If you’re planning on having your floors done for you, consider asking your contractor how much you could $ave by doing this labor yourself!

Tools:
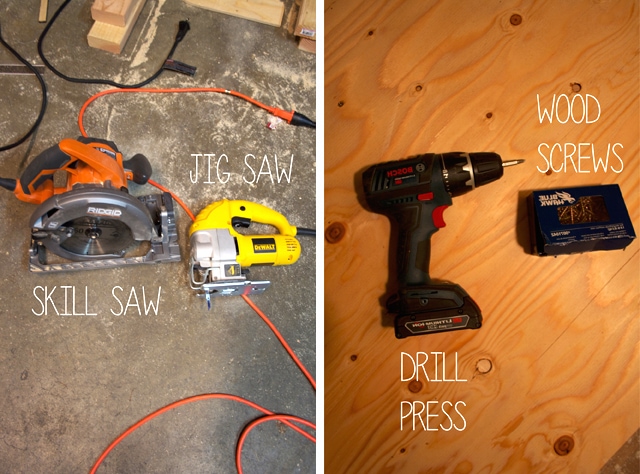
Skill Saw
Jig Saw
Impact Driver ***Typo in the picture. Definitely NOT a drill press. Whoopsy.
1.25″ wood screws (not to be confused with drywall screws)
Measuring Tape
Pencil
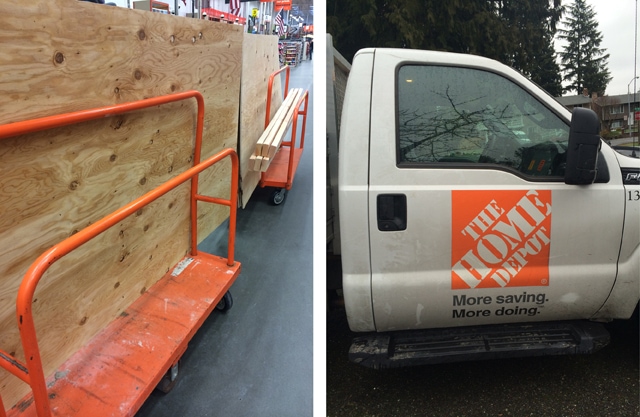
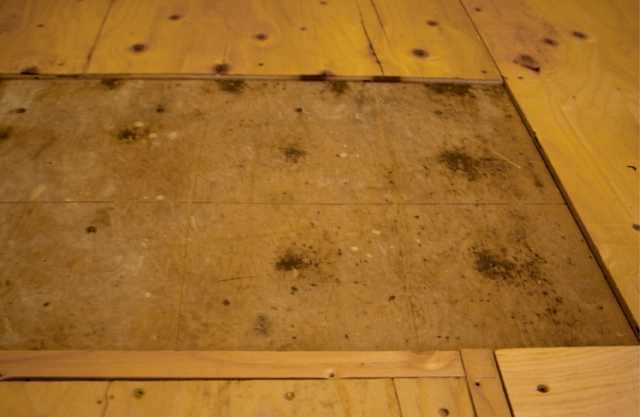
With everything off the floor we saw the wood floor was on 3/8″ more plywood than the carpet. So to Home Depot we went. The plywood come in 4′ x 8′ sheets in various thickness’. The sanded sheets were $27 a sheet and the un-sanded (yet still quite smooth) were $14, we needed about 17, 18 to be safe, so we went with un-sanded. And because we both drive economical-we’re-not-rich-commuter-cars, we rented a Home Depot truck for $19 to haul all these boards to our house. Mr. G is now in charge. He lays full sheets where he can, uses the skill saw the make smaller pieces, and measures & marks where to use the jig saw to cut out the heater holes. Then he puzzles them in and screws them down with the impact driver.
Ain’t nothin but a G thing.
Next we just have to make that simple choice of which floors we want to live with for the next part of eternity… NBD.. But I can’t wait to have new floors and baseboards! Then it’ll really start feeling like OUR home! Keep checking back for what we decided to go with!


Leave a Reply