Welcome to a new week. I hope your weekend was divine, however you spent it with your love, your friends, your dog, or just by yourself. (Just being real knowing some of you might loathe V-day as much as Darth Vader probably hated the fuzzy ewoks…) The sun finally decided to start shining in Seattle and I was desperate to be out in it, but torn by wanting to get more done in my office. Truly, that’s my home ownership dilemma. How’d I resolve it? By scooping dog poop in the yard… That counts as yard work right?
Today I’m going to continue with our Scandi Living Room Reveal DIYs! Last week I share our DIY Floating Sideboard Tutorial (Ikea hack) and I was honored by the love it received! Wish I could invite you over to see it and have a Harry Potter marathon with me. (…I’m revealing way too much of my nerd side with you today. Just hope I don’t start my LOTR references…)
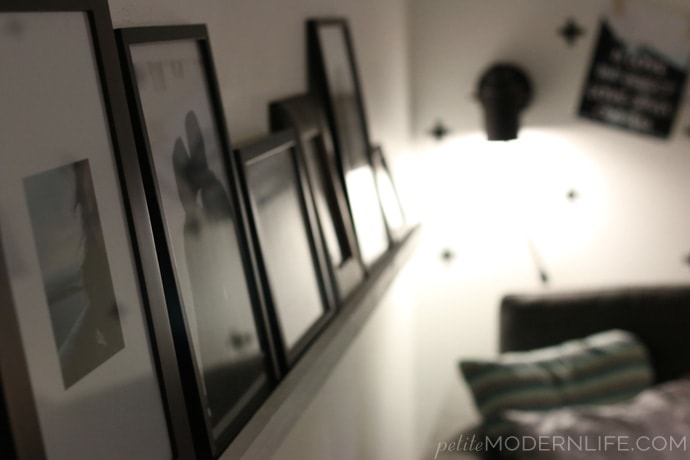
Today I’m sharing with you our DIY picture ledge and giving away some of my favorite prints for free!
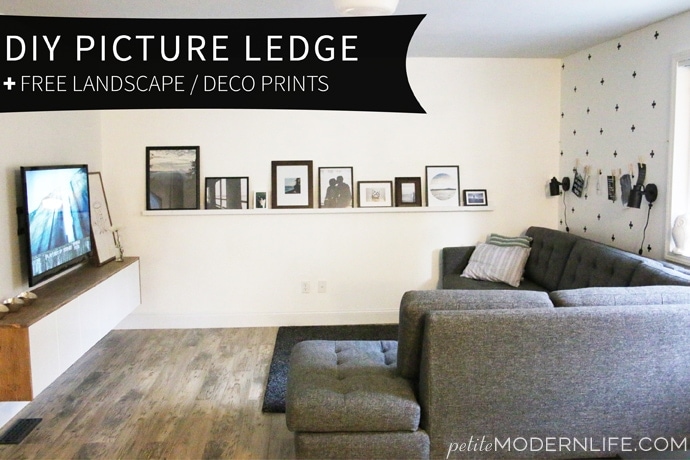
It’s fairly simple to make! We went to Lowes and bought a 10 foot long pine plank. They’re very cheap (like under $10) and light weight. The only qualm with this type of wood is that it warps or comes slightly warped. Ours was warped, but we just screwed it into the back wall and made sure it was even keeled enough to keep our pictures upright. It totally was.
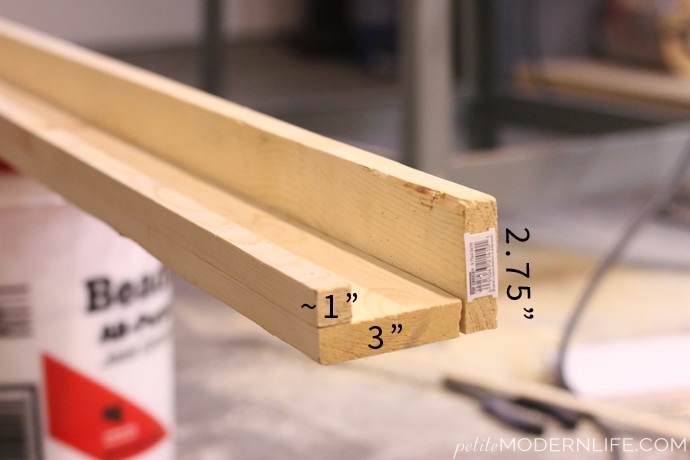
These are the dimensions we went with. We used our skill saw to cut the plank to these dimensions and nailed them together with a nail gun. Boom. If you don’t have a skill saw, you could head to the trim + moulding department at your home improvement store and get the approximate dimensions there too in MDF! Also inexpensive and the staff could trim the ends to size in store for you.
Next just slapp on 2 coats of a semi gloss white paint. Once dried, level and screw the back side (just behind the pictures) into the studs of your wall.
Now, let’s talk about how to coordinate a picture ledge.
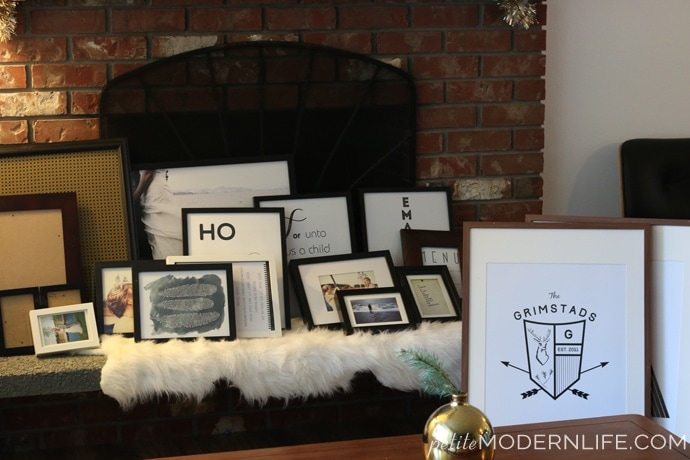
- Gather up all the eligible frames for a beauty contest. (This is how I saved money instead of buying new ones. I can replace them in my other rooms when I get to decorating them…) Choose the look you want for the ledge. My look was thin frames, mostly black, and various sizes.
- Position and re-position your frames until you get the look that feels right to you.
- Create a folder on your computer of potential ledge pictures. I decided I wanted ours to be neutral colored pictures and saved money by using pictures I already had instead of buying art (for the time being.)
- Create a “really like” folder and narrow down your choices.
- Write down all your frame sizes and decide which picture is to go in which frame, with the size clearly written by the picture name.
- Go online to your favorite print store and order the exact prints you need for the ledge. This could cost ~$20 depending on your sizes.
- Pick them up, put them in place, and readjust the ledge as needed!
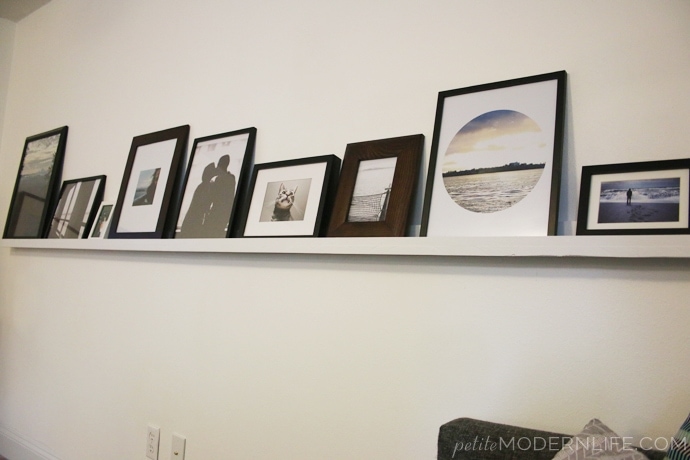
This process worked so well for me. It kept me focused and not wasting money on extra pictures “just to see.” I also tried to have more variety of pictures. Less pictures of us (except for a silhouette pic that I love), a squared instagram pic + a circle picture (I used my adobe editing software for these), some cool pet pics, and nature pictures.
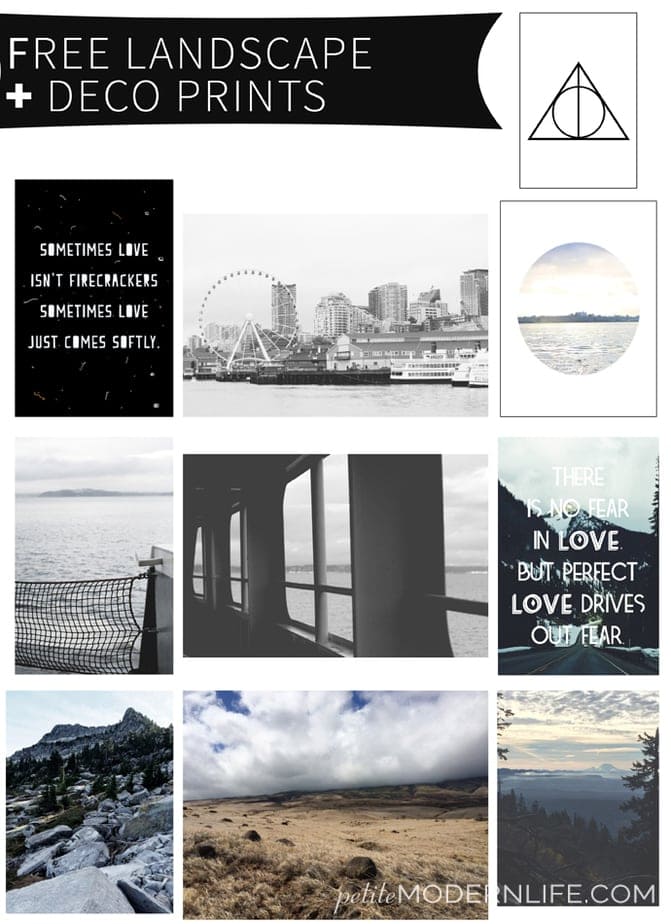
Most of the time I’m pretty critical of my nature photography. Probably because it’s usually unplanned and taken with my iphone rather than my new camera. However, I found some for this project that worked really great! I loved them enough that I’ve decided to share the full size files with you to print too if you like! Here’s the preview of what you’ll find.
These are pictures from our various life adventures in the Cascade Mountains, Maui, Seattle, and the Puget Sound. The printables are also made by me, and you’re welcome to share them with others, but please send some loving credit back to this post :) Also, the nerdom continues with my Harry Potter Deathly Hallows pic! Sorry not sorry.
I hope you enjoyed this DIY picture ledge tutorial and get some use out of the free pics & prints! You can find some more inspiration for picture ledges in this pinterest board! Let me know what you think in the comments below! I love to read them & talk with you.
**Click the images below to see the full room reveal + other living room projects!**




Corinna - For My Love Of says
The amusement park! My absolute favorite right now! LOVE the collection of prints!
Krystal says
Love love love these pictures!! The landscapes would look amazing blown up really big or framed in large white mats. I really like the idea of the circle picture.